
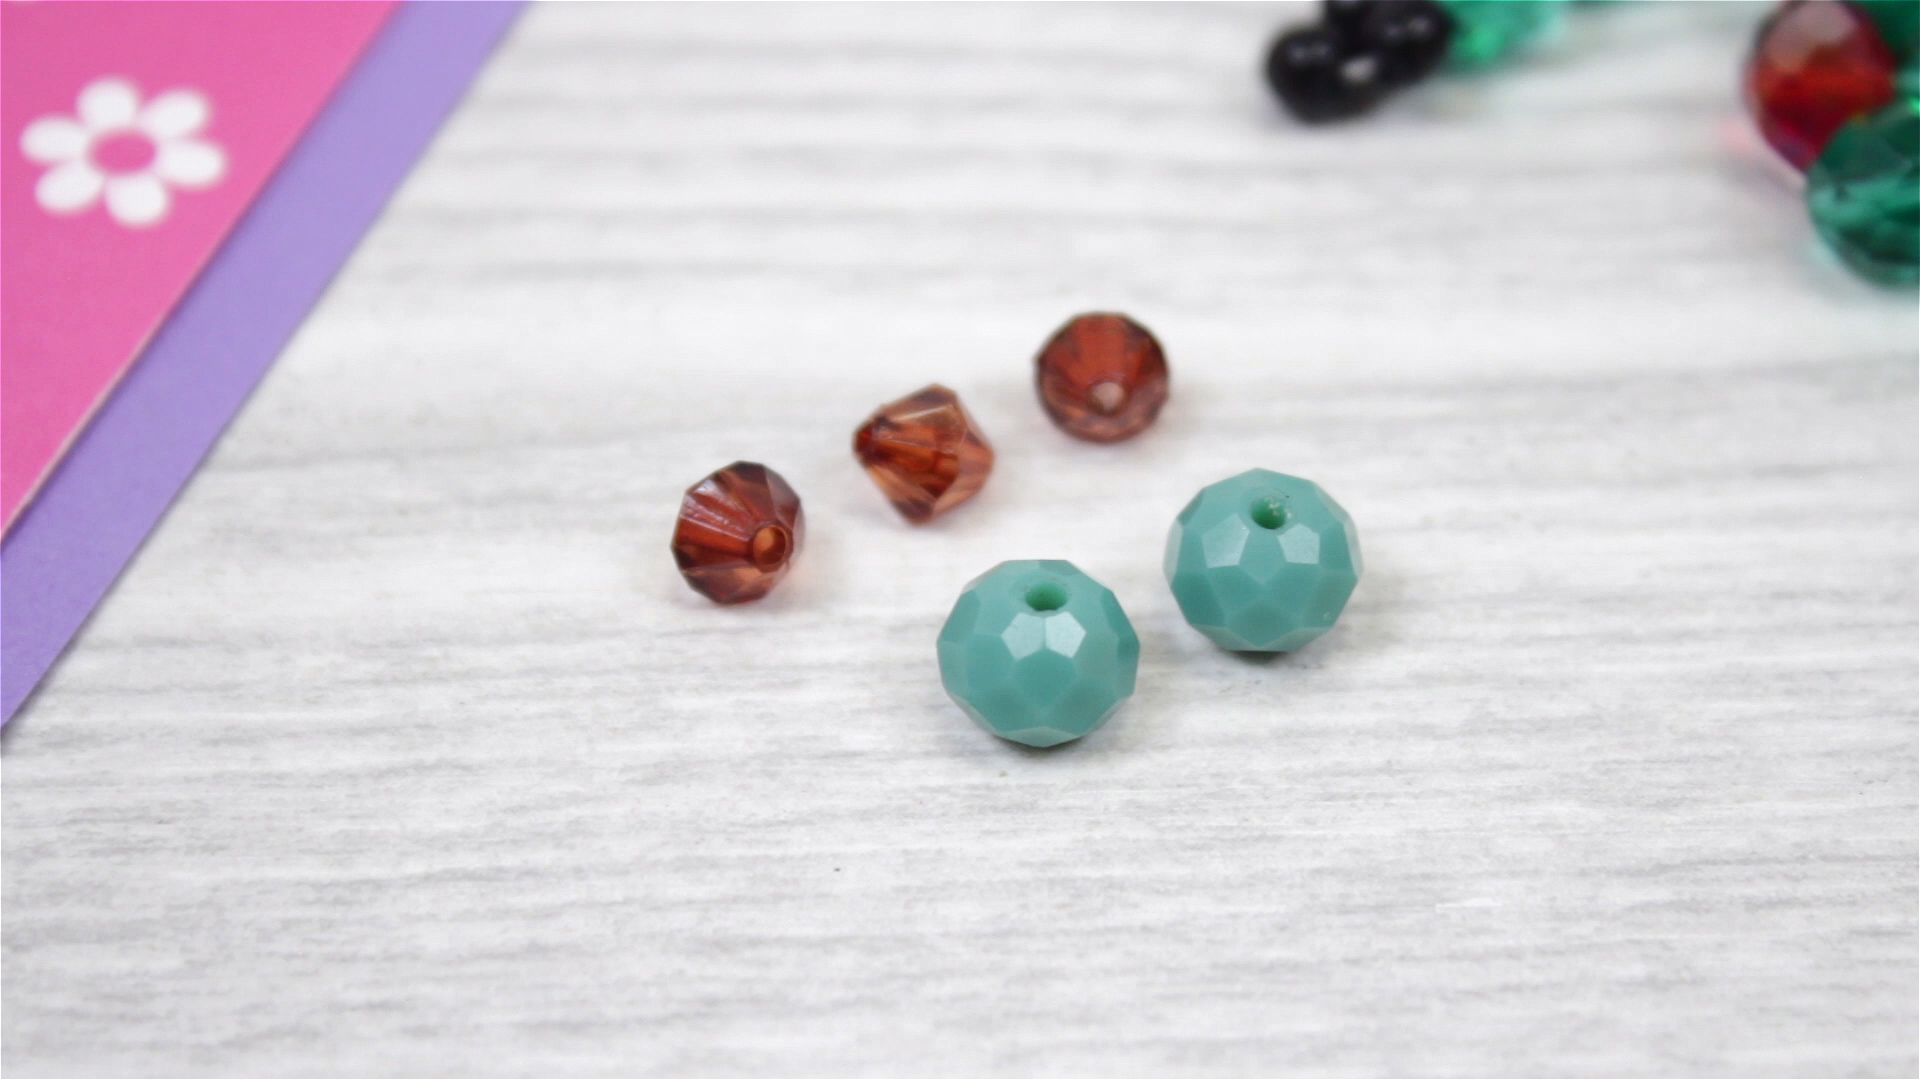
Some crafts politely sit on a shelf and wait to be admired. A beaded lizard does not. It wants adventure. It wants to dangle from a backpack, guard a pencil pouch, and make your keys look like they joined summer camp in 1998 and never fully came home. The good news? Learning how to make a beaded lizard is easier than it looks, and the finished keychain is colorful, durable, nostalgic, and surprisingly satisfying.
This step-by-step beaded lizard keychain guide walks you through the classic pony bead method: a simple crisscross weaving technique, four looped legs, a long bead tail, and a secure knot at the end. You do not need fancy jewelry tools or advanced beading skills. If you can count beads, pull two cord ends evenly, and resist the urge to name your lizard “Sir Wiggles,” you are already qualified.
Below, you will find a complete materials list, an easy bead pattern, troubleshooting tips, design ideas, and practical experience notes to help your first lizard look less like a confused noodle and more like a charming handmade keychain.
What Is a Beaded Lizard Keychain?
A beaded lizard keychain is a small bead animal made by threading pony beads onto cord, plastic lacing, ribbon, or elastic. The beads are arranged in rows to form the head, body, legs, feet, and tail. The classic version uses bright plastic pony beads because they are lightweight, inexpensive, and easy to thread.
The technique is often called ladder stitch, crisscross beading, or bead weaving. Each row is made by sliding beads onto one cord end, then passing the opposite cord end back through the same beads from the other direction. When you pull both ends tight, the row locks into place. It sounds like a tiny bead magic trick, and honestly, it kind of is.
Materials You Need
Gather your supplies before you begin. This project is much more relaxing when you are not crawling under the table searching for one missing black eye bead while your unfinished lizard silently judges you.
Basic Supplies
- 48 pony beads for the body and tail
- 2 black pony beads for the eyes
- About 2 to 3 yards of plastic lacing, satin cord, ribbon, elastic cord, or strong craft string
- 1 key ring, lanyard hook, or zipper pull clip
- Scissors
- Tape to hold the key ring or cord in place while you work
- A flat workspace with good lighting
Recommended Colors
For a classic lizard, choose one main color and one accent color. Green and yellow look reptile-ready, blue and orange feel bold, and glow-in-the-dark beads make your little lizard look like it has a side job in a science lab. Use black beads for the eyes so the face is easy to recognize.
Safety Note Before You Start
Pony beads are small parts, so this craft is not suitable for children under 3 years old. Young children should be supervised, especially if beads, cord, scissors, or key rings are involved. If you are making this project with kids, keep loose beads in a bowl or tray, count supplies before and after, and store finished keychains away from toddlers and pets.
Easy Beaded Lizard Pattern
This beginner-friendly pattern uses a main body color, an accent color for the toes and optional belly beads, and black beads for the eyes. You can adjust the colors, but keep the bead count and row structure the same for your first try.
Simple Row Pattern
- Row 1: 1 main bead
- Row 2: 2 main beads
- Row 3: 1 black bead, 1 main bead, 1 black bead
- Row 4: 2 main beads
- Row 5: 3 main beads
- Front legs: 2 main beads and 3 accent beads on each side
- Row 6: 4 main beads
- Row 7: 4 main beads
- Row 8: 3 main beads
- Back legs: 2 main beads and 3 accent beads on each side
- Row 9: 2 main beads
- Tail: 1 bead per row until the tail reaches your preferred length
This pattern creates a cute, compact lizard that works well as a keychain or backpack charm. For a longer lizard, add more single beads to the tail. For a chunkier lizard, add another four-bead body row before the back legs.
How to Make a Beaded Lizard Step by Step
Step 1: Cut and Prepare the Cord
Cut a piece of cord about 2 to 3 yards long. If you are using stiff plastic lacing, 2 yards may be enough. If you are new to the craft or using softer string, cut closer to 3 yards so you have room to work. It is always better to trim extra cord than to discover your lizard has no tail because you got stingy with supplies.
If you are adding a key ring, slide the cord through the ring and position the ring at the center. Tape the key ring to your table. This keeps your project steady and helps the rows line up neatly.
Step 2: Start the First Bead
Slide one main-color bead onto one end of the cord. Move it toward the center, just below the key ring if you are using one. Now take the other cord end and pass it back through the bead from the opposite direction. Pull both ends evenly until the bead sits snugly at the center.
This is the basic move you will repeat for most of the lizard. One side carries the beads; the other side crosses through them. Pull both sides, and the row locks into place.
Step 3: Build the Head
For Row 2, place two main-color beads on the right cord. Then take the left cord and thread it through those same two beads from the opposite side. Pull both ends evenly. The beads should sit directly under the first bead.
For Row 3, add the eyes: black bead, main bead, black bead. Cross the other cord through the row and tighten. Suddenly, your bead project has a face. This is the moment most people become emotionally attached. Do not fight it.
For Row 4, add two main beads and cross the cords again. Keep the tension firm but not brutal. If you pull too hard, the rows can twist. If you pull too softly, the lizard becomes floppy and dramatic.
Step 4: Add the Upper Body
For Row 5, add three main beads. Cross the opposite cord through the row and pull tight. Make sure your cord ends are still roughly equal in length. If one side is much shorter, gently loosen a few rows and recenter the cord before continuing.
The body should now look like a small triangle or teardrop shape. Do not worry if it feels loose at first. Once the legs are added, the structure becomes more stable.
Step 5: Make the Front Legs
The legs use a different technique. On the right cord, thread 2 main beads followed by 3 accent beads. The two main beads become the leg; the three accent beads become the toes.
Now take that same cord end and pass it back through only the 2 main beads, skipping the 3 accent beads. Pull gently until the toes fan out at the end. Repeat the same process on the left cord for the other front leg.
If the toes look messy, rotate the beads with your fingers until they sit like a little triangle. The lizard will not complain. It has no legal department.
Step 6: Continue the Body
After the front legs, return to the crisscross method. Add Row 6 with four main beads. Cross the other cord through and pull tight. Add Row 7 with another four main beads. This makes the widest part of the body.
Then add Row 8 with three main beads. The body should begin narrowing slightly, preparing for the back legs and tail.
Step 7: Make the Back Legs
Make the back legs the same way you made the front legs. On one cord, add 2 main beads and 3 accent beads. Thread the cord back through the 2 main beads only, leaving the accent beads as toes. Pull snugly, then repeat on the other side.
Try to match the tension of the front legs. If the back legs are too loose, the lizard may look like it is doing accidental yoga. A little personality is fine, but aim for balance.
Step 8: Create the Tail
After the back legs, add a row of 2 main beads using the crisscross method. Then begin the tail by adding one bead per row. For each tail bead, pass both cord ends through from opposite directions and pull tight.
Use 6 to 10 single beads for a standard tail. Add more if you want a dramatic lizard with runway energy. Just make sure you leave enough cord to tie a secure knot.
Step 9: Tie and Finish the Keychain
When the tail is finished, tie the two cord ends together with a tight double knot. For extra security, tie a square knot if your cord allows it. Trim the excess cord, leaving a small tail so the knot does not slip.
If you are using plastic lacing, you can add a tiny dab of clear craft glue to the knot. Let it dry completely before clipping the lizard to keys, a backpack, or a zipper pull.
Common Mistakes and How to Fix Them
The Rows Keep Twisting
Twisting usually means the cord tension is uneven. Lay the lizard flat after every row and pull both cord ends at the same time. If a row flips, loosen it slightly and flatten it before moving on.
One Cord End Is Shorter Than the Other
This happens when the first bead was not centered or when one side was pulled more than the other. Check your cord length every few rows. If the difference is small, continue carefully. If one side is much shorter, undo a few rows and recenter.
The Legs Look Loose
Legs need a firmer pull than body rows. After threading back through the two leg beads, hold the foot beads with one hand and pull the cord with the other. Then press the leg close to the body.
The Beads Will Not Slide Easily
If your cord frays, wrap the end with a tiny piece of tape to make a temporary needle. You can also trim the cord at an angle. Plastic lacing usually slides well, but ribbon and yarn may need a little help.
Creative Beaded Lizard Ideas
Once you know the basic beaded lizard pattern, you can customize almost everything. Try a rainbow lizard with each row in a different color, a school-spirit lizard using team colors, or a glow-in-the-dark version for sleepover crafts. You can also use metallic beads for a tiny dragon effect, though you may need to tell people it is a dragon with confidence. Confidence is half of crafting.
For party favors, pre-sort beads into small bags with cord and a key ring. For classroom crafts, print a simple bead pattern and let students choose colors. For summer camp, tape the key rings to the table before beginning so beginners can focus on threading rather than chasing cord ends across the room.
Why This Craft Is Great for Beginners
A beaded lizard keychain teaches counting, pattern recognition, color planning, hand-eye coordination, and patience. It also gives beginners a finished object they can actually use. That matters. A child or adult who finishes a keychain can clip it somewhere and say, “I made that,” which is much more satisfying than a mysterious pile of craft supplies quietly migrating into a junk drawer.
The project is also forgiving. A slightly crooked leg or extra tail bead does not ruin it. In fact, handmade bead animals often look better with tiny imperfections. They feel personal, playful, and alive in that goofy craft-table way.
Conclusion
Learning how to make a beaded lizard is a small project with a big reward. With pony beads, cord, a key ring, and a little patience, you can create a colorful lizard keychain that feels nostalgic, personal, and genuinely fun to make. The basic crisscross method builds the head and body, the loop-back technique creates the legs, and the tail gives your lizard its final bit of charm.
Whether you are making one for a backpack, a party craft, a camp activity, or a rainy afternoon project, this DIY beaded lizard is a fantastic beginner-friendly craft. Start with the simple pattern, then experiment with colors, glow beads, longer tails, or tiny “dragon” designs. The first one teaches the method. The second one is cleaner. By the third, you may be running an unofficial bead reptile sanctuary on your kitchen table.
Hands-On Experience: What Making Beaded Lizards Actually Feels Like
The first time you make a beaded lizard, the project may feel oddly more complicated than the finished keychain suggests. You look at a tiny creature made of plastic beads and think, “How hard can this be?” Then the cord ends start behaving like spaghetti with personal ambitions. This is normal. Most beginners need a few rows to understand the rhythm: bead, cross, pull, flatten, repeat.
One helpful experience-based tip is to slow down at the beginning. The head sets the tone for the entire lizard. If the first bead is not centered, every later row becomes a negotiation. Before adding the eyes, hold both cord ends together and check that they are about the same length. This small pause saves a surprising amount of frustration later, especially when you reach the tail and realize one side is running out of cord like it has somewhere else to be.
The legs are usually the trickiest part for beginners. They are not hard, but they are different from the body rows. The best way to remember the technique is this: the foot beads stay outside, and the cord returns only through the leg beads. If you accidentally thread back through all five beads, you will create a tight little bead stick instead of a foot. It is fixable. Just back the cord out and try again. Crafts are not courtroom testimony; you are allowed to revise.
Another practical lesson is that bead choice matters. Standard pony beads with large holes are easiest for kids and beginners. Very small beads can look beautiful, but they require thinner cord and more patience. Transparent beads look especially cool in sunlight, while glow-in-the-dark beads make the lizard feel like a tiny radioactive pet. For a clean design, use one body color and one toe color. For a playful design, mix colors row by row.
If you are leading this craft with a group, preparation makes everything smoother. Pre-cut the cord, count the beads into small cups, and provide a simple row-by-row pattern. Tape the key rings to the table so the lizards stay anchored. This prevents the classic group-craft scene where ten people are asking for help while beads roll across the floor like they are escaping captivity.
Most importantly, do not obsess over perfection. A handmade beaded lizard may have one leg angled slightly upward, a tail that curves, or toes that point in dramatic directions. That is part of the charm. The goal is not to manufacture identical reptiles. The goal is to make something cheerful with your hands, learn a simple beading technique, and end up with a keychain that makes people smile. In that sense, every beaded lizard is a tiny success story with googly-eyed energy, even without actual googly eyes.
Note: This article is original, written in standard American English, and prepared for web publishing with clean HTML body content only.











