
Mixing Quikrete sounds like one of those jobs that should be obvious: open bag, add water, stir until your arms question your life choices, pour. Easy, right? Mostly, yes. But concrete has a personality. Add too much water and it turns into sad gray soup. Add too little and you get gravelly cookie dough that refuses to cooperate. Mix too slowly on a hot day and the batch may start setting before you finish saying, “Where did I put my trowel?”
The good news is that Quikrete is designed for homeowners, DIYers, and pros who need dependable results without ordering a concrete truck for every mailbox post, step repair, patio pad, or fence project. The trick is choosing the right mixing method for the job. In this guide, you will learn three practical ways to mix Quikrete: by hand in a wheelbarrow or mortar tub, with a portable concrete mixer, and directly in the hole using fast-setting concrete for posts.
Before we get muddy, remember this golden rule: always follow the water amount and instructions printed on the exact Quikrete bag you bought. Different mixes behave differently. Regular Concrete Mix, Quikrete 5000, Fast-Setting Concrete Mix, Mortar Mix, and Sand/Topping Mix are cousins, not identical twins.
What Is Quikrete?
Quikrete is a packaged concrete and cement-product brand widely used for small and medium construction projects. A standard bag of Quikrete Concrete Mix typically contains a pre-blended combination of gravel or stone, sand, and Portland cement. That means you do not need to measure separate piles of aggregate and cement like a backyard chemist in dusty boots. You add clean water, mix to the correct consistency, place it, finish it, and cure it properly.
Concrete is not the same as cement. Cement is one ingredient in concrete. Concrete is the finished blend of cement, sand, gravel, and water. Calling concrete “cement” is common, but technically it is like calling a chocolate chip cookie “flour.” Flour matters, but nobody wants to bite into a spoonful of it.
Before You Mix: Tools, Safety, and Setup
Good concrete work begins before the bag opens. Set your project area up first, because once water meets dry mix, the clock starts ticking.
Basic Tools You May Need
- Wheelbarrow, mortar tub, mixing pan, or portable concrete mixer
- Hoe, shovel, margin trowel, or mixing paddle for small batches
- Measuring bucket for water
- Clean water supply
- Rubber gloves, eye protection, dust mask or respirator, long sleeves, and work boots
- Trowel, screed board, float, or edging tool depending on the project
- Plastic sheeting, curing compound, or a gentle misting plan for curing
Concrete Safety Is Not Optional
Dry concrete mix creates dust, and wet concrete is caustic. Protect your eyes, lungs, and skin. Wear waterproof gloves, safety glasses, and respiratory protection when dust is present. Avoid kneeling in wet concrete, and wash skin quickly if concrete touches you. Concrete may look like harmless gray pudding, but it can irritate skin and cause burns when ignored.
Measure Water, Do Not Freestyle It
For many standard 80-pound bags of Quikrete Concrete Mix, the starting water amount is commonly around 3 quarts, with final water adjusted gradually until the mix is stiff, moldable, and workable. Some product data lists final water ranges around 6 to 9 pints per 80-pound bag. That does not mean you should dump in the maximum immediately. Start low, mix thoroughly, and add small splashes only as needed.
The target consistency is often compared to thick oatmeal or firm peanut butter. It should hold its shape when shoveled, but still be workable enough to place and consolidate. If it sloshes like soup, you went too far. If it crumbles like dry trail mix, add a little water and keep mixing.
Way 1: Mix Quikrete by Hand in a Wheelbarrow or Mortar Tub
Hand mixing is the classic DIY method. It is ideal for small slabs, fence-post collars, step repairs, footings, deck supports, and projects using one to a few bags. It also gives you excellent control over consistency.
Best For
- One to four bags at a time
- Small pads, repairs, footings, and forms
- Projects where a mixer is not worth renting
- DIYers who enjoy “free gym day” with every home improvement task
Step-by-Step: Hand Mixing Quikrete
- Place the bag in the wheelbarrow or tub. Set it flat and cut it open carefully. Stand upwind to reduce dust exposure.
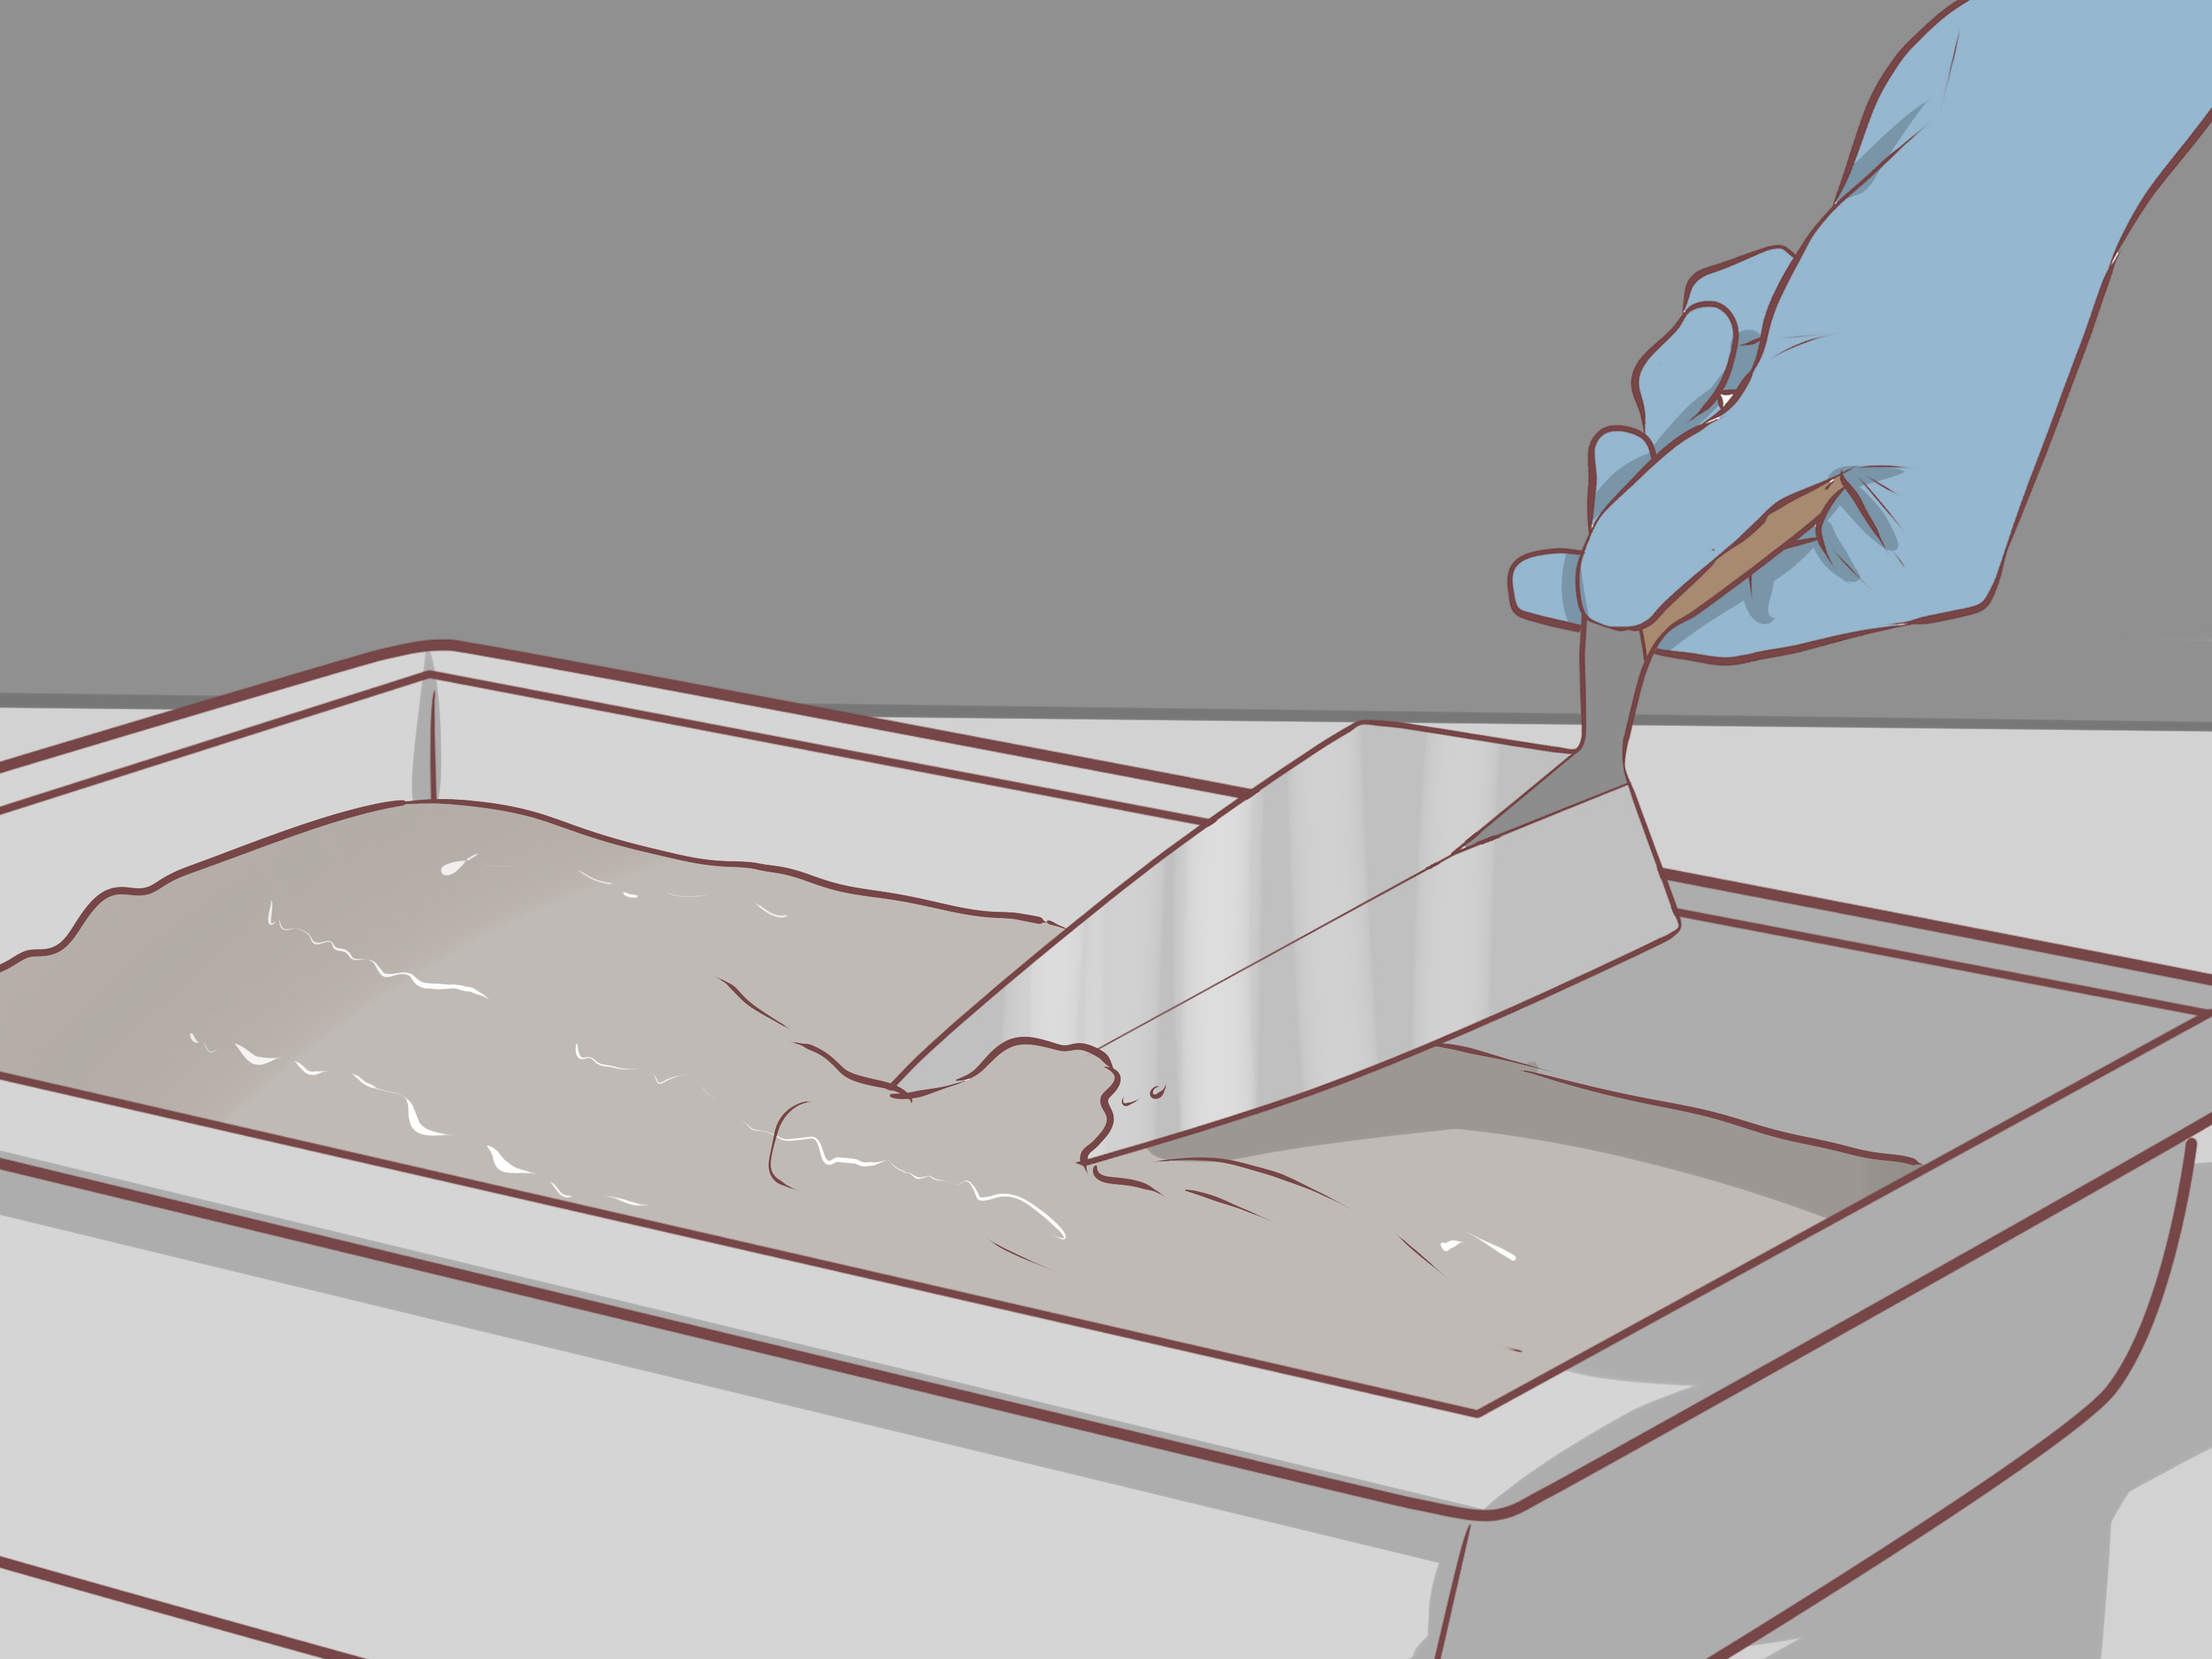
- Empty the dry mix. Pour the contents into the wheelbarrow or mortar tub. Break up obvious clumps with a hoe or shovel.
- Make a crater. Pull the dry mix into a mound and form a depression in the center, like a tiny gray volcano with better structural ambitions.
- Add about two-thirds of the measured water. Pour water into the center, not all over the place. This helps reduce dry pockets.
- Fold the mix into the water. Use a hoe or shovel to pull dry material from the edges into the wet center. Chop, fold, and turn.
- Add remaining water slowly. Add small amounts, mix thoroughly, and check consistency before adding more.
- Look for dry pockets. Scrape the bottom and corners of the wheelbarrow. Dry powder hiding underneath is the sneaky villain of weak batches.
- Place the concrete promptly. Once the mix is uniform and workable, move it into the form, hole, or repair area.
How to Know the Mix Is Right
A proper hand-mixed batch should be moist all the way through, with no dry clumps and no standing puddles. When you drag a shovel through it, the groove should hold briefly without the sides collapsing instantly. If you lift a shovel full, the concrete should slump slightly but not run off like pancake batter.
Common Hand-Mixing Mistakes
The biggest mistake is adding too much water because the batch feels hard to stir. Concrete becomes easier to mix with water, but extra water can reduce strength, increase shrinkage, and make the surface more likely to dust, crack, or scale. Instead of drowning the batch, mix longer first. Many “too dry” batches are simply not mixed enough.
Another mistake is mixing too many bags by hand. One 80-pound bag is manageable for most people. Two bags are a workout. Ten bags in a wheelbarrow is not a project; it is a personal challenge issued by your lower back. For larger pours, use a mixer or order ready-mix concrete.
Way 2: Mix Quikrete With a Portable Concrete Mixer
A portable concrete mixer is the better choice when your project needs several bags and consistent batches. It saves time, reduces fatigue, and helps produce a more uniform mix. If you are pouring a walkway section, small patio slab, multiple footings, or a long row of post bases, a mixer can be the difference between a smooth project and a neighborhood legend about “that person who mixed 30 bags by shovel.”
Best For
- Medium-size projects using several bags
- Small slabs, sidewalks, and multiple footings
- Projects where batch consistency matters
- DIYers who prefer tools to sore shoulders
Step-by-Step: Mixing Quikrete in a Mixer
- Set the mixer on stable ground. Keep it close to the pour area but leave room to move safely.
- Start the drum before loading. A spinning drum mixes better and avoids straining the motor.
- Add part of the water first. Pour in about half to three-quarters of the recommended water. This “head water” helps prevent dry material from sticking to the drum.
- Add the dry Quikrete gradually. Cut the bag and pour carefully. Avoid dumping too fast, which creates dust and clumps.
- Let it mix. Give the batch time to roll and fold inside the drum. Watch for uniform color and texture.
- Adjust with small water additions. Add the remaining water a little at a time until the concrete is workable but not soupy.
- Discharge promptly. Pour into a wheelbarrow or directly into the form, depending on your setup.
- Rinse the drum between batches if needed. Do not let concrete build up inside the mixer.
How Much Can You Mix at Once?
That depends on the mixer size and the bag weight. Do not overload the drum. Overloading makes the mixer struggle and can leave dry pockets. A smaller portable mixer may handle one or two bags per batch, while larger rental mixers may handle more. Check the mixer’s rated capacity and remember that concrete is heavy. A machine that looks cheerful in the rental aisle can become very serious once loaded.
Consistency Tips for Mixer Batches
Use the same water-measuring bucket for each batch. Mark the water level on the bucket if you are mixing repeated batches. Keep the same order: water first, dry mix second, final water adjustment last. This gives you repeatable results and prevents one section of your slab from being perfect while another looks like it made different career choices.
If the mix balls up, let it tumble longer before adding water. If dry material sticks to the back of the drum, stop safely and scrape only according to the mixer instructions. Never put hands or tools inside a moving mixer.
Way 3: Mix Quikrete Fast-Setting Concrete Directly in the Hole
The third method is different because, for certain post-setting products, you do not pre-mix the concrete in a wheelbarrow or mixer. Quikrete Fast-Setting Concrete Mix is commonly used for fence posts, mailbox posts, basketball posts, lamp posts, and similar vertical supports. With this method, the dry mix goes into the hole around the post, then water is added so the material hydrates in place.
Best For
- Fence posts
- Mailbox posts
- Deck support posts where approved by local code and project requirements
- Basketball poles, sign posts, and lamp posts
- Fast jobs where bracing and alignment are ready before mixing
Step-by-Step: No-Mix Post Setting
- Dig the hole to the required size. A common rule is to make the hole about three times the post diameter, with depth based on post height, soil, frost line, and local requirements.
- Add gravel if needed. A few inches of compacted gravel can help drainage under many post installations.
- Set and brace the post. Make sure it is plumb in both directions. Brace it before adding concrete, not after it starts leaning like a tired scarecrow.
- Pour dry fast-setting mix around the post. Fill evenly around the post to the recommended level.
- Add the required water. Pour water slowly over the dry mix according to the bag directions.
- Let it set undisturbed. Fast-setting mixes may become firm quickly, often in about 20 to 40 minutes, but follow the product instructions before applying load.
- Slope the top surface. Shape the concrete slightly away from the post so water drains instead of sitting against wood or metal.
Important: Use the Right Product
Do not assume every Quikrete bag can be dumped dry into a hole. Standard Concrete Mix is generally designed to be mixed with water first and then placed. The no-mix hole method is for fast-setting post-setting products that specifically allow it. Read the bag. The bag is not just decoration; it is the tiny instruction manual holding your project together.
How Much Water Should You Use?
Water amount depends on the exact product and bag size. For standard Quikrete Concrete Mix, many 80-pound bag instructions point you toward a starting amount around 3 quarts, with small adjustments until the concrete reaches a stiff, workable consistency. For fast-setting mixes, a 50-pound bag may require a different amount, often measured in pints rather than quarts. Always check the current bag label.
The best approach is simple: measure, mix, observe, and adjust slowly. Concrete does not forgive wild water guesses. If the mix is too dry after thorough mixing, add water in small splashes. If it is too wet, add more dry mix if available. Never try to “fix” watery concrete by simply waiting. Evaporation is not a strength plan.
Placing and Finishing After Mixing
Once Quikrete is mixed, place it quickly. Use a shovel, hoe, or trowel to move it into corners and around reinforcement. Tap forms gently or use a tool to consolidate the concrete and reduce air pockets. For slabs, screed the surface with a straight board, then float it after bleed water disappears. Do not finish while water is sitting on the surface, and do not sprinkle dry cement on top to “tighten it up.” That trick can create a weak, dusty surface.
For post holes, check alignment again immediately after adding water. Fast-setting concrete does not leave you much time for philosophical debate. Confirm the post is plumb, braced, and at the right height before the mix stiffens.
Curing: The Step Many DIYers Skip
Mixing gets the concrete placed, but curing helps it gain strength. Concrete hardens through hydration, a chemical reaction between cement and water. If fresh concrete dries too quickly, especially in hot, windy, or sunny conditions, the surface can shrink, crack, or become weaker than expected.
Keep fresh concrete damp according to the product instructions. For small slabs, you can mist the surface gently, cover it with plastic sheeting, or use an approved curing method. Avoid heavy traffic until the concrete has gained enough strength. It may look hard on the surface long before it is ready for serious loading.
Which Mixing Method Should You Choose?
Choose Hand Mixing When…
You have a small project, one or two bags, and enough room for a wheelbarrow or mortar tub. Hand mixing is affordable, simple, and surprisingly effective when you measure water carefully.
Choose a Mixer When…
You are using several bags, want consistent results, or need to keep batches moving. A mixer is usually worth it for patios, walkways, multiple footings, and larger repairs.
Choose No-Mix Fast-Setting Concrete When…
You are setting posts and using a product specifically designed for dry placement followed by water. It is quick, convenient, and ideal for vertical supports when used correctly.
Real-World Experience: What Mixing Quikrete Teaches You Fast
The first thing you learn when mixing Quikrete is that the bag is heavier at home than it was at the store. In the aisle, an 80-pound bag seems manageable. In your driveway, halfway between the truck and the project area, it becomes a compact gray boulder with branding. Plan your work so bags are staged close to the mixing area. Your back will send a thank-you card.
The second lesson is that water discipline matters more than muscle. Beginners often add water too quickly because dry concrete feels impossible for the first minute. Then, suddenly, the batch loosens all at once and becomes too wet. The better habit is to mix longer before adding more water. Scrape the bottom. Fold the edges. Chop through the middle. Concrete often looks dry because water has not reached all the powder yet.
When hand mixing, a mortar hoe makes the work easier than a regular shovel because the holes in the blade let material pass through. Still, a sturdy shovel works if that is what you have. The key is not to stir gently like soup. You need to fold, chop, pull, and turn the mix until every scoop looks the same. If you see streaks of dry gray powder, keep going.
For mixer projects, consistency between batches is the secret. Use the same bucket, the same water mark, and the same mixing time. If one batch is wet and the next is stiff, finishing becomes annoying. A slab poured with uneven batches can show color and texture differences. It may still work structurally for a basic DIY pad, but it will not look as clean.
Fast-setting concrete is convenient, but it rewards preparation. Brace posts before adding mix. Check plumb before adding water. Keep the level nearby. Once the material starts setting, you are no longer adjusting a post; you are arguing with chemistry, and chemistry usually wins.
Temperature also changes the experience. On a hot day, Quikrete can stiffen faster, so mix smaller batches and keep tools ready. On a cold day, setting and strength gain may slow down. Avoid mixing concrete during extreme weather unless the product instructions and project conditions allow it. Concrete is tough after it cures, but fresh concrete is picky.
Cleanup is another lesson people learn once. Rinse tools before concrete hardens. Do not wash heavy concrete residue into household drains. Scrape excess into a disposable container or let small leftovers harden for proper disposal. A trowel cleaned immediately is a tool. A trowel cleaned tomorrow is an archaeological artifact.
Finally, good Quikrete work comes down to patience in the right places. Do not rush measuring. Do not rush mixing. Do not rush curing. But once the batch is ready, place it promptly. That balance is the whole game: careful before mixing, efficient after mixing, patient after finishing. Master that rhythm and your small concrete projects will look cleaner, last longer, and involve far fewer dramatic sighs in the driveway.
Conclusion
There are three reliable ways to mix Quikrete: by hand in a wheelbarrow or tub, with a portable mixer, and directly in the hole when using fast-setting post-setting concrete. Hand mixing is perfect for small jobs, a mixer is the smarter choice for repeated batches, and the no-mix method is a time-saver for posts when the product specifically supports it.
The best results come from the same habits every time: wear safety gear, measure clean water, start with less water than you think you need, mix until there are no dry pockets, place the concrete promptly, and cure it properly. Quikrete is beginner-friendly, but it still follows the rules of concrete. Treat the mix with respect and it will reward you with strong, clean, dependable results.













