
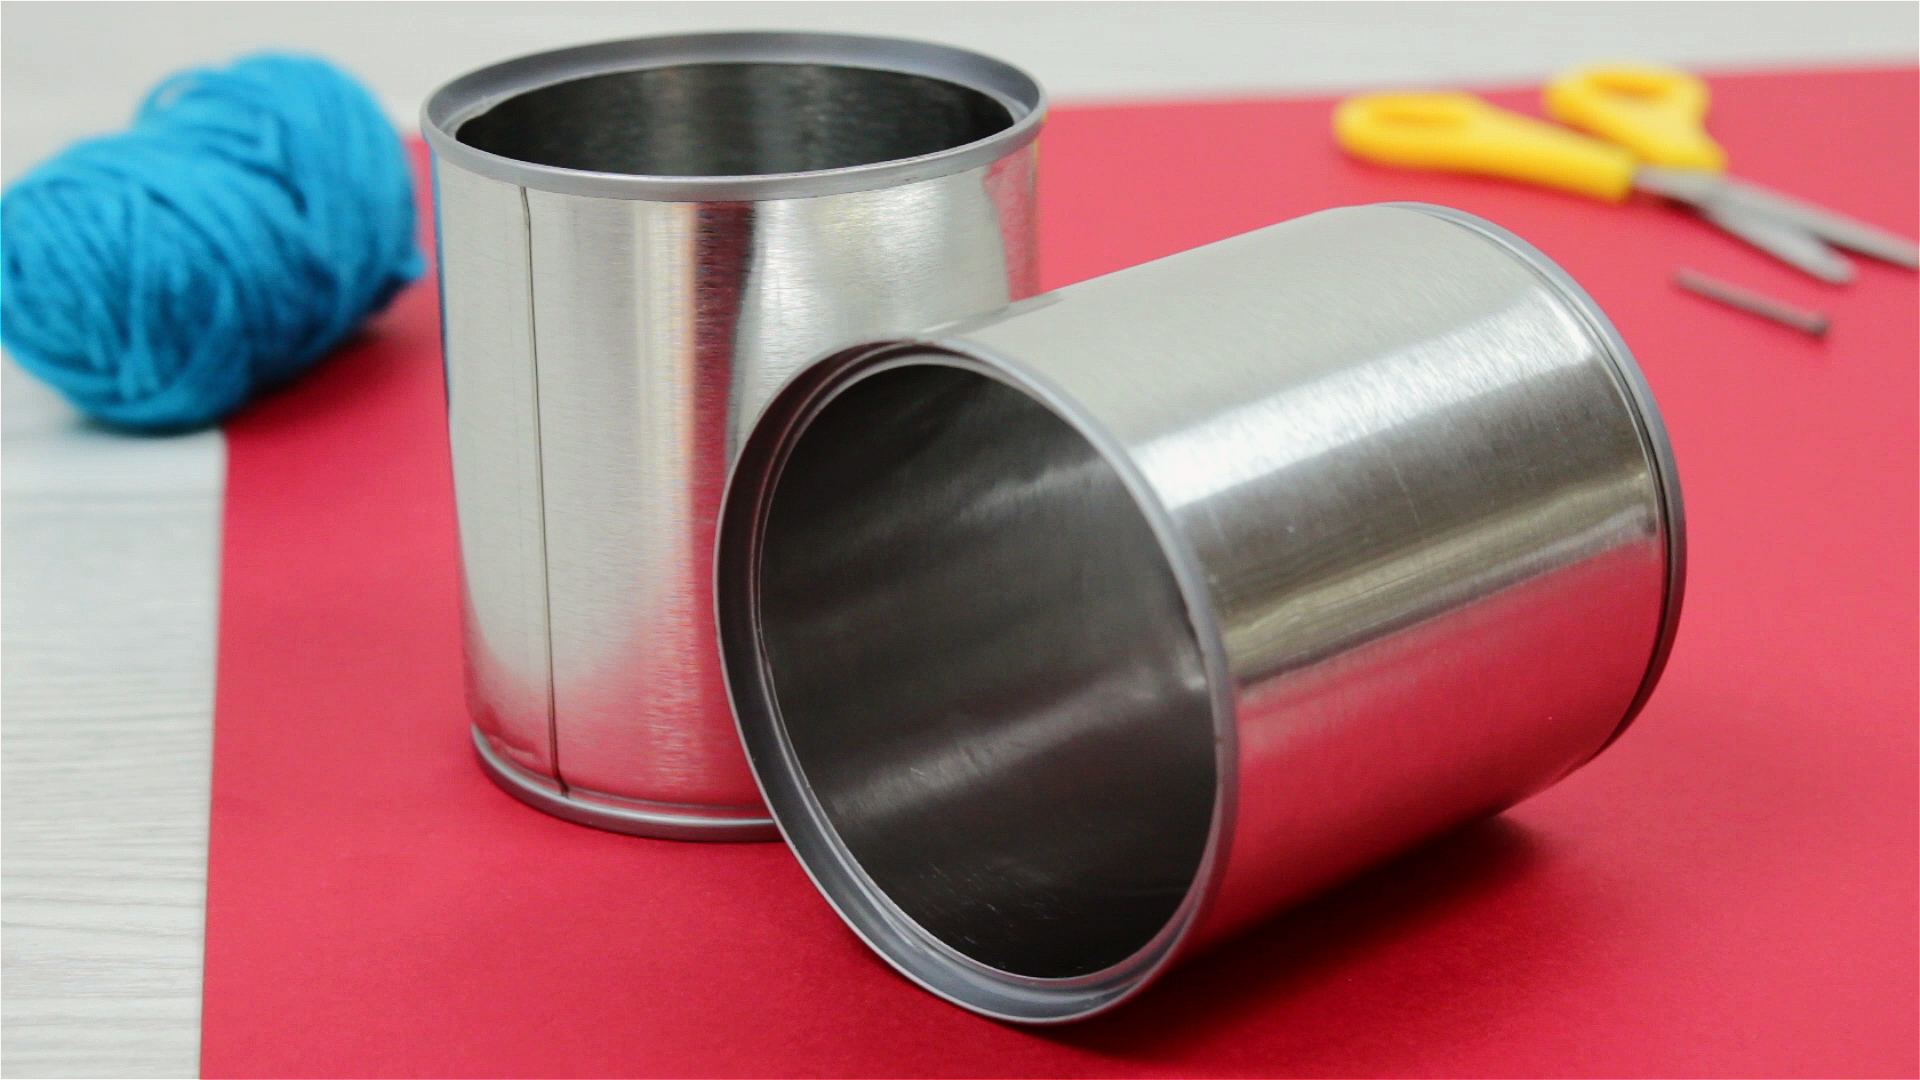
A play telephone is one of those classic projects that proves childhood engineering does not need batteries, blinking lights, or a tiny voice assistant quietly judging your snack choices. With two cups, a piece of string, and a little curiosity, kids can build a working toy phone that carries sound from one person to another. It is simple, low-cost, surprisingly fun, and sneaky in the best possible way: while children think they are playing secret agent, they are also learning about sound waves, vibration, communication, listening, and problem-solving.
This guide explains how to make a play telephone using paper cups, plastic cups, or clean empty cans. You will also learn why it works, how to troubleshoot it, how to turn it into a pretend-play activity, and how to make it safer and more durable for home, classroom, camp, or rainy-day fun. The goal is not perfection. The goal is a telephone that makes a child grin and say, “Wait, I can actually hear you!”
What Is a Play Telephone?
A play telephone is a homemade toy that lets two people communicate through connected cups or cans. The most common version is the cup-and-string telephone. One person speaks into one cup while another person listens through the other. When the string is pulled tight, the sound of the speaker’s voice creates vibrations that travel through the cup, along the string, and into the second cup.
It is not a real electronic phone. It will not call Grandma, text your cousin, or survive being dropped into a cereal bowl. But it does demonstrate a real scientific idea: sound travels through vibrations. In this case, the string acts like a little sound highway. When the string is loose, bent, tangled, or touched, the signal gets weaker. When the string is tight and clear, the “call” becomes much easier to hear.
Materials You Need
You only need a few household materials to make a basic play telephone. Most families can build one without buying anything new, which is excellent news for both your wallet and the mysterious craft drawer where twist ties go to retire.
Basic Supplies
- Two paper cups, plastic cups, or clean empty cans
- 10 to 25 feet of cotton string, kite string, yarn, or fishing line
- A sharpened pencil, skewer, nail, or hole punch for making a small hole
- Two paper clips, buttons, toothpicks, or beads to secure the string inside the cups
- Scissors
- Markers, stickers, tape, or paper for decorating
Safety Supplies
- Adult supervision for making holes and cutting string
- Tape to cover sharp edges if using cans
- Child-safe scissors for younger kids
- A storage bag or box to keep small parts away from toddlers
For young children, paper cups are usually the best choice. They are lightweight, easy to decorate, and do not have sharp edges. Plastic cups can work well too, especially if they are sturdy enough not to crack when you make the hole. Tin cans can carry sound nicely, but they must be clean and smooth. If the rim is sharp, do not use the can. A pretend phone should not double as a tiny medieval hazard.
How to Make a Play Telephone Step by Step
Step 1: Choose Your Cups
Start with two cups of the same size. Paper cups are great for younger children because they are easy to handle and decorate. Yogurt containers can also work if they are washed thoroughly. If you want a stronger sound, try experimenting with different cup materials later. Some cups vibrate better than others, which means they may send sound more clearly.
Step 2: Make a Small Hole in Each Cup
Turn each cup upside down. Make one small hole in the center of the bottom of each cup. The hole should be just big enough for the string to pass through. If the hole is too large, the string may slip out or wiggle too much. An adult should handle this step for younger children, especially if using a sharp object.
Step 3: Thread the String Through the Cups
Push one end of the string through the outside bottom of the first cup so it comes up inside the cup. Repeat with the second end of the string and the second cup. When you are finished, the two cups should be connected by one long piece of string, with the open ends of the cups facing outward.
Step 4: Secure the String Inside Each Cup
Tie the string around a paper clip, button, bead, or small piece of toothpick inside each cup. This keeps the string from sliding back through the hole. A simple knot can work, but attaching the string to a small object usually makes the connection stronger. Pull gently on the string to make sure it stays in place.
Step 5: Pull the String Tight
Have one person hold one cup and another person hold the second cup. Walk apart until the string is straight and tight. The string should not sag, rest on the floor, wrap around furniture, or touch anyone’s hand in the middle. A taut string gives vibrations a better path to travel.
Step 6: Talk and Listen
One person talks into their cup while the other person places the cup near one ear. Speak in a normal voice first. You do not need to shout. In fact, shouting may make the sound fuzzy. Switch roles so both people get a turn speaking and listening. Congratulations: you have now invented a phone that does not need charging and cannot receive spam calls. Truly, progress.
Why Does a Cup-and-String Telephone Work?
A play telephone works because sound is made by vibration. When you speak, your vocal cords vibrate and create sound waves in the air. Those sound waves hit the bottom of the cup and make it vibrate. The vibration moves into the string. If the string is tight, the vibration travels along it to the second cup. The bottom of the second cup vibrates, moves the air inside the cup, and sends sound into the listener’s ear.
This is why the string matters so much. A tight string can carry vibrations more effectively than a loose one. When the string droops, touches another object, or bends around a corner, some of the vibration energy is lost. That is also why two people usually need a clear line between them. The play telephone is charming, but it is not magic. It cannot politely ask the sofa to stop absorbing your message.
Tips to Make Your Play Telephone Work Better
Keep the String Taut
The most important rule is simple: keep the string tight. If the sound is too quiet, check the string before blaming the cups, the weather, or your sibling’s “bad listening skills.” A loose string is the number one reason a homemade play telephone does not work well.
Do Not Touch the String While Talking
If someone holds the string in the middle, the sound may become muffled. Fingers can stop or weaken the vibrations. For the best results, hold only the cups and let the string hang freely between them.
Try Different String Lengths
Start with about 10 feet of string. Once the phone works, try 15 feet, 20 feet, or even longer if you have enough space. Ask kids to predict when the sound will become too faint. This turns a simple craft into a mini science experiment.
Test Different Materials
Try paper cups, plastic cups, yogurt containers, and clean cans. Then compare the sound. Which one is loudest? Which one is clearest? Which one makes everyone sound like a tiny robot trapped in a snack container? These observations help children think like scientists.
Speak Clearly, Not Loudly
A normal speaking voice often works better than yelling. Encourage kids to say short sentences clearly. Try phrases like “The moon is made of cheese,” “Send more cookies,” or “Mission control, we have a craft project.”
Common Problems and Easy Fixes
Problem: I Cannot Hear Anything
Check whether the string is tight. Make sure the string is attached securely inside both cups. Confirm that the speaker is talking into the cup and the listener is holding the other cup close to one ear. Also make sure the cups are not cracked or crushed.
Problem: The Sound Is Too Quiet
Try a shorter string or a different type of string. Thin cotton string often works better than thick, fluffy yarn because it vibrates more cleanly. Also check that the string is not rubbing against a table, chair, wall, or backpack.
Problem: The String Keeps Falling Out
Tie the string around a paper clip, bead, or small button inside the cup. If the hole is too big, add a small piece of tape inside the cup around the hole to strengthen it.
Problem: The Cup Collapses
Use sturdier cups or double up two paper cups on each end. If kids are very excited, remind them that the cups are communication tools, not trumpet cannons.
Creative Ways to Decorate a Play Telephone
Decorating the play telephone makes the project feel more personal. Children can turn plain cups into space phones, jungle radios, royal palace phones, detective walkie-talkies, or emergency cookie-request devices. Give each child markers, stickers, washi tape, construction paper, or crayons and let them design their own receiver.
For a classroom or party activity, set up a “phone design station.” One table can hold cups and string, another can hold decorating supplies, and a third can be the testing area. Kids can name their phones, create pretend phone numbers, and write short scripts for their conversations. This adds language practice and storytelling to the hands-on building.
Play Telephone Activity Ideas
Secret Message Game
One child whispers a short message through the play telephone. The listener repeats what they heard. Start with easy messages, then make them funnier or more challenging. For example: “The purple penguin ate pancakes.” This activity encourages careful speaking and active listening.
Science Challenge
Ask children to test three different string lengths and record which one works best. They can also compare cup materials. This is a simple way to introduce observation, prediction, testing, and results without making the room feel like a serious laboratory where everyone must wear goggles and frown thoughtfully.
Pretend Office
Set up a pretend office with paper, pencils, sticky notes, and the play telephone. One child can be the receptionist, another can be the customer, and another can be the manager. Pretend play helps children practice conversation, role-taking, vocabulary, and problem-solving.
Story Telephone
One person starts a story with one sentence through the phone. The next person adds another sentence. Keep passing the story back and forth. By the end, you may have a tale about a dragon, a lost sandwich, and a mayor who happens to be a hamster. That is literature, basically.
How to Make a Pretend Smartphone Version
If you want a play telephone for pretend play rather than sound experiments, make a cardboard smartphone. Cut two phone shapes from sturdy cardboard and glue them together for thickness. Draw a screen, buttons, camera, and app icons. Kids can use it for imaginative calls, restaurant orders, doctor visits, space missions, or pretend video chats.
A cardboard phone will not carry real sound like a string telephone, but it is great for role play. You can even make a set: one working string phone for science and one cardboard phone for dramatic play. Together, they give children both hands-on physics and creative storytelling.
Safety Notes for Kids and Adults
A homemade play telephone is usually simple and safe, but a few precautions matter. Adults should help make holes in cups, especially when using sharp tools. Do not use cans with rough or sharp edges. Keep small parts such as beads, buttons, and paper clips away from children under three. Long strings should be used with supervision and should never be wrapped around the neck, body, or furniture during active play.
Store the play telephone after use, especially in homes with babies, toddlers, or pets. If the string frays, the cup cracks, or the knot loosens, repair it before the next round of play. Good craft safety is not dramatic, but it does keep the fun from turning into an awkward “Well, that escalated” moment.
Learning Benefits of Making a Play Telephone
Making a play telephone supports several important skills. Children use fine motor skills when threading string, tying knots, decorating cups, and handling materials. They practice communication when they speak clearly and listen carefully. They build early science understanding by observing how sound changes when the string is tight, loose, short, long, touched, or untouched.
The project also encourages problem-solving. If the phone does not work, children can test one change at a time. Is the string too loose? Is the knot slipping? Is the cup too flimsy? This trial-and-error process helps children learn that mistakes are not failures. They are clues wearing tiny detective hats.
Best Age for a Play Telephone Craft
Preschoolers can enjoy decorating the cups and using the finished phone with adult help. Early elementary children can help build it, test it, and explain how it works. Older kids can turn it into a more detailed STEM investigation by changing variables, recording results, and comparing materials.
For toddlers, a cardboard pretend phone may be safer than a string telephone because of the small parts and long cord. For children old enough to follow directions, the cup-and-string version is a wonderful mix of craft, science, and conversation.
Experience Notes: What Making a Play Telephone Teaches in Real Life
One of the best things about making a play telephone is that it rarely works perfectly on the first try. That may sound like bad news, but it is actually where the best learning happens. A child pulls the cups apart, speaks into one end, hears almost nothing, and immediately becomes an engineer. Suddenly, the question is not “Did we fail?” It is “What should we change?” That shift is powerful.
In real use, the first lesson is usually patience. Kids often want to shout into the cup, run around corners, or let the string drag across the floor. When the sound disappears, they learn that the setup matters. The string must be tight. The cups must face the right way. The listener has to actually listen, which, depending on the child, may be the most advanced technology in the entire project.
The second lesson is teamwork. A play telephone needs two people cooperating. One person cannot test it properly alone unless they have unusually long arms or a very patient chair. Children must take turns speaking and listening. They learn to say, “Can you hear me?” and “Try again,” and “Pull the string tighter.” These small exchanges build communication skills in a natural way.
The third lesson is creative confidence. Once children realize they can make a working communication device from cups and string, everyday objects start to look different. A cup is not just a cup. It can be a receiver, a satellite dish, a robot ear, or a secret spy tool. A piece of string becomes a sound bridge. A paper clip becomes an anchor. This kind of thinking is the heart of creative problem-solving.
In classrooms, the play telephone works especially well because it combines quiet observation with loud excitement. Students can test different string lengths, compare cup materials, and draw conclusions. Some children will focus on the science. Others will focus on decorating. Others will invent dramatic phone calls involving pizza emergencies, dinosaur sightings, or urgent meetings with the President of Stuffed Animals. All of those approaches are valid because the activity has room for different learning styles.
At home, the project can become a memorable family activity. A parent or older sibling can help with the holes and knots, then let younger children take over the decorating and testing. The first successful message often feels like a magic trick. Children may run back and forth, trying longer distances and sillier messages. The phone may eventually bend, tear, or become part of a larger blanket-fort communication network. That is fine. A homemade toy does not need to last forever to be valuable.
The biggest practical tip from experience is to keep the first version simple. Do not overbuild it. Do not start with a complicated three-way system, extra-long string, painted cans, and a full telecommunications business plan. Begin with two cups and one string. Make it work. Then experiment. A successful simple phone gives children confidence, while an overcomplicated version may turn into a knot collection with feelings.
Another useful tip is to ask open-ended questions while kids play. Instead of immediately explaining everything, ask: “What happens if the string is loose?” “Does a longer string sound different?” “Which cup works best?” “Why do you think touching the string changes the sound?” These questions help children connect the fun activity to real thinking.
In the end, making a play telephone is not just about building a toy. It is about helping children notice how the world works. Sound is invisible, but this project makes it feel real. Communication is ordinary, but this project makes it exciting. And a paper cup, which normally has a glamorous career holding juice, gets promoted to scientific equipment. Not bad for something that was sitting in the kitchen cabinet.
Conclusion
Learning how to make a play telephone is easy, affordable, and genuinely rewarding. With two cups, a length of string, and a little adult help, children can build a working toy that demonstrates sound vibration in a hands-on way. The best version uses a tight string, secure knots, sturdy cups, and clear speaking. Once the basic phone works, kids can experiment with different materials, decorate their receivers, play secret-message games, or turn the project into a full pretend-play adventure.
Whether you are planning a classroom STEM activity, a rainy-day craft, a birthday party station, or a screen-free family project, the play telephone delivers. It is simple enough for beginners, flexible enough for creative kids, and educational enough that adults can proudly say, “This counts as learning.” And yes, it also counts as fun.
Note: This article was written in original wording and synthesized from real child-development, craft-safety, and sound-science guidance for web publication.












