
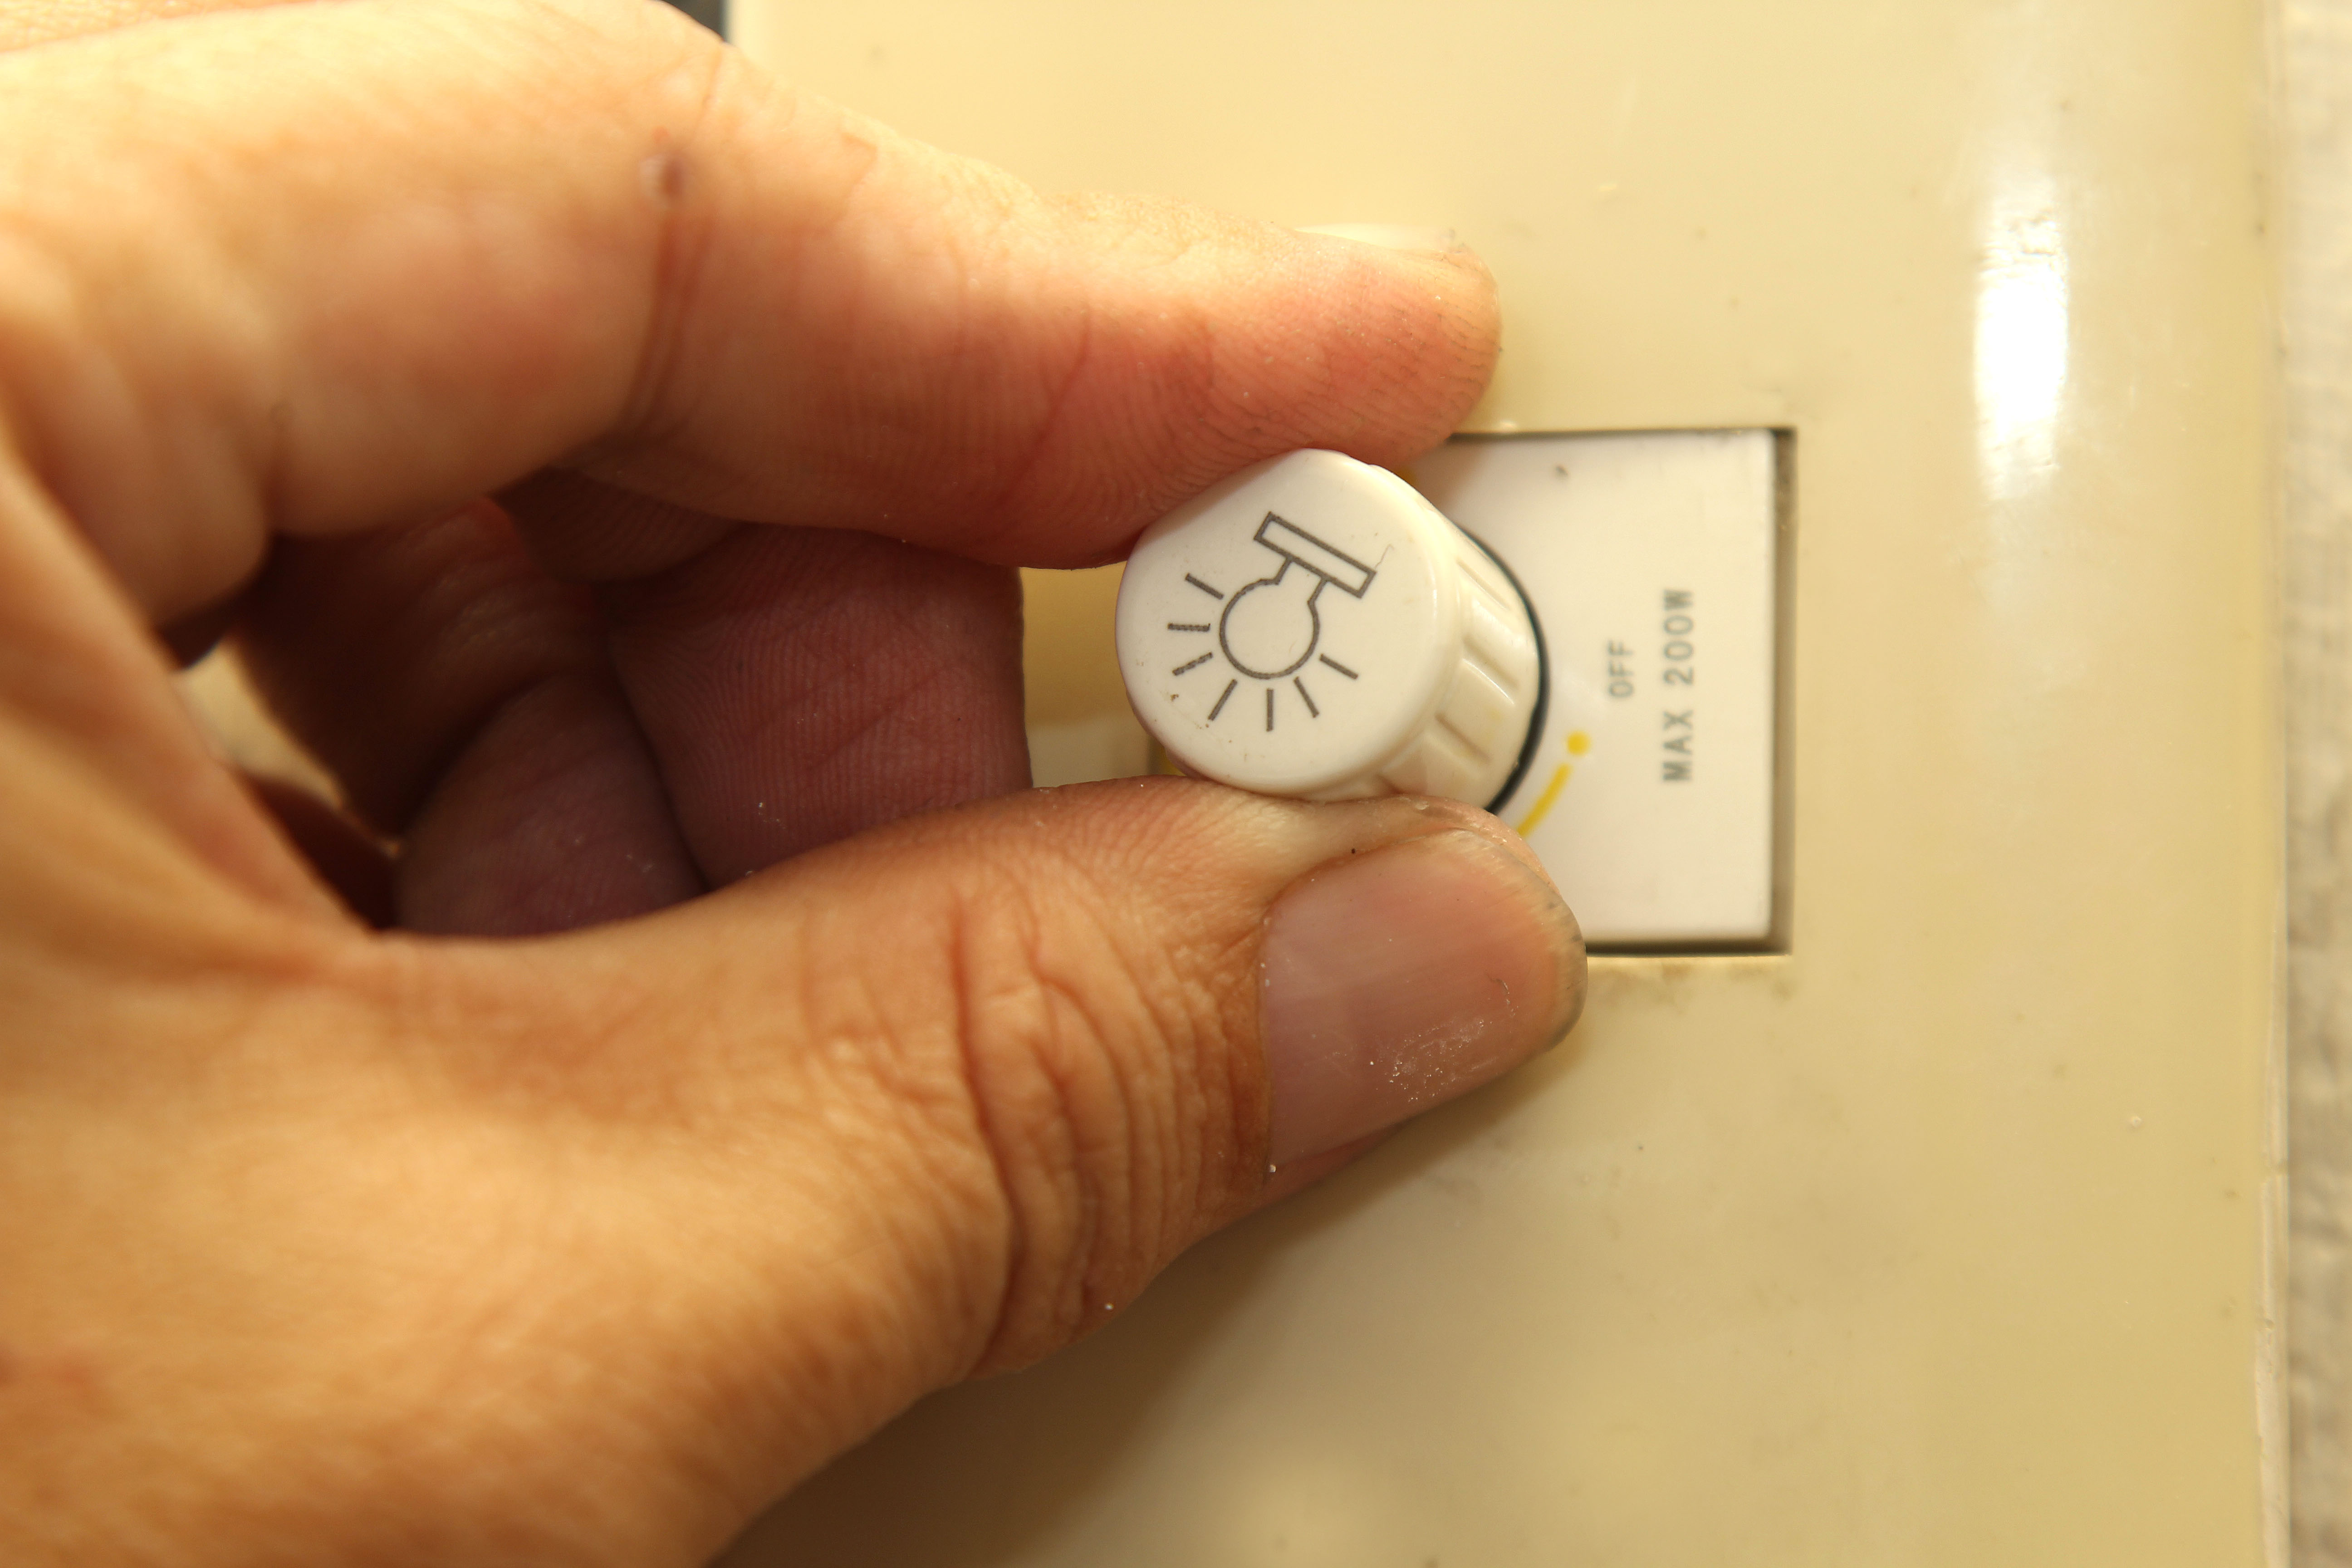
Installing a dimmer switch is one of those home upgrades that feels small until you use it for the first time. Suddenly, your dining room can go from “family taco night” to “tiny bistro with suspiciously good lighting.” Your living room can shift from bright cleaning mode to movie-night glow. And your bedroom no longer has to blast you awake like a convenience-store freezer aisle.
But before we romanticize the humble dimmer too much, let’s be clear: wiring a dimmer switch involves household electricity. That means safety comes first, second, and also thirdright before the part where you admire your handiwork. The basic process is manageable for many careful DIYers replacing an existing compatible wall switch, but it is not a place for guessing, improvising, or saying, “Eh, that wire looks friendly.”
This guide explains how to wire a dimmer switch in 14 practical steps, including how to choose the right dimmer, identify common wires, avoid LED flicker, and know when to stop and call a licensed electrician. The goal is not just to make your lights dimit is to make them dim safely, smoothly, and without turning your wall box into a tiny mystery novel.
Before You Start: Know What a Dimmer Switch Actually Does
A dimmer switch controls the amount of electrical power delivered to a light fixture, allowing you to adjust brightness instead of choosing only “on” or “off.” Modern dimmers are commonly used with LED, CFL, incandescent, and halogen bulbs, but not every dimmer works with every bulb. That compatibility detail matters more than many people think.
If you install an old-style incandescent dimmer on LED bulbs, you may get flickering, buzzing, limited dimming range, or bulbs that refuse to turn fully off. LED-compatible dimmers are designed to work with lower-wattage loads and modern bulb electronics. Some models also include a small adjustment dial or programming feature that lets you set the lowest stable brightness level.
Single-Pole vs. 3-Way Dimmer Switches
Before buying a dimmer, identify the type of switch you are replacing.
Single-pole dimmer
A single-pole switch controls one light or group of lights from one location. This is the simplest and most common setup. If only one wall switch controls the fixture, you likely need a single-pole dimmer.
3-way dimmer
A 3-way switch controls one light or group of lights from two locations, such as at both ends of a hallway or at the top and bottom of stairs. For this setup, you need a dimmer rated for 3-way use. In many installations, only one of the two switches is replaced with a dimmer, unless the manufacturer provides special companion dimmers or remotes.
Smart dimmer
A smart dimmer may connect to Wi-Fi, Bluetooth, Zigbee, Z-Wave, Matter, or a proprietary hub. Many smart dimmers require a neutral wire in the wall box, although some models are designed for older homes without one. Do not assume. Read the package and installation sheet before removing anything from the wall.
Tools and Materials You May Need
- Compatible dimmer switch
- Flathead and Phillips screwdrivers
- Non-contact voltage tester
- Wire stripper
- Needle-nose pliers
- Wire connectors approved for the wire size and type
- Electrical tape
- Flashlight or work light
- Phone camera for documenting old wiring
- New wall plate, if needed
Important Safety Rules Before Wiring a Dimmer Switch
Always turn off power at the breaker before working on a switch. Then test the wires with a voltage tester before touching them. A switch being “off” does not mean the wires are safe. A breaker panel can also be mislabeled, especially in older homes where previous owners treated labels like creative writing prompts.
Do not work on aluminum wiring unless the dimmer and connectors are specifically rated for aluminum conductors. Many older homes may require special repair methods or professional service. Also call an electrician if you see burned insulation, damaged wires, loose connections, a hot switch, buzzing in the wall, water damage, cloth-covered wiring, knob-and-tube wiring, or anything that makes you pause and whisper, “That doesn’t look right.” Trust that whisper.
How to Wire a Dimmer Switch in 14 Steps
Step 1: Choose the Right Dimmer for Your Bulbs
Check the type of bulbs controlled by the switch. Are they dimmable LED, CFL, incandescent, or halogen? The word “dimmable” is important. Not all LED bulbs can be dimmed. If your bulbs are not labeled dimmable, replace them before installing a dimmer.
Next, check the dimmer’s wattage rating. Many LED dimmers are rated for around 150 watts of LED load and higher wattage for incandescent or halogen bulbs. Add up the wattage of all bulbs controlled by that switch. Stay within the dimmer’s listed rating, and follow any derating instructions if the dimmer is installed in a multi-gang box beside other switches.
Step 2: Confirm the Switch Type
Determine whether the existing switch is single-pole or 3-way. A single-pole switch usually has two insulated wires plus a ground. A 3-way switch usually has three insulated wires plus a ground, with one wire connected to a darker “common” screw. Do not rely only on wire color; wiring practices vary.
If the light is controlled from more than one location, buy a dimmer designed for 3-way installation. If you are installing a smart dimmer, confirm whether it needs a neutral wire. A neutral is usually white and often bundled in the back of the electrical box, but again, do not guess.
Step 3: Turn Off Power at the Breaker
Go to the electrical panel and turn off the breaker controlling the switch. If the panel labels are unclear, plug in a lamp or turn on the light, then switch breakers off until the light goes out. Once the breaker is off, leave a note or tape over the breaker so nobody flips it back on while you are working.
Step 4: Test That Power Is Off
Remove the wall plate and use a non-contact voltage tester around the switch terminals and wires. Test the voltage tester on a known live circuit first so you know the tester is working. Then test the switch box. If the tester indicates voltage, stop and recheck the breaker.
This step is not optional. It is the electrical equivalent of looking both ways before crossing the street, except the street is inside your wall and has no patience for confidence.
Step 5: Remove the Existing Wall Plate and Switch
Unscrew the wall plate and set it aside. Remove the mounting screws holding the old switch to the electrical box. Gently pull the switch forward without yanking the wires. If the wires are short, move slowly and avoid stressing them.
Look at the box. If it is packed tightly, the new dimmer may be harder to fit because dimmers are often bulkier than standard switches. If the box is too crowded, damaged, or not properly secured, call an electrician.
Step 6: Take a Photo of the Existing Wiring
Before disconnecting anything, take clear photos from multiple angles. Capture which wire connects to which screw or terminal. If this is a 3-way switch, mark the common wire with a piece of tape before removing it. The common wire is usually attached to the darker screw, not the green ground screw.
This photo can save you from the classic DIY moment where three wires stare back at you and you suddenly forget every decision you have ever made.
Step 7: Identify the Ground Wire
The ground wire is usually bare copper or green. It may connect to the green screw on the existing switch or to the metal box. Your new dimmer should be grounded according to the manufacturer’s instructions. Connect the dimmer’s green wire or green terminal to the grounding conductor.
If there is no grounding means in the box, do not invent one by connecting ground to neutral. That is unsafe and against good wiring practice. Use the manufacturer’s instructions and local code requirements, or contact a licensed electrician.
Step 8: Identify Line, Load, and Neutral Where Required
In a basic single-pole switch, one wire brings power in from the panel. This is the line or hot wire. The other wire carries power from the switch to the light fixture. This is the load wire. Many simple dimmers use two main leads plus ground, while smart dimmers often require a neutral connection.
The neutral wire, when present in the switch box, is commonly white and may be bundled with other white wires under a connector. However, a white wire is not always neutral in every older switch loop. If the dimmer requires a neutral and you cannot confidently identify one, stop and hire an electrician.
Step 9: Disconnect the Old Switch
Loosen the terminal screws or release backstabbed wires according to the switch design. Many electricians prefer screw terminals or properly made pigtail connections over backstab connections because they tend to be more secure. If wire ends are nicked, damaged, or too short, they may need to be trimmed and stripped correctly.
Keep the wires separated and labeled as needed. For a 3-way switch, do not mix up the common and traveler wires. The travelers are the two wires that run between the two 3-way switch locations.
Step 10: Connect the Dimmer Ground
Connect the dimmer’s ground wire or ground terminal first. Use an approved wire connector if joining wires, and make sure the connection is tight. If the box is metal and grounded, it may also need a grounding pigtail connected to the box.
Grounding helps provide a safe path for fault current. It is not decoration, and it is not there because the switch wanted a little copper accessory.
Step 11: Connect the Line and Load Wires
For many single-pole dimmers, connect the two switch wires to the dimmer’s line and load leads or terminals according to the wiring diagram. Some basic dimmers may not care which of the two non-ground wires goes to which lead, while many electronic and smart dimmers absolutely do care. Follow the instructions for your exact model.
If your dimmer has black and red leads, black commonly connects to line and red commonly connects to load, but manufacturer instructions always win. Cap any unused lead exactly as directed. Never leave bare copper exposed outside a connector.
Step 12: Connect 3-Way Travelers If Applicable
For a 3-way dimmer, connect the common wire to the dimmer terminal or lead identified as common, line, or load depending on the manufacturer’s diagram. Connect the traveler wires to the traveler terminals or leads. Some dimmers require installation on the line side or load side of the circuit. Others use companion switches or remotes.
This is where many DIY installations go sideways. If the light works only from one switch, turns on only in certain positions, or behaves like it has developed a personality, the travelers or common wire may be incorrect. Turn power off before making any corrections.
Step 13: Tuck the Wires and Mount the Dimmer
Carefully fold the wires back into the box. Do not crush connectors, pinch insulation, or force the dimmer into place. If the dimmer does not fit, do not solve the problem with brute force and optimism. The box may be too small or overcrowded.
Once the dimmer sits properly, attach it to the electrical box with mounting screws. Make sure it is straight before tightening everything. Install the wall plate, but do not overtighten it, especially if it is plastic.
Step 14: Restore Power and Test the Dimmer
Turn the breaker back on and test the dimmer. Try the full brightness range. If it is an LED dimmer with a low-end adjustment, set the minimum brightness so the bulbs remain stable without flickering or dropping out. Test the switch several times.
If the lights flicker, buzz, fail to turn off, feel warm at the switch, or trip the breaker, turn the power off and troubleshoot. Check bulb compatibility, wattage, loose connections, line/load placement, and the manufacturer’s instructions. If the issue continues, call a licensed electrician.
Common Mistakes to Avoid When Installing a Dimmer Switch
Using non-dimmable LED bulbs
Non-dimmable LEDs are one of the biggest causes of flickering and poor dimmer performance. Use bulbs clearly labeled “dimmable,” and choose a dimmer listed as compatible with LED loads.
Ignoring the wattage rating
A dimmer controls a specific maximum load. If you exceed that rating, the dimmer may overheat or fail. This is especially important when one switch controls several recessed lights or a chandelier with many bulbs.
Mixing up 3-way wires
In a 3-way setup, the common wire matters. Label it before disconnecting the old switch. Traveler wires are not the same as the common wire, even when they look similar.
Forgetting the neutral requirement
Many smart dimmers need a neutral wire. Older homes may not have neutrals in every switch box. Do not connect a neutral-required dimmer to ground as a workaround. That is unsafe.
Working without testing power
Turning off the wall switch is not enough. Turning off what you think is the correct breaker is not enough. Test the wires before touching them.
When You Should Call an Electrician
Call a licensed electrician if you find aluminum wiring, burned or brittle insulation, no grounding path, crowded boxes, old cloth wiring, water damage, repeated breaker trips, buzzing switches, hot wall plates, or wiring that does not match the dimmer instructions. Also call a pro if local rules require a permit or inspection for the work.
A good electrician is not just someone you call after something goes wrong. Sometimes the smartest DIY move is knowing when the project has crossed from “weekend upgrade” into “this wall contains secrets.”
Troubleshooting After Installing a Dimmer Switch
The lights flicker
Check that the bulbs are dimmable and compatible with the dimmer. Adjust the low-end trim if the dimmer includes one. If flickering continues, try bulbs from the dimmer manufacturer’s compatibility list.
The dimmer buzzes
A faint sound can happen with some dimmers and bulbs, but loud buzzing may indicate incompatibility, overload, or a wiring issue. Turn off power and inspect the installation.
The switch feels hot
Dimmers may feel slightly warm during operation, but they should not feel hot. Excessive heat can mean overload, poor ventilation, incorrect installation, or a defective device. Turn it off and investigate.
The breaker trips
A tripping breaker can indicate a short circuit, incorrect wiring, overload, or a damaged dimmer. Do not keep resetting the breaker. Turn power off and get professional help if the cause is not obvious.
Extra Experience: Real-World Lessons From Wiring a Dimmer Switch
The first practical lesson about wiring a dimmer switch is that the wall box is usually smaller than your patience. Standard toggle switches are slim and forgiving. Dimmers, especially smart dimmers, can be thicker, deeper, and less willing to share space with stiff wires and bulky connectors. Before you buy the fanciest model on the shelf, look at your existing box. If it is already packed like a suitcase the night before vacation, choose a compact dimmer or ask an electrician about installing a larger box.
The second lesson is that photos are your best friend. Take more than one. Take a close-up. Take a wider shot. Take one before you move a single wire. You may feel silly photographing a switch, but you will feel brilliant if you need to confirm where the common wire was attached on a 3-way circuit. A 10-second photo can prevent 30 minutes of “why does the hallway light only work when the upstairs switch is doing interpretive dance?”
Another experience worth sharing: LED dimming is not always perfect on the first try. Even when the package says “LED compatible,” certain bulb-and-dimmer combinations behave better than others. If your lights flicker at the lowest setting, do not panic immediately. Many dimmers include a low-end trim adjustment. Raise the minimum brightness slightly until the bulbs stay stable. The light may not dim all the way to candlelight, but it will be far more pleasant than a strobe effect in your dining room.
For older homes, expect surprises. A white wire may not be a neutral. A box may not contain a ground. A switch may have been wired decades ago by someone whose philosophy was “close enough.” This does not mean your house is doomed; it means you should slow down. If the wiring does not match the diagram, do not force the installation to match your hopes. Stop, label everything, and call a licensed electrician.
One of the best upgrades is choosing the right dimmer style for the room. A simple slide dimmer works beautifully in a dining room or bedroom. A paddle dimmer feels modern and easy to use. A smart dimmer is great for schedules, scenes, and voice control, especially in living rooms or outdoor lighting zones. But smart dimmers are not automatically better for every situation. If your switch box lacks a neutral wire, your Wi-Fi is unreliable, or you just want fewer apps in your life, a standard LED dimmer may be the calmer choice.
Finally, do not underestimate the mood change. A dimmer switch makes a room more flexible. Bright light helps with cleaning, reading, cooking, and finding that one dropped screw that somehow teleported under the sofa. Lower light helps with dinner, relaxing, movie nights, and pretending your home is more organized than it currently is. When installed safely and matched with the right bulbs, a dimmer switch is a small project with a surprisingly big payoff.
Conclusion
Learning how to wire a dimmer switch can be a satisfying DIY upgrade when the existing wiring is straightforward, the dimmer is compatible, and safety steps are followed carefully. The most important parts are choosing the right dimmer, turning off and testing power, documenting the old wiring, making secure connections, and testing the final result. A dimmer switch is not just about softer lighting; it is about making a room more useful, comfortable, and energy-conscious.
Still, electricity deserves respect. If you run into damaged wiring, aluminum conductors, missing grounds, confusing 3-way wiring, or anything outside the manufacturer’s instructions, call a licensed electrician. A beautiful glow is great. A safe beautiful glow is much better.













