
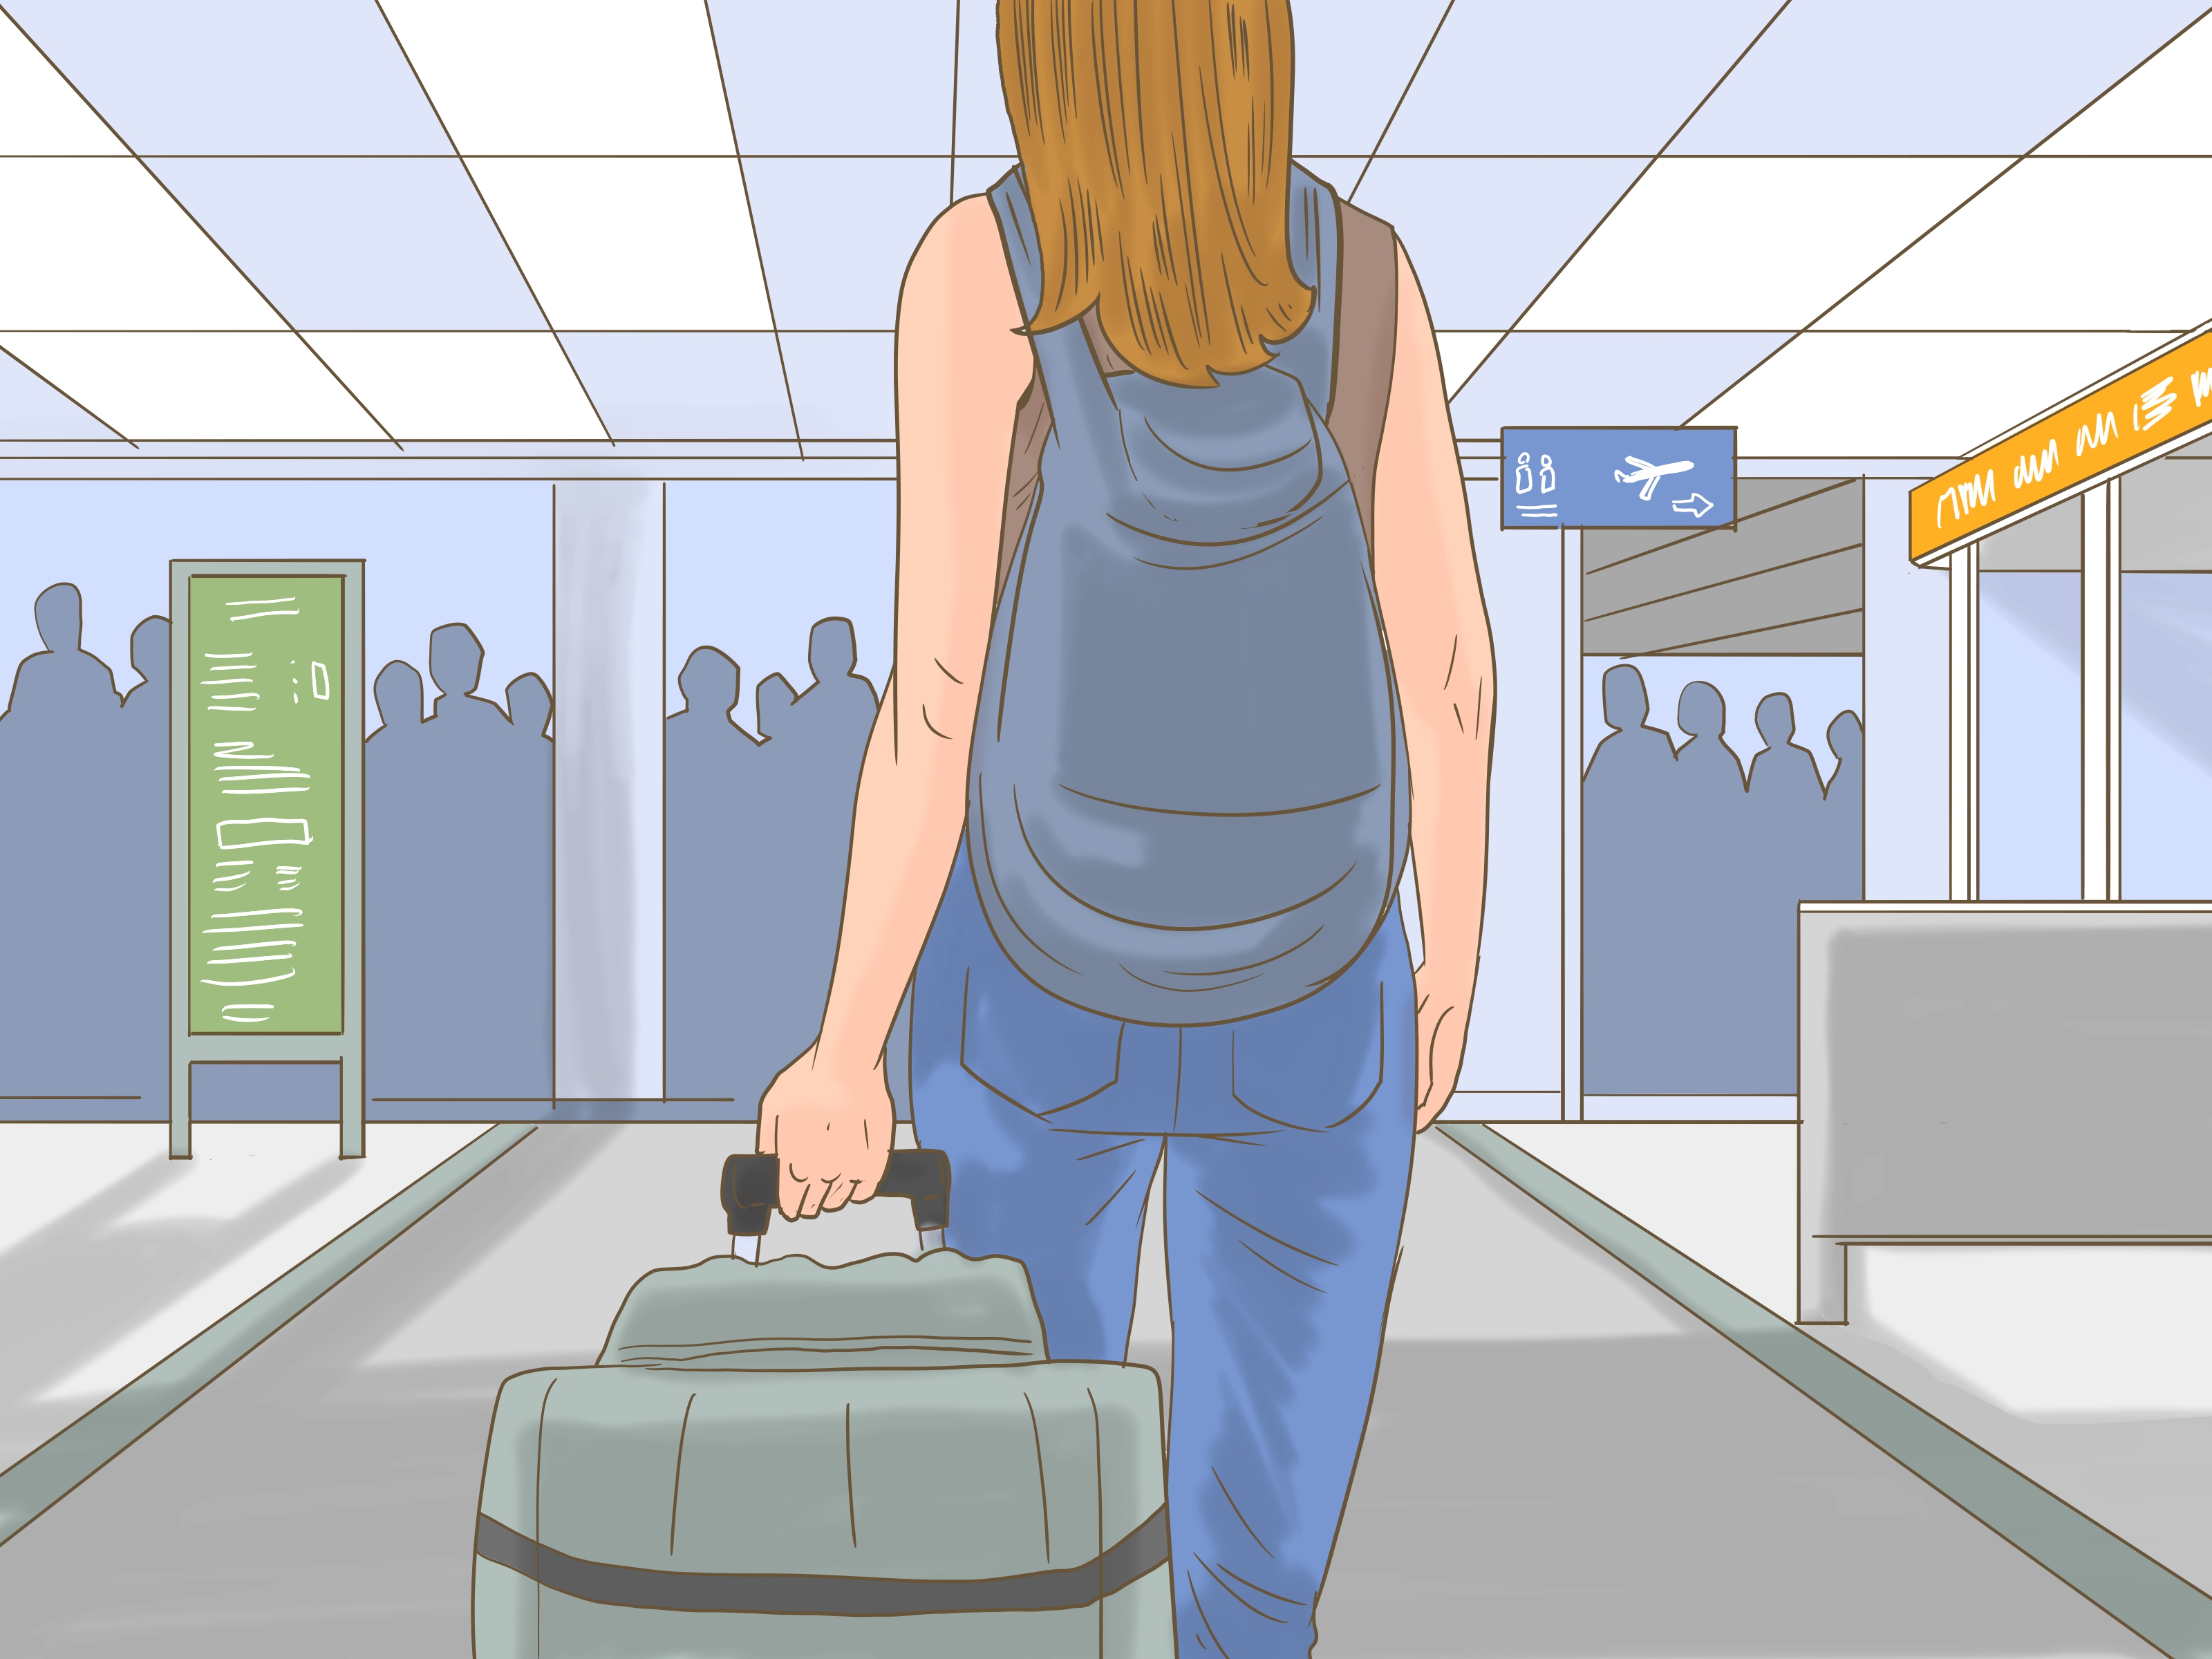
Going through U.S. Customs can feel like the final boss level of international travel: you are tired, your neck pillow has betrayed you, and someone in your row definitely opened tuna mid-flight. The good news? The process is usually straightforward when you know what to expect. Whether you are a U.S. citizen returning from vacation, a green card holder coming home, or an international visitor arriving for business, school, tourism, or family, the same golden rule applies: be prepared, be honest, and do not try to sneak in a mango.
U.S. Customs and Border Protection, often called CBP, handles the inspection process when travelers arrive in the United States. Officers verify your identity, review your travel documents, ask about your trip, and determine whether anything you are bringing must be declared, inspected, taxed, restricted, or refused entry. This guide explains how to go through U.S. customs in 14 clear steps, with practical tips for documents, baggage, food, money, medications, pets, connecting flights, and those slightly nerve-wracking officer questions.
How U.S. Customs Works
When people say “customs,” they often mean the whole arrival process. In reality, U.S. arrival usually includes immigration inspection, baggage claim, and customs inspection. At immigration, CBP checks whether you may enter the country and under what status. At customs, CBP reviews what you are bringing with you. At many airports, these steps blend together, especially when electronic kiosks, biometric systems, Mobile Passport Control, or Global Entry are used.
The main keyword to remember is “declare.” Declaring means telling CBP about items you acquired abroad, food, plants, animal products, large amounts of money, commercial goods, and anything else that may be restricted. Declaring something does not automatically mean you are in trouble. In fact, declaring is the easiest way to avoid trouble. Customs officers would much rather hear, “I have cheese and souvenirs,” than discover a suitcase full of mystery snacks labeled “Grandma’s Secret.”
How to Go Through U.S. Customs: 14 Steps
Step 1: Check Your Travel Documents Before You Fly
Before you even pack, make sure your documents match your status. U.S. citizens should travel with a valid U.S. passport. Lawful permanent residents generally need a valid green card, and foreign visitors need the correct visa, ESTA authorization, or other entry document. If you are a dual citizen of the United States, enter the U.S. with your U.S. passport, not your foreign passport.
Visitors should also understand their visa category, permitted length of stay, and purpose of travel. A tourist visa is not a “maybe I will work a little” visa. A student visa is not a “surprise, I am moving forever” visa. Officers may ask about your plans, lodging, return ticket, school, employer, or family visit. Keep supporting documents easy to access, especially if this is your first trip to the United States.
Step 2: Know What You Must Declare
You must declare items you bought, received, inherited, repaired, or brought back from another country. This includes gifts, souvenirs, clothing, electronics, jewelry, alcohol, tobacco, food, plants, seeds, animal products, and items for business use. If you are carrying more than $10,000 in currency or monetary instruments, you must report it. This limit applies to the total amount, not just cash in your wallet.
Common examples include a luxury watch bought in Paris, a laptop purchased in Tokyo, wedding gifts from Mexico, or food from a relative overseas. If you are unsure, declare it. The customs booth is not a courtroom drama; it is a checkpoint. Honesty keeps the line moving and keeps your travel record clean.
Step 3: Pack Like a Customs Officer Might Look Inside
Smart packing makes customs easier. Keep receipts together in a small envelope or phone folder. Leave food in original packaging when possible. Put medications in original labeled containers. Keep passports, visas, green cards, pet documents, prescriptions, and declarations in your carry-on, not buried under socks in checked luggage.
Also, think before packing agricultural items. Fresh fruits, vegetables, meats, seeds, soil, and many plant or animal products are restricted or prohibited because they can carry pests and diseases. That innocent-looking apple from the airplane can become a customs headache. Eat it before arrival or leave it behind when instructed.
Step 4: Understand Personal Exemptions and Duty
Depending on your status and trip, you may have a personal exemption that allows you to bring in a certain value of goods without paying duty. However, exemptions have limits and do not override restrictions on alcohol, tobacco, food, plants, or commercial merchandise. If your purchases exceed the allowance, CBP may assess duty.
For example, if you bought designer clothes and electronics overseas, you should list them accurately. If you are traveling as a family, rules may allow a joint declaration in some situations, but everyone should still be honest about what belongs to whom. Do not “spread” one person’s expensive purchase across relatives like customs math is a pizza.
Step 5: Prepare for the Declaration Form or Digital Declaration
Some travelers complete CBP Declaration Form 6059B, while others use digital systems such as Mobile Passport Control, Global Entry, or airport kiosks. The form asks for basic traveler information and whether you are bringing certain goods, food, currency, or commercial items.
Read each question carefully. A rushed “no” can become awkward when your bag contains five jars of homemade sauce, two seed packets, and a sausage that did not consent to international law. If the question applies, answer yes and explain at inspection.
Step 6: Use Mobile Passport Control If You Are Eligible
Mobile Passport Control, or MPC, is a free CBP app that lets eligible travelers submit passport and declaration information before arriving or once they land. It can reduce time in line at participating airports and seaports. U.S. citizens, U.S. lawful permanent residents, certain Canadian visitors, and some returning Visa Waiver Program travelers may be eligible.
MPC is not the same as Global Entry. It does not require a paid membership or interview, but it is only available at participating locations and for eligible travelers. If you travel internationally once or twice a year, MPC may be the easiest “why didn’t I do this earlier?” upgrade.
Step 7: Use Global Entry If You Are a Member
Global Entry is a trusted traveler program that provides expedited entry for pre-approved, low-risk travelers. Members use dedicated processing technology at many U.S. airports and often move through the arrival process faster than the general line. Some locations also support the Global Entry mobile application.
Still, Global Entry is not a magic invisibility cloak. Members must follow the same customs rules, declare required items, and obey officer instructions. If you bring restricted food and fail to declare it, your trusted traveler status may become less trusted very quickly.
Step 8: Follow the Signs After Landing
After you leave the aircraft, follow signs for “Arrivals,” “Passport Control,” “Immigration,” or “U.S. Customs.” Do not follow connecting flight signs until you have completed the required arrival process. At most U.S. airports, international passengers must clear CBP at the first U.S. airport where they land, even if they have a domestic connection afterward.
For example, if you fly from Seoul to Dallas to Denver, you usually clear U.S. Customs in Dallas. You may need to collect checked bags, pass customs, recheck bags, and then go through TSA security again before your domestic flight. Build enough connection time so your itinerary does not turn into an airport-themed cardio workout.
Step 9: Choose the Correct Line
Airports may separate travelers into lanes for U.S. citizens and permanent residents, visitors, diplomats, Global Entry, Mobile Passport Control, crew, or families. Choose the lane that matches your status and program. If you are unsure, ask airport staff before standing in the wrong line for 35 minutes and slowly becoming part of the carpet.
Families generally approach together unless directed otherwise. Have documents open to the photo page and remove hats or sunglasses if needed. Officers need to confirm your identity, and “sleepy sunglasses chic” is not an official travel category.
Step 10: Answer CBP Questions Clearly
At the inspection booth, the officer may ask where you traveled, why you are entering the United States, how long you will stay, where you will live or visit, what you do for work, and what you are bringing back. Answer truthfully and briefly. There is no need to tell the full emotional history of your vacation unless asked.
Good answers are specific: “I visited Italy for two weeks for tourism,” “I am returning to school in Boston,” or “I am here for a business conference for five days.” Avoid jokes about bombs, smuggling, overstaying, or anything that would make a security professional stop smiling. Airport humor has a very small stage and a very tough audience.
Step 11: Scan Fingerprints or Take a Photo If Required
Foreign visitors may be photographed and fingerprinted as part of the entry process. Some airports also use facial comparison technology for travelers. This is normal. Follow the officer’s instructions, look at the camera, and keep moving when cleared.
If you are nervous, remember that thousands of travelers do this daily. The process usually takes only a short time. The more organized you are, the smoother it feels.
Step 12: Collect Your Checked Baggage
After passport control, go to baggage claim if you checked luggage. Confirm the bag is yours before leaving the carousel. Many black suitcases look identical, especially after a long-haul flight when everyone’s brain is running on pretzels and recycled cabin air.
If your bag is missing, report it to the airline before leaving the baggage area. If your bag is delayed and delivered later, it may still be subject to customs requirements. Keep your baggage claim tag until your trip is fully sorted.
Step 13: Pass Customs Inspection
Once you have your bags, proceed to customs. You may hand over a declaration, show a digital receipt, answer additional questions, or be directed to an inspection area. Some travelers are waved through quickly; others are selected for secondary inspection. Selection does not automatically mean you did something wrong.
In secondary inspection, officers may examine your bags, ask more detailed questions, review documents, or inspect items. Stay calm and cooperative. If an item is prohibited, it may be seized or destroyed. If duty is owed, you may be asked to pay it. If you declared honestly, the conversation is usually much easier.
Step 14: Exit, Recheck Bags, or Continue Your Trip
After customs, follow signs for ground transportation, arrivals, or connecting flights. If you have a domestic connection, you may need to recheck luggage at a transfer belt and pass through TSA security again. Keep your passport and boarding pass handy until you reach your next gate.
If you are a foreign visitor, check your electronic I-94 record after arrival to confirm your admission class and “admit until” date. This date matters. It controls how long you may remain in the United States, even if your visa stamp is valid longer. Think of the visa as the key to request entry and the I-94 as the timer that starts once you are admitted.
Special Items That Deserve Extra Attention
Food, Plants, Seeds, and Animal Products
Always declare food and agricultural products. Many travelers get into trouble not because they brought something obviously dangerous, but because they assumed packaged snacks, fruit, tea, spices, dried goods, or homemade foods “do not count.” They often do count. Fresh fruits and vegetables are commonly restricted, and meats or animal products can be especially sensitive.
Declaring does not always mean losing the item. Some packaged foods may be allowed after inspection. But if an officer finds undeclared agricultural products, penalties can apply. The simplest script is: “I have packaged snacks and tea,” or “I have food gifts from family.” Let the officer decide.
Medication and Medical Devices
Bring prescription medications in original containers when possible, with the prescription label visible. Carry a copy of the prescription or a doctor’s note, especially for controlled substances, injectable medications, or medical devices. A general rule of thumb is to travel with personal-use quantities, often no more than a 90-day supply.
Do not assume that a medication legal abroad is legal in the United States. Rules differ, and some medicines available over the counter in one country may be restricted in another. When in doubt, check before travel and keep documentation close.
Pets and Service Animals
If you bring a pet, check requirements well before travel. Dogs entering the United States must meet CDC requirements, and documentation can depend on the countries the dog visited in the previous six months. Airlines and individual states may also require health certificates or additional paperwork.
Do not leave pet paperwork until the night before flying. Pets are wonderful. Customs surprises involving pets are not.
Cash and Monetary Instruments
You may bring more than $10,000 into the United States, but you must report it. This includes currency and certain monetary instruments, and the total applies to people traveling together in some circumstances. Reporting money is not the same as paying a tax on it. The problem is failing to report it when required.
Common Mistakes to Avoid
The biggest mistake is guessing. Travelers guess that food is fine, gifts do not count, receipts are unnecessary, or “personal use” means unlimited. Another common mistake is packing documents in checked luggage. If you need a visa, prescription, pet form, or invitation letter at inspection, it should be in your hand luggage.
Do not argue with officers about internet rumors, social media tips, or what happened to your cousin in 2018. Rules change, airports vary, and officers make decisions based on current law and the facts in front of them. Be polite, answer directly, and ask for clarification if you do not understand a question.
Real-World Experiences: What Going Through U.S. Customs Actually Feels Like
The first thing many travelers notice is that U.S. customs is less dramatic than they expected. There are signs, lines, officers, screens, baggage belts, and the occasional traveler trying to balance three duty-free bags and a toddler with the determination of an Olympic athlete. Most of the time, the process is routine. The stress comes from not knowing what comes next.
A common experience goes like this: your plane lands, everyone stands up immediately even though the doors are not open, and you walk through a long corridor to passport control. If several international flights arrived at the same time, the line can look intimidating. This is where preparation pays off. Travelers with documents ready move faster. Travelers who wait until the booth to search for passports, boarding passes, and hotel addresses tend to create tiny traffic jams with luggage wheels.
Another real-world lesson is that officers appreciate simple answers. If the officer asks, “What was the purpose of your trip?” the best answer is usually one sentence: “Tourism,” “visiting family,” “business meetings,” or “returning home.” Nervous travelers sometimes over-explain and accidentally sound uncertain. You do not need to perform a TED Talk called “My Relationship With International Travel.” Just answer the question.
Food is where many travelers learn the hard way. A passenger may think, “It is only fruit from the airplane,” or “It is just homemade sausage from my aunt.” But agriculture rules are strict for a reason. Pests and diseases can damage crops and livestock. One experienced traveler’s rule is simple: if it grew, mooed, clucked, oinked, sprouted, was cooked by a relative, or looks like it belongs in a farm documentary, declare it.
Connecting flights are another source of surprise. Many first-time visitors assume their checked bag will automatically go to the final U.S. destination. Often, after the first U.S. arrival, you must collect the bag, clear customs, place it on a recheck belt, and go through security again. This is normal, but it can feel chaotic if your connection is tight. A relaxed connection is not wasted time; it is insurance against long lines, delayed baggage, and the mysterious airport law that your next gate is always far away.
Secondary inspection also sounds scarier than it usually is. Travelers may be sent there because of random selection, unclear documents, food items, unusual travel patterns, or simple administrative checks. The best approach is calm cooperation. Do not panic, do not make jokes, and do not start deleting things from your phone in plain view like you are auditioning for a spy movie. Answer questions truthfully and wait for instructions.
Finally, experienced travelers know that customs success begins before the airport. They save receipts, pack neatly, keep food separate, download useful apps, check pet and medication rules, and leave themselves enough time. Going through U.S. Customs is not about being perfect. It is about being transparent, organized, and patient. If your documents are ready, your declaration is honest, and your snacks are not internationally suspicious, you are already doing better than half the line.
Conclusion
Learning how to go through U.S. Customs is mostly about preparation. Bring the right documents, declare what needs to be declared, keep receipts and medications organized, respect food and agriculture rules, and answer CBP questions clearly. Use Mobile Passport Control or Global Entry if eligible, allow extra time for connections, and remember that honesty is always faster than explaining why you forgot about the cheese.
U.S. Customs is not designed to ruin your trip. It is designed to protect the country, enforce import rules, and confirm that travelers enter properly. Treat the process seriously, stay polite, and keep your paperwork within reach. Do that, and your arrival in the United States can be less “airport obstacle course” and more “welcome, please proceed.”
Note: This article provides general travel guidance based on current U.S. government information. Rules can change, and CBP officers make final decisions at the port of entry.












