
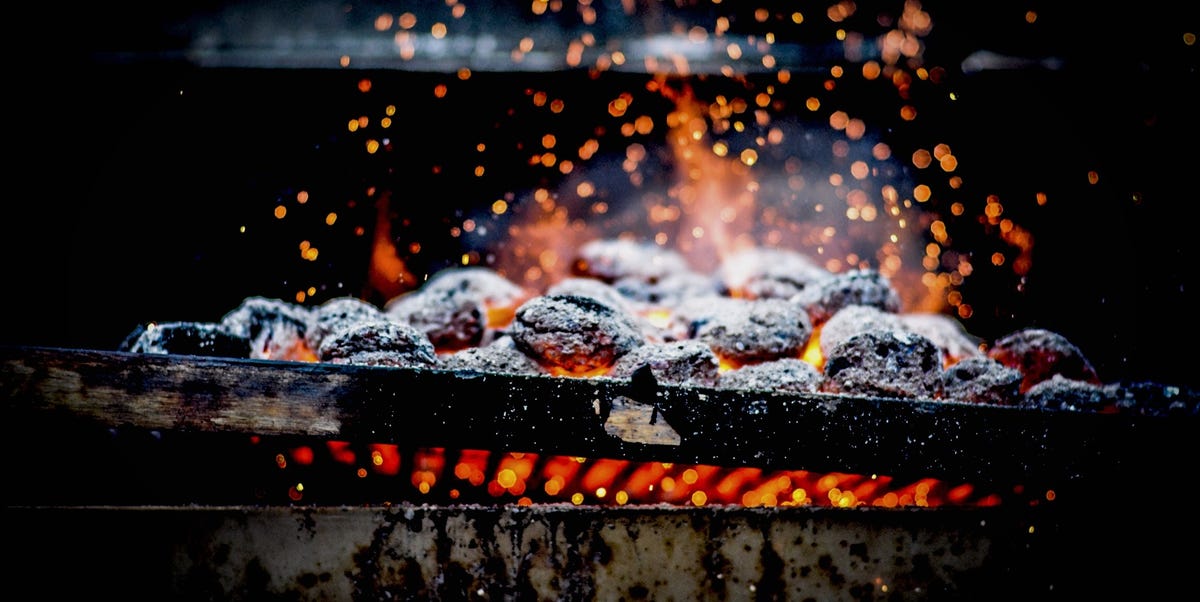
Charcoal grilling is part cooking method, part backyard theater. You’re not just making dinneryou’re conducting a tiny, delicious volcano that (ideally) ends in perfectly seared burgers instead of a smoky apology. The good news: you don’t need a beard, a leather apron, or a secret family rub passed down by a pitmaster uncle named “Big Mike.” You need a few fundamentals: clean airflow, smart coal placement, and the patience to let fire do its job.
This guide walks you through charcoal grill basicslighting, temperature control, direct vs. indirect heat, and the little pro habits that turn “pretty good” into “please make that again.” If you’re under 18, grill with a responsible adult nearby. Fire is fun. Fire is also not impressed by confidence.
Charcoal Grill 101: What You’re Actually Controlling
A charcoal grill is basically a heat engine with two controls:
- Fuel (how much charcoal you light, how it’s arranged)
- Oxygen (how much air you let in and out with the vents)
More oxygen = hotter fire. Less oxygen = cooler fire (or no fire, if you choke it). That’s the whole magic trick. Once you understand this, you stop “winging it” and start steering the cook.
Gear That Makes You Look Like You Know What You’re Doing
Must-haves
- Charcoal chimney starter (the cleanest, easiest way to light coals)
- Long tongs (your “hands,” but smarter)
- Instant-read thermometer (because guessing doneness is a hobby, not a plan)
- Heat-resistant gloves (you’ll use them more than you think)
Nice-to-haves
- Fire starters (paraffin cubes or tumbleweedssimple and reliable)
- Charcoal baskets (helps keep zones neat)
- Drip pan (for indirect cooks and easier cleanup)
Charcoal choices: briquettes vs. lump
Briquettes tend to burn more evenly and predictablygreat for beginners and longer cooks. Lump charcoal can burn hotter and faster and varies in size (which can mean uneven heat if you don’t manage it). Both can make incredible food; the “best” one is the one you can control.
How to Light Charcoal Like a Calm Professional
The chimney starter method (recommended)
- Remove the cooking grate so you can access the lower charcoal grate.
- Place fire starters (or loosely crumpled paper) on the charcoal grate.
- Fill the chimney with charcoal. Full chimney for high heat, half chimney for moderate cooks.
- Light the starters and let the chimney do its thing.
- Wait for the “ready” look: coals mostly ashed over with a visible glow. This often takes around 15–25 minutes depending on charcoal, weather, and airflow.
- Pour carefully onto the charcoal grate using heat gloves, then set the empty chimney on a nonflammable surface.
What not to do: Don’t use gasoline or random household liquids. If you use lighter fluid, follow the product directions and never add fluid to lit coals. Chimney starters are simpler, cleaner, and less “why does my food taste like regret?”
Coal Setups That Separate Rookies From Masters
If you only learn one thing, learn this: don’t spread coals evenly across the entire grill for everything. Set up zones so you can move food and control outcomes.
Direct heat (hot zone)
Coals under the food. Best for quick-cooking items: thin steaks, burgers, sausages, shrimp, sliced vegetables, toast-y buns.
Indirect heat (cool zone)
Coals to one side, food on the other side. Lid closed. Best for: bone-in chicken, thicker chops, roasts, ribs, anything that needs time without scorching.
The two-zone fire (your everyday MVP)
- Bank all lit coals on one side of the charcoal grate (hot side).
- Leave the other side empty (cool side). Optionally place a drip pan on the cool side for fatty cooks.
- Cook over the hot side to sear, then slide food to the cool side to finish gently.
Example: For chicken thighs, start skin-side down over direct heat to crisp, then move to indirect with the lid closed until they hit a safe internal temperature. You get crackly skin and juicy meat without turning dinner into charcoal confetti.
Temperature Control: Vents, Lid, and the Art of Not Panicking
Vent basics
Most charcoal grills have bottom vents (intake) and a top vent (exhaust). Together, they create airflow. A reliable rule of thumb: keep the top vent mostly open and use the bottom vents to fine-tune temperature. Closing vents too much can smother the fire and create stale, sooty smoke.
Hotter vs. cooler (quick guide)
- High heat (searing): vents wide open, more lit coals
- Medium heat (most grilling): vents partially open
- Low heat (indirect roasting/baking): fewer lit coals, vents more restricted (but not fully closed)
The “top vent over the food” trick
With a two-zone setup, the side near the top vent can run hotter because of the convection path. For indirect cooking, position the lid so the top vent sits above the food on the cool side. This helps draw heat and smoke across the food before exitinglike a gentle convection oven with a smoky personality.
No thermometer? Use the hand test (carefully)
If you don’t have a grate thermometer, a classic rough estimate is the “hand hover” test: hold your hand about 5 inches above the grate and count how long you can keep it there (don’t touch the grate, obviously).
- 1–2 seconds: very high heat
- 2–3 seconds: high heat
- 4 seconds: medium heat
- 5 seconds: low heat
It’s not lab-grade science, but it helps you avoid launching delicate food into a blast furnace.
Preheat and Clean: The Unsexy Steps That Make Food Taste Better
Preheating isn’t optionalit’s how you get good searing and prevent sticking. Once the coals are arranged, put the cooking grate on, close the lid, and let the grill preheat for about 10 minutes.
Cleaning the grates (safely)
Brush grates while warm, then wipe with a lightly oiled paper towel held with tongs to reduce sticking. If you use a wire brush, inspect it and your gratesloose bristles can be a real hazard. Many grillers switch to bristle-free tools, wooden scrapers, or grill-safe pads for peace of mind.
Direct vs. Indirect Cooking: When to Use Which
Use direct heat when:
- Food is thin or cooks fast (under ~20 minutes)
- You want deep browning and grill marks
- You’re finishing a cook with a quick crisp
Use indirect heat when:
- Food is thick or bone-in
- You need time to reach safe internal temps without burning the outside
- You’re cooking “roast-style” (lid closed, steady heat)
Master move: Sear-then-slide. Sear steaks or chops over direct heat, then move to indirect heat to finish to your target doneness without scorching.
Grill Master Timing: Flip Less, Lid More
A common beginner mistake is treating the grill like a stovetop pan: constant flipping, poking, pressing, and “checking.” On a charcoal grill, the lid is part of the cooking system. Closed lid = convection heat = more even cooking, especially on the indirect side.
Practical examples
- Burgers: Direct heat, lid open or cracked, flip once or twice, then check temperature.
- Chicken pieces: Sear briefly direct, then finish indirect with lid closed.
- Thick steaks: Hard sear direct, then indirect to finish (or reverse sear: indirect first, sear last).
- Vegetables: Direct heat for char, then slide to indirect if they need softening.
Food Safety and Doneness: The Thermometer Is Your Best Friend
Charcoal grilling is about flavor, but safe internal temperatures are about not ruining your weekend. Use a thermometer in the thickest part of the food (avoiding bone).
Common safe minimum internal temperatures (quick list)
- Poultry (chicken/turkey): 165°F
- Ground meats (like burgers): 160°F
- Steaks, chops, roasts (beef/pork/lamb): 145°F + rest time
- Fish: 145°F (or flakes easily)
Pro tip: Pull meat a few degrees early if you plan to rest it; carryover heat can finish the job. Resting also helps juices redistribute, which is a fancy way of saying “less juice ends up on the plate instead of in your mouth.”
Flare-Ups: How to Win Without Becoming a Firefighter
Flare-ups happen when fat drips onto coals and ignites. The goal isn’t “never flare,” it’s “manage flare like you meant to.”
- Use a two-zone fire: move food to the cool side when flames spike.
- Close the lid briefly: cutting oxygen can calm flames fast.
- Avoid constant lid-open chaos: open lid feeds oxygen and can keep flames going.
Translation: don’t fight fire with bravado. Fight it with airflow control.
Smoke Flavor Without Over-Smoking Your Dinner
Charcoal already adds smoky character. If you want more, add a small chunk of hardwood (like oak, hickory, or fruitwood) directly onto hot coals. Start small. Too much smoke can taste bitter or harshlike your grill got into a philosophical debate and became pessimistic.
Best times to add wood
- During indirect cooks (chicken, ribs, roasts)
- Early in the cook, when food absorbs smoke more readily
Troubleshooting: Fix the Fire, Fix the Food
Problem: Grill won’t get hot enough
- Open vents more (especially bottom vent)
- Knock ash down/clear airflow (ash can block intake)
- Add more lit charcoal (don’t dump raw charcoal and hope)
Problem: Grill is too hot and food is burning
- Close bottom vent slightly to reduce oxygen
- Move food to indirect side
- Use the lid to even out heat instead of blasting one spot
Problem: Food tastes bitter or looks sooty
- Don’t cook over thick white smokewait for cleaner, steadier heat
- Make sure there’s enough airflow (smoke should flow, not stagnate)
- Keep the grill cleaner; greasy buildup can contribute off flavors
Cleanup and Ash Disposal: The Final Boss
Charcoal stays hot longer than your confidence expects. Let coals and ash cool completely before handling. Many safety guides recommend using a metal container with a tight-fitting lid for ash, storing it outside and away from anything combustible. Never dump warm ash into a plastic bin or paper bag.
Quick cleanup routine
- Close the lid and vents to help extinguish coals.
- Once fully cool, remove ash into a lidded metal container.
- Brush grates and wipe down key surfaces.
- Keep your grill a safe distance from structures and railings when in use.
How to Become a Charcoal Grill Master (Without Turning It Into Homework)
Mastery isn’t secret seasoningit’s repeatable control. Try this progression over a few weekends:
- Week 1: Learn the chimney and two-zone setup. Grill burgers + veggies.
- Week 2: Practice vent control. Cook chicken pieces: sear then indirect to finish.
- Week 3: Do a thicker cut (pork chops or steaks). Use thermometer targets and resting.
- Week 4: Add smoke with one wood chunk on an indirect cook.
Keep notes: charcoal amount, vent settings, outside temperature, and what you’d change next time. That small “grill log” is how backyard cooks quietly become the person everyone asks to cook the main course.
Wrap-Up: Your New Charcoal Confidence
Charcoal grilling gets easier the moment you stop trying to control everything and start controlling the right things: coal placement and airflow. Light with a chimney, cook with zones, keep the lid working for you, and let a thermometer settle debates. Do that, and you’ll graduate from “grilling” to “commanding the fire,” which is the unofficial definition of charcoal grill mastery.
Experience Notes: Real-World Lessons That Turn “Good” Into “Legendary” (Extra)
Ask any seasoned charcoal griller what changed their results, and you’ll rarely hear “I bought a fancier grill.” More often, it’s a handful of lived-in habitssmall adjustments that add up to food that’s reliably great. Here are the kinds of experience-based lessons backyard cooks tend to collect over time (usually right after learning them the hard way).
1) The fire is ready when it’s calm, not when it’s dramatic
Early charcoal heat can be chaotic: flames licking up, smoke billowing, everyone coughing politely while pretending it’s “part of the vibe.” Experienced grillers learn to wait for the coals to settle into an even glow with a light ash coating. The difference is huge: steadier heat, cleaner flavor, and fewer “why is the outside done but the inside raw?” moments. Patience here feels boring, but it tastes amazing.
2) Two-zone cooking is basically a safety net you can eat
Once you’ve cooked with a hot side and a cool side, it’s hard to go back. Fatty foods can flarefine. Slide them over. Thick cuts can brown too fastfine. Finish indirect. A two-zone setup turns emergencies into minor plot twists. It’s also the secret behind cooking for a group: you can sear multiple batches on the hot side, then park finished food on the cool side to stay warm without overcooking.
3) Vents are your thermostat, and tiny moves matter
New grillers tend to swing vents like a light switch: wide open, then nearly closed, then open again, then panic. Experienced grillers make small vent changes and give the grill time to respond. Think “volume knob,” not “mute button.” If the grill runs hot, a slight adjustment and a few minutes can bring it back in linewithout killing the fire or flooding the cook with heavy smoke.
4) The lid isn’t a coverit’s an ingredient
On charcoal, the lid shapes airflow and heat. For indirect cooks, closing the lid transforms the grill into a convection cooker that finishes food evenly. People who get consistent results use the lid intentionally: open for quick searing and frequent turning, closed for roasting and controlled finishing. Even on direct heat, closing the lid briefly can tame flare-ups and stabilize temperature.
5) “Just one more minute” is the fastest way to overshoot perfection
Charcoal heat is powerful, and carryover cooking is real. Experienced cooks rely on internal temperature targets and resting time instead of visual guessing. They also learn the rhythm of thick foods: sear for color, then finish indirect until the thermometer says “done,” not the clock. That shiftfrom timing to temperaturetakes burgers from “okay” to “juicy every time.”
6) Weather changes everything, so adapt instead of blaming the grill
Wind can spike airflow and make a grill run hotter; cold air can steal heat; humidity can affect how charcoal lights. Grill masters don’t fight the weatherthey adjust: shelter the grill from strong wind (safely and outdoors), preheat a little longer in winter, and expect to tweak vents more on gusty days. The grill didn’t “forget how to grill.” The environment just changed the rules.
7) Cleanup is part of flavor
Built-up grease and old ash can sabotage airflow and create off flavors. People who grill a lot keep a simple routine: burn off residue, brush grates, and remove ash after it’s fully cool. They also choose cleaning tools carefullymany avoid worn wire brushes and opt for safer alternativesbecause great food shouldn’t come with extra hazards.
Put these lessons together and something cool happens: you stop hoping for a good cook and start expecting it. That’s the true “charcoal grill master” momentwhen the fire feels like a tool, not a gamble.











