
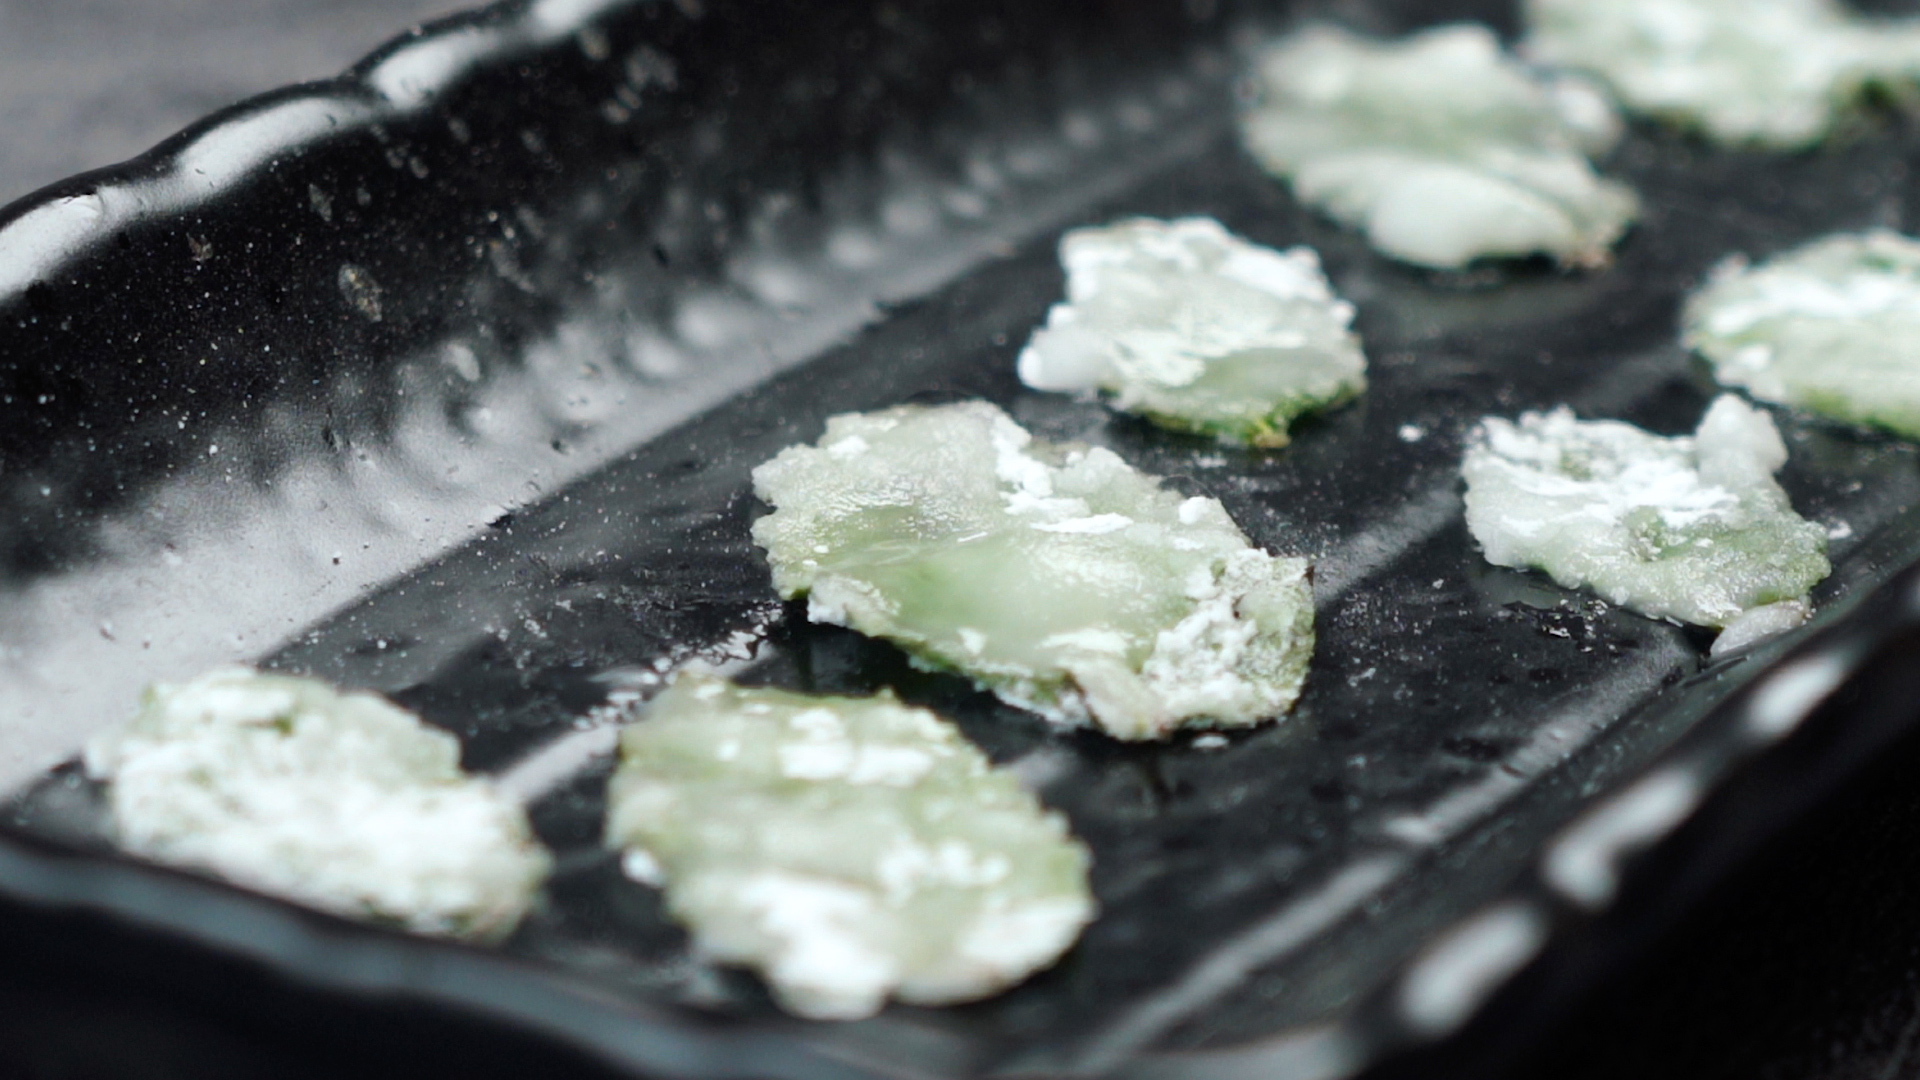
Candied mint leaves are what happens when fresh herbs decide to dress up for dessert. They are crisp, sparkling, sweet, naturally minty, and ridiculously charming on cakes, cupcakes, fruit bowls, puddings, ice cream, iced tea, lemonade, and any treat that could use a tiny edible tiara. The best part? You do not need a pastry degree, a marble countertop, or the calm personality of a baking-show finalist. You need fresh mint, sugar, a thin edible coating, and a little patience.
This guide explains how to make candied mint leaves in 15 clear steps, including ingredient choices, food-safety notes, drying tips, storage advice, troubleshooting, and creative ways to use them. The method is simple: coat clean, dry mint leaves with a very thin layer of egg white, pasteurized egg white, meringue powder mixture, or aquafaba, then dust them with sugar and let them dry until crisp. The result is a delicate garnish that looks fancy enough for a bakery window but is easy enough to make on a regular Tuesday, even if your Tuesday is already being dramatic.
What Are Candied Mint Leaves?
Candied mint leaves, also called sugared mint leaves or crystallized mint leaves, are fresh mint leaves coated with sugar and dried until the surface becomes crisp and sparkly. They are edible, decorative, and surprisingly flavorful. The sugar gives crunch and sweetness, while the mint brings a clean, cooling flavor that balances rich desserts beautifully.
Unlike hard candy, candied mint leaves are not boiled in syrup. They are more like a delicate sugar-crusted garnish. The leaf stays mostly intact, while the sugar coating transforms it into something that looks like it wandered through a snow globe and came out delicious.
Ingredients for Candied Mint Leaves
For about 24 candied mint leaves, gather the following:
- 24 fresh mint leaves, preferably medium-sized and unbruised
- 1 pasteurized egg white, or 1 tablespoon meringue powder mixed with 5 teaspoons water
- 1/4 to 1/2 cup superfine sugar or granulated sugar
- Optional: 1/4 teaspoon lemon juice to help keep the leaves looking fresh
- Optional vegan alternative: aquafaba, the liquid from canned chickpeas
Superfine sugar gives the most elegant sparkle because the crystals are smaller and cling evenly. If you only have regular granulated sugar, pulse it briefly in a food processor. Do not turn it into powdered sugar; you want tiny crystals, not sugar fog.
Tools You Will Need
- Small bowl for the egg white or meringue mixture
- Small bowl or shallow plate for sugar
- Soft food-safe brush or small clean pastry brush
- Parchment paper or wax paper
- Baking sheet
- Tweezers or clean fingertips for handling leaves
- Airtight container for storage
Food Safety Before You Start
Because traditional candied mint leaves are not baked after coating, the safest choice is pasteurized egg white or meringue powder. Regular raw egg whites can carry a small but real food-safety risk, especially for young children, older adults, pregnant people, and anyone with a weakened immune system. Pasteurized egg whites and meringue powder are widely used for no-cook decorating techniques because they lower that risk while still helping sugar stick to the leaves.
If you prefer to avoid egg entirely, use aquafaba. It works well, though the final leaves may dry a little softer and can have a slightly different texture. Use the thinnest possible coating either way. Mint leaves want a sugar jacket, not a winter parka.
How to Make Candied Mint Leaves: 15 Steps
Step 1: Choose the right mint leaves
Pick mint leaves that are fresh, bright, and free from bruises, tears, brown edges, or insect damage. Medium-sized leaves are easiest to handle and dry more evenly than very large leaves. Spearmint and peppermint both work, but you can also try chocolate mint, orange mint, or apple mint if you grow specialty varieties.
Step 2: Harvest or buy mint at the right time
If you are harvesting mint from your garden, cut stems with clean scissors rather than pulling leaves roughly from the plant. Morning harvests often have a strong aroma, but wait until dew has dried so the leaves are not wet. Store-bought mint works too; just avoid bunches that look slimy, limp, or tired from their long emotional journey through the produce aisle.
Step 3: Wash the mint gently
Rinse the mint leaves under cool running water to remove dust or garden residue. Do not blast them with water pressure. Mint is tender, and we are making garnish, not power-washing a driveway.
Step 4: Dry the leaves completely
Pat the leaves dry with a clean towel or paper towel, then let them air-dry for a few minutes. This step matters. If the leaves are wet, the coating slides around, the sugar clumps, and the finished leaves can turn soggy instead of crisp.
Step 5: Prepare your drying surface
Line a baking sheet with parchment paper. Parchment is usually better than a wire rack for beginners because sticky sugared leaves are less likely to cling to it. If you use a rack, choose one with a fine grid and be ready to move carefully.
Step 6: Make the coating
Whisk one pasteurized egg white until frothy, not stiff. You are not making meringue; you are making edible glue. If using meringue powder, mix 1 tablespoon meringue powder with 5 teaspoons water and let it hydrate for a few minutes before whisking lightly. For aquafaba, whisk until slightly foamy.
Step 7: Add lemon juice if desired
A tiny amount of lemon juice can help slow browning and brighten the flavor. Use only a little. Too much liquid can make the coating watery and harder to dry.
Step 8: Brush the first side
Hold a mint leaf by the stem end with tweezers or clean fingertips. Use a soft brush to apply a thin coat of the egg white mixture to one side. The keyword here is thin. If the leaf looks glossy but not puddled, you are doing it right.
Step 9: Brush the second side
Flip the leaf and coat the other side. Cover the edges and textured veins, but avoid globs. Heavy coating can dry cloudy, sticky, or uneven. Think “spa mist,” not “rainstorm.”
Step 10: Sprinkle with sugar
Hold the leaf over the sugar bowl and sprinkle sugar over both sides. You can also place the leaf into a shallow plate of sugar and gently spoon sugar over it. Do not press hard. Mint bruises easily, and crushed mint is great in tea but not so great when you want a picture-perfect garnish.
Step 11: Shake off excess sugar
Give the leaf a gentle tap so loose sugar falls away. The leaf should look evenly coated, sparkly, and defined. If it looks buried, brush off a bit of sugar before drying.
Step 12: Place leaves apart
Lay each sugared leaf on the parchment-lined baking sheet. Leave space between leaves so they do not stick together. Once they start drying, moving them becomes a tiny game of dessert surgery.
Step 13: Let them dry at room temperature
Allow the leaves to dry uncovered at room temperature for at least 6 hours, or overnight for the crispest texture. Some kitchens need a full 24 hours, especially if the air is humid. A dry, cool room is ideal. Avoid direct sunlight, which can fade the leaves and make them wilt.
Step 14: Check for crispness
The leaves are ready when the sugar feels dry and firm, and the leaf lifts cleanly from the parchment. If the underside still feels tacky, turn the leaf carefully and let it dry longer. Patience is the secret ingredient, which is annoying because patience is rarely available in convenient measuring cups.
Step 15: Store carefully
Use the candied mint leaves right away for the prettiest look and freshest flavor. If storing, place them in a single layer or between parchment layers in an airtight container at room temperature. Most batches are best within one to two days. Keep them away from moisture, refrigeration, and steamy kitchens.
Best Ways to Use Candied Mint Leaves
Candied mint leaves are small, but they do a lot of decorating work. Use them on chocolate cake, lemon bars, brownies, cheesecake, vanilla cupcakes, mousse, panna cotta, fruit salad, sorbet, ice cream, and holiday cookie trays. They are especially good with chocolate, lemon, lime, berries, melon, and cream-based desserts.
For drinks, place a candied mint leaf on top of iced tea, lemonade, hot cocoa, smoothies, or sparkling fruit punch just before serving. Do not add them too early, because moisture dissolves the sugar. They are divas. Give them their entrance at the last second.
Common Mistakes and Easy Fixes
The leaves turned soggy
This usually means the leaves were wet before coating, the egg white layer was too thick, or the room was humid. Next time, dry the leaves thoroughly and brush on a thinner coating.
The sugar looks clumpy
Use superfine sugar and sprinkle it lightly instead of dunking aggressively. If your sugar has absorbed moisture, replace it with a fresh, dry batch.
The leaves browned
Choose fresher mint, handle it gently, and dry the leaves away from heat and direct sun. A tiny touch of lemon juice in the coating may help, but the biggest trick is starting with perfect leaves.
The leaves stuck to the surface
Parchment paper is your friend. If a leaf sticks, slide a thin spatula underneath rather than pulling it upward. Pulling can snap the sugar shell.
Can You Make Candied Mint Leaves Without Egg?
Yes. Aquafaba is the easiest egg-free option. Brush it onto the leaves just as you would egg white, then coat with sugar and dry. You can also use a thick simple syrup, but syrup-coated leaves often take longer to dry and may stay tackier. For the cleanest look, aquafaba or meringue powder is usually more reliable than syrup.
If you need a vegan version, check that your sugar is vegan-friendly as well. Some sugars are processed in ways that strict vegan bakers avoid. For casual home use, aquafaba plus fine sugar makes a very pretty garnish.
How Long Do Candied Mint Leaves Last?
Candied mint leaves are best used the same day or the next day. They can sometimes last longer in a dry room, but they are delicate and gradually lose their crisp texture. Store them in an airtight container with parchment between layers. Do not refrigerate them, because refrigerator moisture can soften the sugar coating.
If you are making them for a party, prepare them the night before. That gives them plenty of time to dry while still keeping them fresh for serving. In other words, they are make-ahead friendly, but not “forget them until next Thursday” friendly.
Flavor Variations
Once you master the basic method, try small variations. Use lemon mint for citrus desserts, chocolate mint for brownies, peppermint for winter treats, or spearmint for fruit plates. You can also mix a pinch of very finely grated lemon zest into the sugar for a citrusy sparkle. Keep additions dry and tiny; large pieces prevent the sugar from coating evenly.
For a snowy holiday look, use a slightly heavier sugar coating. For a more elegant spring dessert, use a light sprinkle so the green leaf shows through. Both styles are beautiful. One says “frosted garden party,” the other says “I own tiny dessert tweezers now.”
Experience Notes: What I Learned Making Candied Mint Leaves at Home
The first thing you learn when making candied mint leaves is that mint has a personality. Some leaves behave beautifully, lying flat on the parchment like they were born for magazine photography. Others curl, twist, or cling to your fingers as if they have suddenly remembered an urgent appointment elsewhere. The trick is not to fight them. Choose the best leaves, work slowly, and accept that a few will become “chef snacks.” Every batch has a tiny blooper reel.
One of the most useful lessons is that dryness matters more than almost anything else. A mint leaf that feels only slightly damp can ruin the sugar coating. It may look fine at first, then slowly become wet and patchy as it sits. After washing the mint, I like to lay the leaves on a towel and give them enough time to fully dry. This feels boring, but it prevents the classic beginner problem: sparkly leaves that somehow become sticky swamp leaves by dessert time.
Another experience-based tip is to use a brush instead of dipping the whole leaf directly into egg white. Dipping is faster, but brushing gives better control. Too much coating makes the sugar heavy and can hide the natural shape of the leaf. The prettiest candied mint leaves have visible veins, crisp edges, and an even sugar sparkle. A thin coat also dries faster, which is wonderful because waiting for garnish to dry can make a person question all their life choices.
I also learned that not every dessert needs a forest of candied mint. Two or three leaves can make a slice of chocolate cake look polished. One small leaf on a lemon tart can look elegant. A few leaves scattered over berries can make a simple bowl of fruit feel intentional. The goal is accent, not landscaping. If your cupcake looks like it is hiding under a mint bush, you may have crossed from garnish into shrubbery.
Humidity is the sneaky villain. On dry days, candied mint leaves can become crisp in several hours. On humid days, they may need overnight drying or longer. If your kitchen is warm and damp, place the tray in a cool, dry room away from steam. Do not put the leaves near a boiling pot, dishwasher, or open window on a rainy day. Sugar loves moisture, and it will grab it like gossip at a family reunion.
Finally, candied mint leaves are best treated as a finishing touch. Add them shortly before serving, especially on wet desserts such as pudding, whipped cream, sorbet, fruit, or chilled pies. They can soften if they sit on moisture too long. When timed well, they deliver exactly what you want: a little crunch, a fresh mint flavor, and the delightful illusion that you spent far more effort than you actually did. That is the magic of a good garnish.
Conclusion
Learning how to make candied mint leaves is one of those small kitchen skills that pays off handsomely. With a handful of fresh mint, a safe edible coating, sugar, and a little drying time, you can create a garnish that makes desserts look brighter, fresher, and more professional. The process is easy, but the details matter: choose perfect leaves, dry them well, brush on a thin coating, sugar both sides evenly, and give them enough time to crisp.
Whether you are decorating a birthday cake, dressing up lemon bars, adding sparkle to fruit, or trying to make store-bought ice cream look like it has a private stylist, candied mint leaves are a simple upgrade. They are pretty, edible, affordable, and just fancy enough to make people ask, “Wait, did you make those?” That is your cue to smile mysteriously and say, “Oh, these little things?”











