
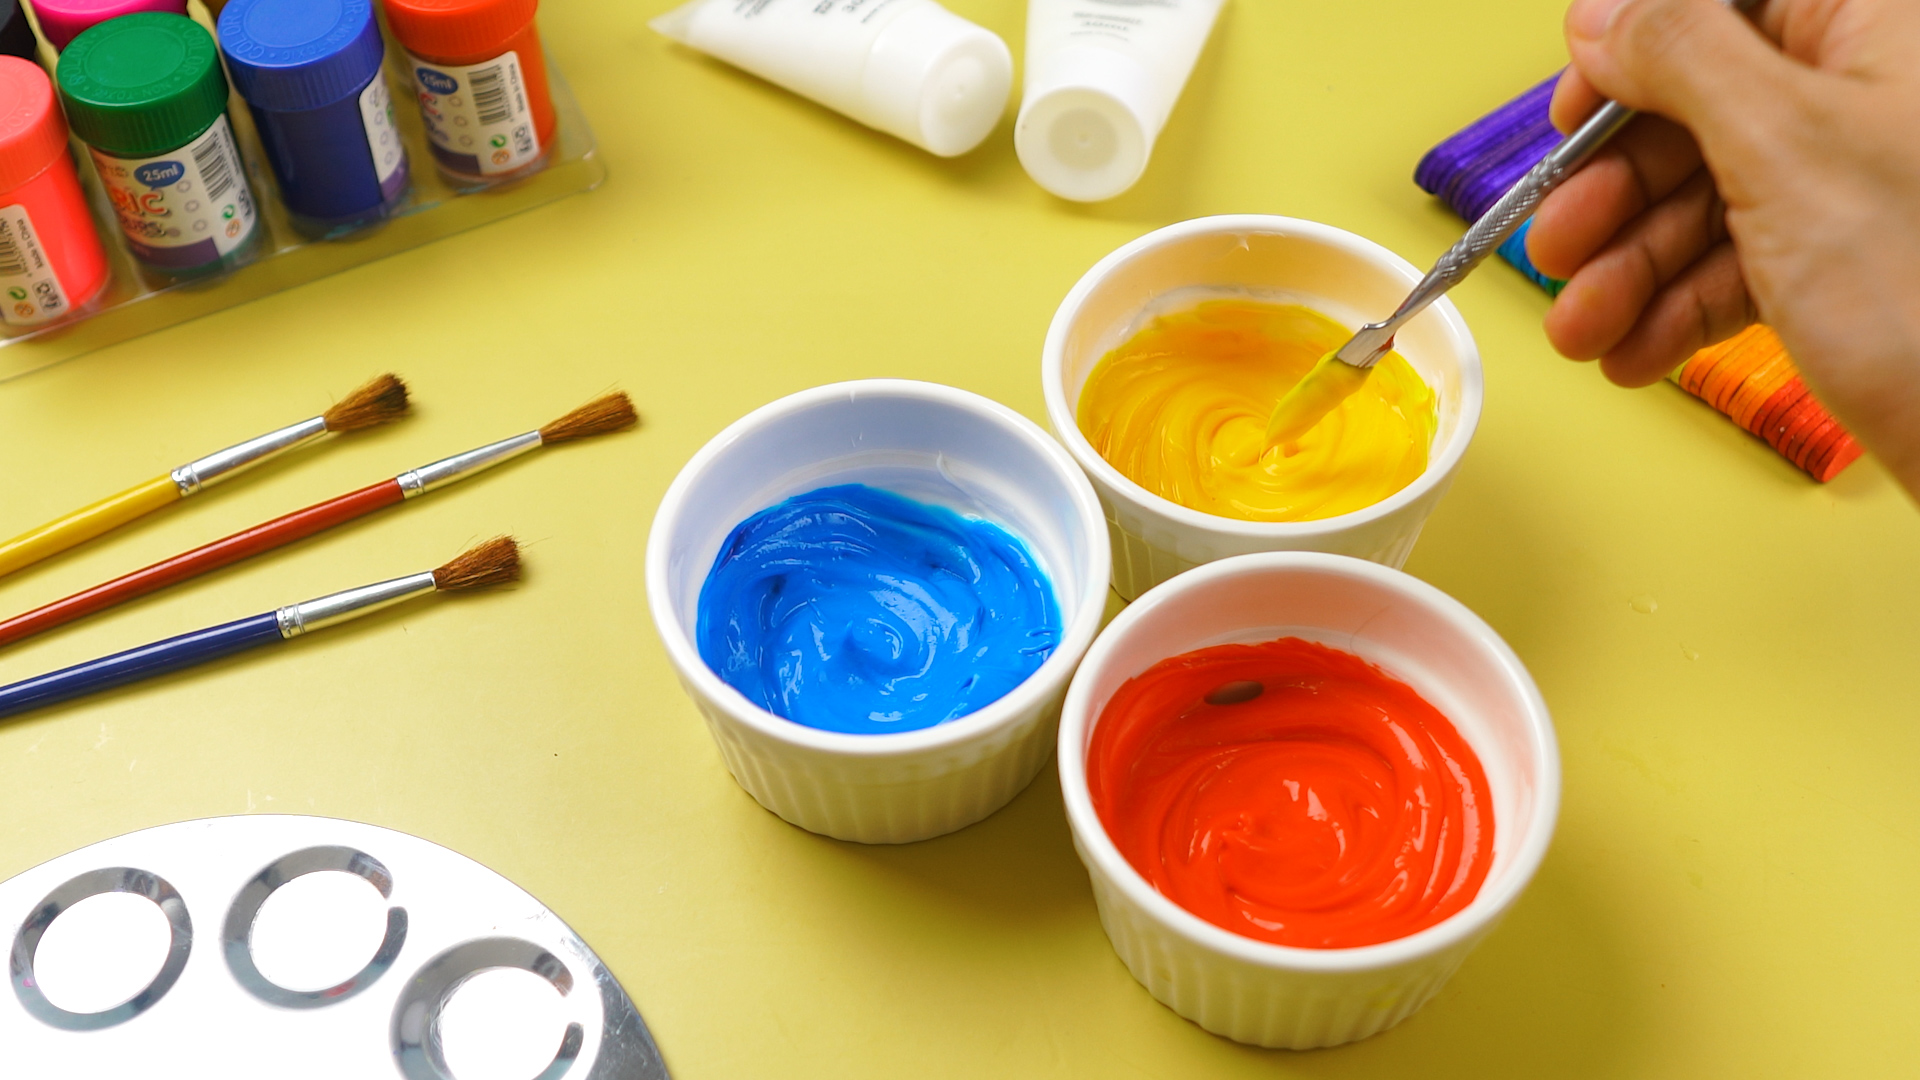
Face paint has a funny way of turning an ordinary afternoon into a full-scale production. One minute you are holding a sponge. The next minute, your kitchen table has become a backstage makeup station, someone is requesting tiger stripes, and a small child is confidently declaring that glitter counts as a personality trait. The good news? You do not always need a store-bought kit to create simple face paint for parties, school events, Halloween costumes, theater play, festivals, or rainy-day dress-up.
Learning how to make your own face paint can save money, give you more control over ingredients, and help you customize colors for everything from a superhero mask to a butterfly wing. But before we dive into the mixing bowls, let’s make one thing clear: homemade face paint should be treated like a temporary cosmetic, not a snack, science experiment, or “let’s see what acrylic paint does” moment. The face is sensitive territory. Eyes, lips, irritated skin, eczema-prone cheeks, and allergy-prone skin deserve extra caution.
This guide explains three practical ways to make DIY face paint using common household ingredients, plus safety tips, color-mixing ideas, application tricks, removal advice, and real-world experience notes from the wonderfully messy world of homemade face painting. The goal is simple: fun color, easy cleanup, and zero “why is my eyebrow blue three days later?” drama.
Before You Start: Face Paint Safety Basics
Homemade face paint is fun, but safe preparation matters more than the perfect dragon scale. Always test a small amount of any new mixture on the inside of the arm 24 to 48 hours before painting a full face. If redness, itching, swelling, burning, or bumps appear, do not use it. For people with very sensitive skin, allergies, eczema, or a history of reactions to cosmetics, use extra caution and consider skipping face paint altogether.
Use clean bowls, clean brushes, and fresh ingredients. Do not share paint across many children with the same brush unless you clean tools between faces. Avoid painting near the eyes unless you are using ingredients and pigments appropriate for that area. Even products that seem gentle on cheeks may irritate eyelids. Also avoid painting over cuts, sunburn, rashes, acne flare-ups, or broken skin. Skin that is already upset does not need a colorful costume on top of its feelings.
Food coloring can stain skin, especially gel colors or deep shades like red, blue, and green. A faint tint usually fades after washing, but if you need a stain-free look for school photos, family portraits, or a very serious business meeting with a unicorn theme, test first. Finally, never use craft paint, acrylic paint, poster paint, permanent markers, or metallic craft pigments on the face unless the label clearly says the product is safe for skin use.
Method 1: Cornstarch and Lotion Face Paint
This is the easiest homemade face paint recipe and the best place to start if you want a soft, creamy texture. It works well for cheeks, simple masks, animal noses, whiskers, hearts, stars, and basic costume designs. The ingredients are affordable, easy to find, and simple to adjust.
Ingredients
- 2 teaspoons cornstarch
- 1 teaspoon mild, fragrance-free lotion
- 1 teaspoon water
- Food coloring, preferably liquid food coloring
- Small bowl or container with a lid
- Cotton swabs, makeup sponge, or small cosmetic brush
How to Make It
Add the cornstarch, lotion, and water to a small bowl. Stir until the mixture becomes smooth and creamy. If it feels too runny, add a small pinch of cornstarch. If it feels too thick or chalky, add water one drop at a time. Once the base is smooth, add food coloring slowly. Start with one or two drops, mix, and then add more if needed.
For multiple colors, divide the white base into separate small containers before adding color. This keeps your yellow from becoming “mystery swamp brown,” which is what happens when every color meets in one bowl and gives up on life.
Best Uses
This homemade face paint is great for soft designs that do not require razor-sharp detail. Use it for rosy cheeks, clown noses, puppy spots, pirate scars, fairy swirls, pumpkin cheeks, and quick party designs. It also works well with a makeup sponge when you need to cover a larger area, such as a superhero eye mask.
Pros and Cons
The biggest advantage is comfort. Lotion helps the paint glide on smoothly and keeps it from feeling too dry. The downside is that lotion-based paint may smudge if applied too thickly, especially on warm days or active kids. Keep layers thin, let each layer dry for a minute, and set with a tiny dusting of cornstarch if needed.
Method 2: Cold Cream and Cornstarch Face Paint
Cold cream face paint has an old-school costume makeup feel. It is richer than the lotion version, which makes it useful for bolder colors and designs that need a little more staying power. This recipe is especially handy for Halloween face paint, theater looks, and dramatic designs like vampires, skeletons, cats, witches, and comic-book characters.
Ingredients
- 3 teaspoons cornstarch
- 1 1/2 teaspoons water
- 1 1/2 teaspoons facial cold cream
- Food coloring or cosmetic-grade skin-safe pigment
- Small containers with lids
- Cosmetic brush, cotton swab, or sponge
How to Make It
Mix the cornstarch and water first to create a paste. Stir in the cold cream until the texture becomes smooth. Add color gradually, mixing completely after each drop. Cold cream gives the paint a richer base, so the final mixture may look slightly glossy. If you want a more matte finish, use a very small amount of cornstarch to set the design after application.
For a classic white face paint base, use the mixture without color or add a tiny bit of white cosmetic pigment if you have one that is approved for skin use. Do not use white wall paint, white craft paint, or powdered art pigment. A ghost costume should look spooky, not like a home renovation accident.
Best Uses
This method works well when you want stronger coverage. Try it for skull outlines, clown makeup, zombie shading, black cat noses, dramatic eyebrows, vampire cheekbones, or a bold superhero mask. Because it has a creamier finish, it is also easier to blend than a drier cornstarch-heavy recipe.
Pros and Cons
The creamy texture makes this face paint comfortable and blendable. However, it can feel heavier than lotion-based paint and may transfer onto clothing, hats, pillowcases, or the nearest adult’s shoulder. Use thin layers, avoid rubbing, and remove it before bedtime. Sleeping in face paint can irritate skin and turn your pillow into modern art.
Method 3: Flour, Cornstarch, Lotion, and Oil Face Paint
This recipe creates a thicker, more paint-like texture. It is useful for body paint-style play, bold cheek designs, and larger areas. Because it contains flour, it should be mixed very smoothly to avoid lumps. It is best used fresh and discarded after use.
Ingredients
- 1 tablespoon cornstarch
- 1 tablespoon flour
- 1 tablespoon mild, fragrance-free lotion
- 1 tablespoon water
- 1 tiny drop vegetable oil
- Food coloring
- Small bowl and spoon
How to Make It
Combine the cornstarch and flour first. Add lotion and stir until the mixture begins to form a paste. Add water slowly, mixing until smooth. Finish with one tiny drop of vegetable oil to improve spreadability. Add food coloring last. If the mixture becomes too thick, add a few drops of water. If it becomes too watery, add a small pinch of cornstarch.
For a smoother finish, sift the flour and cornstarch before mixing. This extra step sounds fussy until you try painting a butterfly and accidentally create a lumpy wing that looks like mashed potatoes. Smooth paint is easier to apply, easier to blend, and much more comfortable on the skin.
Best Uses
This recipe is good for large shapes and playful designs: monster hands, dragon scales on cheeks, colorful forehead crowns, simple masks, and birthday-party face doodles. It is not the best choice for tiny lines or delicate details, but it shines when you want bold color fast.
Pros and Cons
The thicker texture gives nice coverage and feels satisfying to paint with. The downside is that flour-based mixtures can dry unevenly and may feel cakey if layered too heavily. Use it for short-term wear and remove it gently with soap, water, and a soft washcloth.
How to Mix Face Paint Colors
Color mixing is where DIY face paint gets exciting. Start with small amounts because a little coloring goes a long way. Red and yellow make orange. Blue and yellow make green. Red and blue make purple. A tiny amount of black or brown can deepen a color, but add it carefully. One enthusiastic drop can turn a cheerful tiger orange into “haunted carrot.”
Easy Color Ideas
- Tiger: Orange base, black stripes, white around the mouth
- Butterfly: Pink, purple, and blue wings with white dots
- Zombie: Pale green or gray base with purple shadows
- Pumpkin: Orange cheeks with green vines and brown stem details
- Cat: Black nose, whiskers, and white muzzle
- Mermaid: Blue, teal, and purple scales made with a sponge stencil
If you want natural-looking colors, try softer shades instead of maximum intensity. Pastel face paint can look charming and is often easier to remove than highly saturated colors. For deeper shades, build color in thin layers rather than dumping in half the bottle of food coloring and hoping for the best.
Application Tips for Better Results
Start with clean, dry skin. If the skin is oily or sweaty, the paint may slide around like it is late for an appointment. Tie back hair, protect clothing with a towel, and keep wet wipes nearby for fingers, tables, chairs, and the one person who somehow gets paint on their elbow.
Use the Right Tools
Use a sponge for large areas, a cotton swab for dots and small shapes, and a fine cosmetic brush for lines. Avoid sharp tools, craft brushes with scratchy bristles, or anything that has previously been used with craft paint. For children, simple designs are usually better than detailed masterpieces because small faces move, giggle, sneeze, and ask for snacks mid-stripe.
Work in Thin Layers
Thin layers dry faster and feel more comfortable. Apply one light coat, let it dry briefly, then add another if needed. Thick face paint is more likely to crack, smudge, or transfer onto costumes. If you need a sharp line, let the base color dry before adding details.
Keep Paint Away from Eyes and Mouth
Do not apply homemade face paint inside the lips, on the waterline, or too close to the eyes. For eye-area designs, keep paint on the brow bone or upper cheek, not on the eyelid or lash line. If paint gets into the eye, rinse with clean water. If irritation continues, seek medical advice.
How to Remove Homemade Face Paint
Removal should be gentle. Start with warm water and mild soap or a gentle facial cleanser. Use a soft washcloth and avoid scrubbing aggressively. If the paint contains cold cream or oil, a small amount of gentle cleanser may work better than water alone. Rinse well and apply a fragrance-free moisturizer afterward if the skin feels dry.
For stubborn food-color stains, do not panic. Most light stains fade with normal washing. Avoid harsh exfoliants, alcohol, bleach, or abrasive scrubs. Your goal is to remove the color, not sand the face like a picnic table.
Storage and Cleanup
Homemade face paint is best used the same day. If you store it, keep it in a clean, airtight container in the refrigerator and use it within 24 hours. Discard paint that smells odd, changes texture, grows mold, separates dramatically, or has been dipped into repeatedly during a party. When in doubt, throw it out.
Clean brushes and sponges with warm water and mild soap. Let them dry completely before storing. Wash bowls, spoons, and surfaces immediately because food coloring can stain countertops, fabrics, and wooden tables. If you are painting with kids, cover the work area before mixing. Future you will be grateful. Future you has enough to do.
Common Mistakes to Avoid
Using Craft Paint Instead of Skin-Safe Ingredients
Craft paint belongs on paper, wood, cardboard, and school projectsnot on cheeks. Even if it says “non-toxic,” that does not automatically mean it is safe for facial skin. Non-toxic often refers to accidental exposure, not cosmetic use.
Skipping the Patch Test
A patch test may feel unnecessary when everyone is excited, but it is the difference between “adorable tiger” and “why is my face itchy?” Test first, especially for children and anyone with sensitive skin.
Making the Paint Too Wet
Watery paint drips, stains, and refuses to cooperate. Add liquid slowly. If your mixture looks like soup, thicken it with cornstarch a pinch at a time.
Painting Over Irritated Skin
Do not paint over rashes, scratches, sunburn, eczema patches, or acne that is inflamed. Face paint can make irritation worse. Choose a hat, headband, costume accessory, or cheek sticker instead.
Experience Notes: What I Learned Making DIY Face Paint
Making homemade face paint sounds like a tidy little craft until real life enters the room wearing socks and asking if blue can be “more dinosaur.” The first lesson is that preparation matters. When everything is measured, containers are ready, brushes are clean, and wipes are within reach, the process feels creative and calm. When the food coloring is opened after the child is already sitting in the chair, the entire operation starts to feel like a cooking show hosted by raccoons.
The cornstarch and lotion method is the most beginner-friendly. It mixes quickly, spreads easily, and works beautifully for simple designs. I like it for little kids because it feels lightweight and does not require much scrubbing to remove. The color is softer than commercial face paint, but that can be a benefit. A pastel butterfly or soft puppy nose looks cute, photographs well, and usually does not leave behind the dramatic stain of a neon-blue superhero mask.
The cold cream version is better when you want stronger color and smoother blending. It feels more like costume makeup, especially for Halloween looks. I found it useful for designs that need shading, such as skeleton cheeks or vampire shadows. The trade-off is transfer. If the wearer hugs three relatives, leans on the couch, and wipes their nose with a sleeve, the design will travel. This is not failure; this is face paint doing face paint things. Thin layers help a lot.
The flour and cornstarch recipe is the most playful, especially for outdoor parties. It gives a thicker texture and works well when kids want to paint arms, hands, or simple cheek shapes. However, it is not my first pick for detailed linework. It can clump if mixed too quickly, so sifting the dry ingredients is worth the extra minute. Also, make only what you need. Homemade mixtures do not have the preservatives found in commercial cosmetics, so keeping leftovers for “someday” is not a great plan unless someday is tomorrow morning.
Another practical lesson: children rarely want the design you practiced. You may prepare a perfect butterfly, only to hear, “Can I be a rainbow zombie cat?” The best approach is to keep shapes simple. Circles become ladybugs. Lines become whiskers. Dots become magic. A triangle on the nose can turn almost anyone into a cat, fox, mouse, puppy, or mysterious woodland creature with excellent branding.
Color control also takes practice. Food coloring becomes intense quickly, especially red and blue. Start pale and build slowly. If you are mixing several colors, label the containers or use separate spoons. Otherwise, every shade eventually becomes brown-green, the official color of “we had fun but lost control.”
Cleanup is part of the experience, not an afterthought. Cover the table, protect clothing, and keep a damp cloth nearby. Remove face paint before bedtime, even if the child insists the dragon must sleep too. A gentle wash, a soft towel, and moisturizer are usually enough. The best DIY face paint experience is not about creating a museum-level masterpiece. It is about laughter, imagination, safe ingredients, and giving someone the joy of looking in the mirror and seeing a tiger, fairy, robot, pumpkin, or rainbow zombie cat staring back.
Conclusion
Making your own face paint is simple, affordable, and surprisingly fun when you use the right ingredients and a little common sense. The cornstarch and lotion recipe is perfect for beginners, the cold cream version gives richer costume-style coverage, and the flour-cornstarch blend works well for bold, playful designs. Whichever method you choose, keep safety at the center: patch test first, avoid the eyes and irritated skin, use clean tools, and remove the paint gently when the fun is over.
DIY face paint does not need to be complicated. With a few pantry staples, a small container, and a willingness to embrace a bit of mess, you can create custom colors for parties, Halloween, school events, theater play, or an ordinary afternoon that needs more whiskers. Just remember: the best face paint washes off easily, feels comfortable, and leaves behind happy memoriesnot mystery stains on the dog.
Note: This article was created using safety-focused guidance from reputable U.S. sources, including FDA cosmetic safety information, American Academy of Pediatrics guidance, American Academy of Dermatology patch-testing advice, Poison Control art-product safety recommendations, and poison center Halloween safety tips.












