
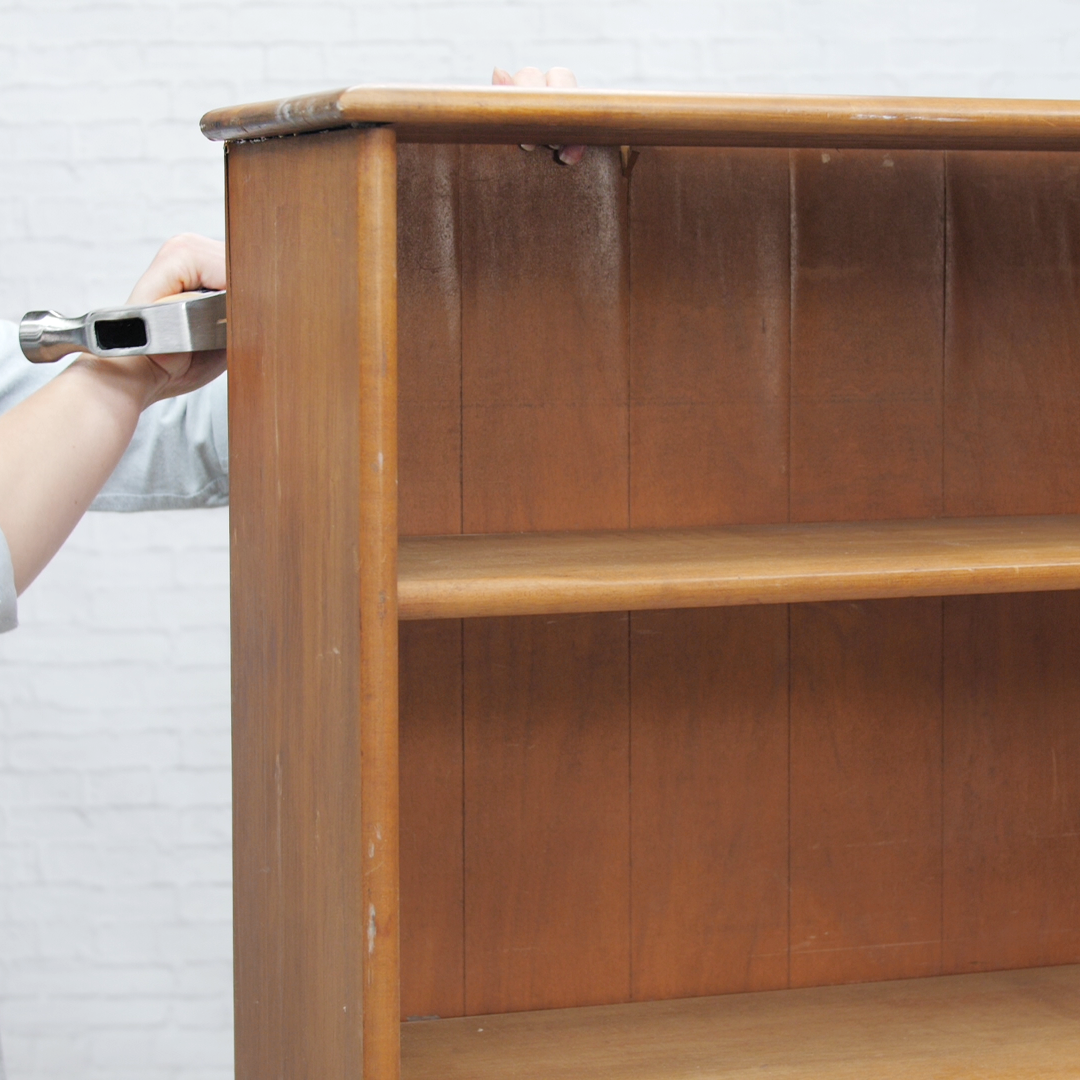
Some kitchen islands arrive from fancy showrooms with marble tops, soft-close drawers, and price tags that make your toaster nervous. Others begin life as a forgotten bookcase in the garage, patiently waiting for a second act. If you have a sturdy bookcase, a few basic tools, and a weekend with more ambition than excuses, you can turn that old shelf into a stylish, hardworking kitchen island.
Learning how to upcycle a bookcase into a kitchen island is one of those DIY projects that feels almost too clever. A bookcase already has the bones of good kitchen storage: shelves, vertical structure, flat sides, and enough personality to avoid looking like a boring box. With reinforcement, a durable countertop, paint, trim, and optional casters, it can become extra prep space, cookbook storage, a coffee station, baking center, or a mobile island for a small kitchen.
This guide walks through the full process, from choosing the right bookcase to finishing the top so it can survive real kitchen life. We will keep things practical, budget-friendly, and honest. Because yes, you can absolutely make this look custom. No, you should not balance a granite slab on a wobbly particleboard shelf and hope for the best. The kitchen gods are watching.
Why a Bookcase Makes a Great DIY Kitchen Island
A bookcase is basically a kitchen island waiting for a wardrobe change. Open shelving works beautifully for mixing bowls, baskets, cookbooks, cutting boards, small appliances, and folded linens. The narrow profile of many bookcases also makes them useful in apartments, galley kitchens, rental homes, and smaller spaces where a traditional island would block traffic like a shopping cart abandoned in aisle seven.
Upcycling also saves money and reduces waste. Instead of buying a brand-new kitchen cart, you can repurpose furniture you already own or pick up a secondhand bookcase from a thrift store, yard sale, marketplace listing, or family member who insists they are “just clearing out one thing” and then gives you six things. A DIY bookcase kitchen island can be customized to your exact style: farmhouse, coastal, modern, cottage, industrial, or colorful enough to make your white cabinets feel underdressed.
The real win is function. A repurposed bookcase can give you countertop space for chopping vegetables, rolling dough, plating meals, or setting up a coffee bar. Add hooks and you have a towel station. Add baskets and you have hidden storage. Add locking casters and you have a mobile kitchen island that can move when you need space and stay put when you are kneading bread like a person with strong opinions.
Before You Start: Choose the Right Bookcase
Not every bookcase deserves to become a kitchen island. The best candidate is solid, level, and strong enough to hold dishes, cookware, and a countertop without swaying. Solid wood is ideal. Plywood can work well. High-quality MDF may be acceptable if reinforced properly, but flimsy laminate furniture with a cardboard back should be treated with caution. If it wiggles when empty, it will not become more confident after you add butcher block.
Check the height
Most kitchen counters are about 36 inches high. Your finished island should land close to that height if you want it to feel comfortable for food prep. Measure the bookcase, then account for the added countertop thickness, feet, or casters. If the bookcase is too short, you can add legs, bun feet, a framed base, or heavy-duty locking casters. If it is too tall, consider trimming the base or choosing a different piece.
Check the depth and width
A narrow bookcase can still work, but your countertop should provide enough usable surface without creating an unsafe overhang. A top that extends 1 to 2 inches beyond the sides looks finished and helps protect the base from spills. If you want seating, you will need a deeper overhang and proper support brackets, but many bookcase islands are better as prep stations than breakfast bars.
Check kitchen clearance
Place painter’s tape on the floor to outline the island footprint before building. Walk around it. Open the oven, dishwasher, refrigerator, and cabinet doors. Pretend to carry a hot pan. Pretend someone else is also in the kitchen asking where the forks are. If the taped area makes the room feel cramped, scale down the project. In many kitchens, comfortable clearance around an island is more important than a huge worktop.
Tools and Materials You May Need
Your exact supply list depends on your bookcase and design, but most projects use a similar set of basics:
- Sturdy bookcase or bookshelf
- Measuring tape and pencil
- Screwdriver or drill
- Wood screws
- Wood glue or construction adhesive
- Sandpaper or sanding sponge
- Wood filler and putty knife
- Primer and durable cabinet paint
- Paintbrush, roller, or sprayer
- Trim, beadboard, shiplap-style plywood, or decorative panels
- Butcher block, wood slab, plywood top, or other countertop material
- Heavy-duty locking casters, legs, or furniture feet
- Optional hooks, towel bar, baskets, drawer inserts, or spice racks
- Food-grade mineral oil or butcher block conditioner if using an unfinished wood top
Safety gear matters too. Use eye protection when cutting or sanding, work in a ventilated area when painting, and follow the instructions on adhesives, finishes, and power tools. DIY confidence is good. DIY invincibility is how people end up naming their bandage “the backsplash incident.”
Step-by-Step: How to Upcycle a Bookcase into a Kitchen Island
Step 1: Clean and inspect the bookcase
Start by removing shelves, pegs, loose hardware, and the back panel if you want the island accessible from both sides. Wipe the entire piece with mild soap and water to remove dust, grease, and mystery smudges from its previous life. Let it dry completely.
Look for cracks, loose joints, peeling veneer, missing screws, and sagging shelves. Fill dents and scratches with wood filler, then sand smooth. Tighten loose fasteners and replace weak shelf pins with stronger supports if needed. Kitchen storage can get heavy fast, especially when you load shelves with mixing bowls, cast iron, canned goods, or the blender you swore you would use every morning.
Step 2: Reinforce the structure
This is the step that separates a charming kitchen island from a decorative accident. Add internal corner braces, L-brackets, or wood cleats where the sides meet the top and bottom. If the back panel is removed, the bookcase may lose some rigidity, so reinforce the frame with trim, a plywood panel on one side, or a new center support rail.
If your bookcase has adjustable shelves, consider securing at least one shelf permanently with screws or cleats. This can help reduce racking, which is the side-to-side movement that makes furniture feel unstable. For a wider island, you can also add a plywood base underneath to distribute weight and provide a stronger surface for casters or feet.
Step 3: Decide whether the shelves should be open or closed
Open shelves make the island feel airy and give you access from multiple sides. They are great for baskets, cookbooks, serving bowls, and pretty storage jars. Closed sides or backs create a more polished cabinet-like look and can hide clutter. A popular compromise is to keep one side open and add beadboard, plywood planks, or decorative trim to the other side.
If you want a farmhouse look, add thin plywood strips for a shiplap effect. Use spacers to keep the gaps even, attach the strips with adhesive and nails, then caulk edges before painting. For a classic cottage style, beadboard panels are easy to cut and install. For a modern look, keep the sides smooth and paint the island a bold color such as navy, sage, charcoal, or warm white.
Step 4: Add trim for a built-in look
Trim is the magic trick. It hides rough edges, covers gaps, and makes a basic bookcase look intentionally designed. Add 1×2 or 1×3 boards around the base, vertical corner trim, and a small apron under the countertop. If the bookcase has a recessed toe kick, covering it with a flat base trim can make the island feel more substantial.
Use wood filler on nail holes, sand the filled spots, and run a neat bead of caulk along seams where trim meets panels. This small detail makes paint look smoother and more professional. Caulk is basically Photoshop for furniture, except you still have to clean the nozzle.
Step 5: Install legs, feet, or locking casters
If you want a stationary island, furniture feet or short legs can raise the bookcase to counter height and improve the finished look. Use mounting plates or a sturdy base frame so the legs are properly attached. Avoid screwing small feet directly into weak particleboard without reinforcement.
For a mobile kitchen island, choose heavy-duty casters rated for more weight than you think you need. Remember to include the bookcase, countertop, stored items, and the occasional person leaning on it while discussing dinner plans. Locking casters are strongly recommended, and double-locking casters are even better because they can help stop both rolling and swiveling. Place casters close to the corners and attach them to a reinforced wood base, not a thin bottom panel.
Step 6: Choose and attach the countertop
The countertop is where the project becomes a real kitchen island. Butcher block is a favorite because it is warm, practical, cuttable with common woodworking tools, and easier to install than stone. A thick wood slab, sealed plywood top, reclaimed tabletop, or remnant countertop can also work. If you plan to prep food directly on the surface, choose a food-safe finish and maintain it properly.
Measure the bookcase and add a small overhang on each side, typically 1 to 2 inches for a prep island. Cut the top to size or have it cut at the store if that service is available. Sand the edges smooth. Attach the top from underneath with screws through the bookcase frame or mounting blocks. Use screws that are long enough to secure the top but not so long that they poke through the surface and surprise your cutting board.
If your wood top is unfinished, apply food-grade mineral oil or butcher block conditioner according to the product directions. Mineral oil helps reduce drying, cracking, and water absorption. Do not use random cooking oil as a finish; it can become sticky or rancid over time. Your island should smell like fresh coffee and dinner, not old salad dressing.
Step 7: Prime and paint the base
Kitchen furniture takes more abuse than living room furniture. It deals with splashes, crumbs, steam, sticky hands, and the occasional flying pasta sauce incident. Use a bonding primer, especially on laminate or glossy surfaces. After priming, paint with a durable cabinet-grade or enamel paint that can handle wiping and cleaning.
Sand lightly between coats for a smoother finish. Let the paint cure fully before loading the island or sliding baskets onto shelves. Paint can feel dry before it is truly hardened, and rushing this stage can leave scratches that make you say dramatic things to an innocent storage basket.
Step 8: Organize the shelves for real kitchen life
Once the island is built, style it around how you actually cook. Store heavy items on lower shelves for stability. Use baskets to hide less attractive essentials such as dish towels, food storage lids, lunch boxes, and appliance attachments. Keep frequently used items near the top or on the side facing your main prep zone.
Here are practical storage ideas for a bookcase kitchen island:
- Use one shelf for mixing bowls and baking pans.
- Add a basket for dish towels and cloth napkins.
- Store cookbooks at one end for easy recipe access.
- Install hooks for measuring cups, mugs, or towels.
- Add a paper towel holder to one side.
- Use clear bins for snacks, lunch supplies, or coffee pods.
- Place cutting boards vertically in a divided rack.
Do not overload the top shelf with heavy appliances unless the structure is reinforced. A stand mixer may look adorable on display, but it is also basically a small engine wearing a bowl.
Design Ideas for Different Kitchen Styles
Farmhouse bookcase kitchen island
Paint the base warm white, sage green, or soft gray. Add beadboard sides, cup hooks, a towel bar, and a butcher block top. Use woven baskets on the shelves for a cozy, practical finish.
Modern kitchen island from a bookcase
Choose a simple bookcase with clean lines. Paint it matte black, deep blue, or walnut brown. Use a smooth wood or laminate top, minimal trim, and metal hardware. Keep the shelves styled with matching bins to avoid visual clutter.
Small-space mobile kitchen island
Use a narrow bookcase, locking casters, and a lightweight countertop. Keep one side open for storage and the other side finished with a flat panel. This works especially well in apartments where the island may need to move for cleaning, entertaining, or emergency dance space.
Colorful cottage island
Paint the base butter yellow, dusty blue, terracotta, or mint green. Add a stained wood top and vintage-style hooks. This is a great option if your kitchen is neutral and needs one cheerful focal point.
Common Mistakes to Avoid
The first mistake is skipping reinforcement. A bookcase may be strong enough for paperbacks, but kitchen use adds different stress. Reinforce corners, shelves, and the base before adding weight.
The second mistake is choosing the wrong countertop. Stone can be too heavy for many bookcase conversions unless the base is heavily rebuilt. Butcher block, sealed wood, or a lighter counter remnant is usually more DIY-friendly.
The third mistake is ignoring clearance. A beautiful island is not helpful if you have to turn sideways to open the refrigerator. Tape the footprint on the floor first and test your real movements.
The fourth mistake is using non-locking casters. A rolling island should roll only when invited. If it slides away while you are chopping onions, congratulations, you have built a kitchen skateboard.
The fifth mistake is treating paint cure time as optional. Give primer, paint, stain, and topcoat enough time to cure before heavy use. A little patience can prevent dents, chips, and sticky shelves.
Budget and Time Expectations
If you already own the bookcase, this project can be surprisingly affordable. A basic version with paint, trim, a simple wood top, and hooks may cost far less than a store-bought island. Adding butcher block, premium casters, decorative panels, and high-end hardware will increase the budget, but the final piece can still look custom for less than many ready-made options.
Plan for one weekend if the project is straightforward. Day one can include cleaning, repairs, sanding, reinforcement, trim, and primer. Day two can include paint, countertop installation, hardware, and styling. If you are staining or sealing a butcher block top, allow extra drying and curing time. The island may be physically complete before it is ready for full daily use.
Maintenance Tips for Your Upcycled Kitchen Island
Wipe spills quickly, especially on wood tops and painted surfaces. Use cutting boards unless your butcher block is specifically finished and maintained for direct food prep. Reapply food-grade mineral oil or conditioner to unfinished butcher block as needed, especially when the wood looks dry or absorbs water quickly.
Check screws, brackets, and casters every few months. Movement, weight, and daily use can loosen hardware over time. Tighten anything that wiggles. Touch up paint chips before moisture gets underneath. Keep heavy items low, and avoid using the island as a step stool, ladder, or dramatic platform for announcing dessert.
Real-World Experience: What This Project Teaches You
The best thing about upcycling a bookcase into a kitchen island is that it teaches you how much design potential is hiding in furniture you already own. At first glance, an old bookcase may look too ordinary to become the centerpiece of a kitchen. But once you remove a flimsy back panel, add trim, reinforce the frame, and place a proper countertop on top, the piece starts to change character. It stops looking like “the thing that used to hold paperbacks” and starts looking like a deliberate kitchen feature.
One useful lesson is that preparation matters more than decoration. Paint color gets all the attention, but the invisible work makes the island last. Cleaning, sanding, tightening joints, adding braces, and building a strong base are not glamorous steps. Nobody walks into your kitchen and says, “Wow, excellent internal corner support.” Still, those steps decide whether the island feels solid or suspicious. When you push against the finished piece and it does not wobble, you will be deeply grateful to your past self.
Another experience many DIYers discover is that small upgrades have a huge visual impact. A plain bookcase can look surprisingly expensive with simple trim around the base, clean caulk lines, a smooth paint finish, and coordinated storage baskets. Even inexpensive hardware can change the personality of the piece. Matte black hooks feel modern. Brass hardware feels warm and polished. Wood knobs feel casual and cottage-like. The island becomes a design bridge between your cabinets, floors, counters, and everyday tools.
Function also evolves after you live with the island for a few weeks. You may think one shelf will be for cookbooks, then realize it is better for mixing bowls because that is where you prep dough. You may add a basket for towels and later swap it for lunch containers. That flexibility is part of the charm. Unlike fixed cabinetry, a bookcase island can adapt as your habits change. It can be a baking station in December, a coffee bar in January, and a garden vegetable sorting station in July.
The project also proves that custom does not have to mean complicated. A bookcase kitchen island works because it uses an existing structure and improves it. You are not building a full cabinet from scratch. You are editing, strengthening, and styling. That makes the project approachable for beginners while still satisfying for experienced DIYers who want a quick win.
Finally, there is a quiet satisfaction in giving old furniture a practical new job. Every time you chop vegetables, set down groceries, pull a towel from a side hook, or grab a bowl from the shelf, the island earns its place. It becomes more than a pretty upcycle. It becomes part of how your kitchen works. And honestly, any project that adds storage, saves money, and makes you feel clever while holding a basket of onions deserves applause.
Conclusion
Upcycling a bookcase into a kitchen island is a smart, affordable way to add storage, prep space, and personality to your kitchen. The project works best when you start with a sturdy piece, reinforce it properly, choose a practical countertop, and finish it with durable paint or stain. Whether you want a farmhouse baking station, a colorful cottage island, or a compact mobile cart for a small kitchen, the basic formula is the same: measure carefully, build safely, and design around your real cooking habits.
A DIY bookcase kitchen island does not need to look homemade in the “I tried my best, please be kind” sense. With trim, thoughtful storage, and a well-finished top, it can look intentional, useful, and full of character. Best of all, it gives an old bookcase a new purpose right in the heart of the home. That is upcycling at its finest: less waste, more function, and just enough bragging rights to casually mention it every time someone compliments your kitchen.
Note: Always adjust measurements, hardware, caster ratings, and countertop choices to match your specific bookcase, kitchen layout, and local safety needs.













