
If the flute is the graceful singer in the woodwind family, the piccolo is the caffeinated soprano who arrives early, wears glitter, and refuses to whisper. It is tiny, bright, exposed, and wonderfully unforgiving. That sounds scary, but it is also why learning to play it can be so rewarding. Once you understand how the instrument responds, the piccolo stops feeling like a squeaky trap and starts feeling like a precision tool.
This guide walks through 10 practical steps for learning how to play the piccolo, especially if you already play the flute and want to make the transition without upsetting your embouchure, your intonation, or your nearest neighbors. You will learn how to hold the instrument, shape your piccolo embouchure, build tone, practice safely, and avoid the classic beginner mistakes that make the piccolo sound like a tea kettle in distress.
Let’s get into it.
Why the Piccolo Feels So Different
At first glance, the piccolo looks like a flute that accidentally got left in the dryer. But it is not just a smaller copy. The piccolo sounds an octave higher than written, responds to tiny changes in air and lip position, and puts your tone and tuning under a bright musical spotlight. In other words, every little choice matters.
The good news is that many of the same fundamentals still apply: balanced posture, relaxed hands, focused air, smart practice, and careful listening. The trick is learning to be more precise without becoming stiff. A good piccolo player is not the one who blows harder. It is the one who controls more with less.
How to Play the Piccolo: 10 Steps
Step 1: Build Solid Flute Fundamentals First
The best way to start piccolo is usually not to start on piccolo. Most players do better when they already have decent flute tone, reliable finger technique, basic intonation, and some control in the flute’s upper register. That foundation makes the piccolo far less frustrating.
If you are still struggling to produce a stable flute sound, the piccolo may magnify every problem. Think of it this way: learning piccolo before your flute basics are in place is like learning to drive in a race car before you have mastered parking. It may be technically possible, but it is not the most peaceful route.
Before you shift your focus to piccolo, make sure you can do these things on flute with some consistency:
- Produce a clear tone across the basic range
- Play scales with steady rhythm
- Maintain good posture and hand position
- Adjust pitch without panicking
Step 2: Choose a Decent Instrument and Set It Up Correctly
A cheap, badly adjusted piccolo can make a good player sound confused. A better instrument will not magically do the work for you, but it will give you a fair chance. For beginners, a durable student or intermediate model is often the smartest starting point, especially if you need something for school, concert band, or marching band.
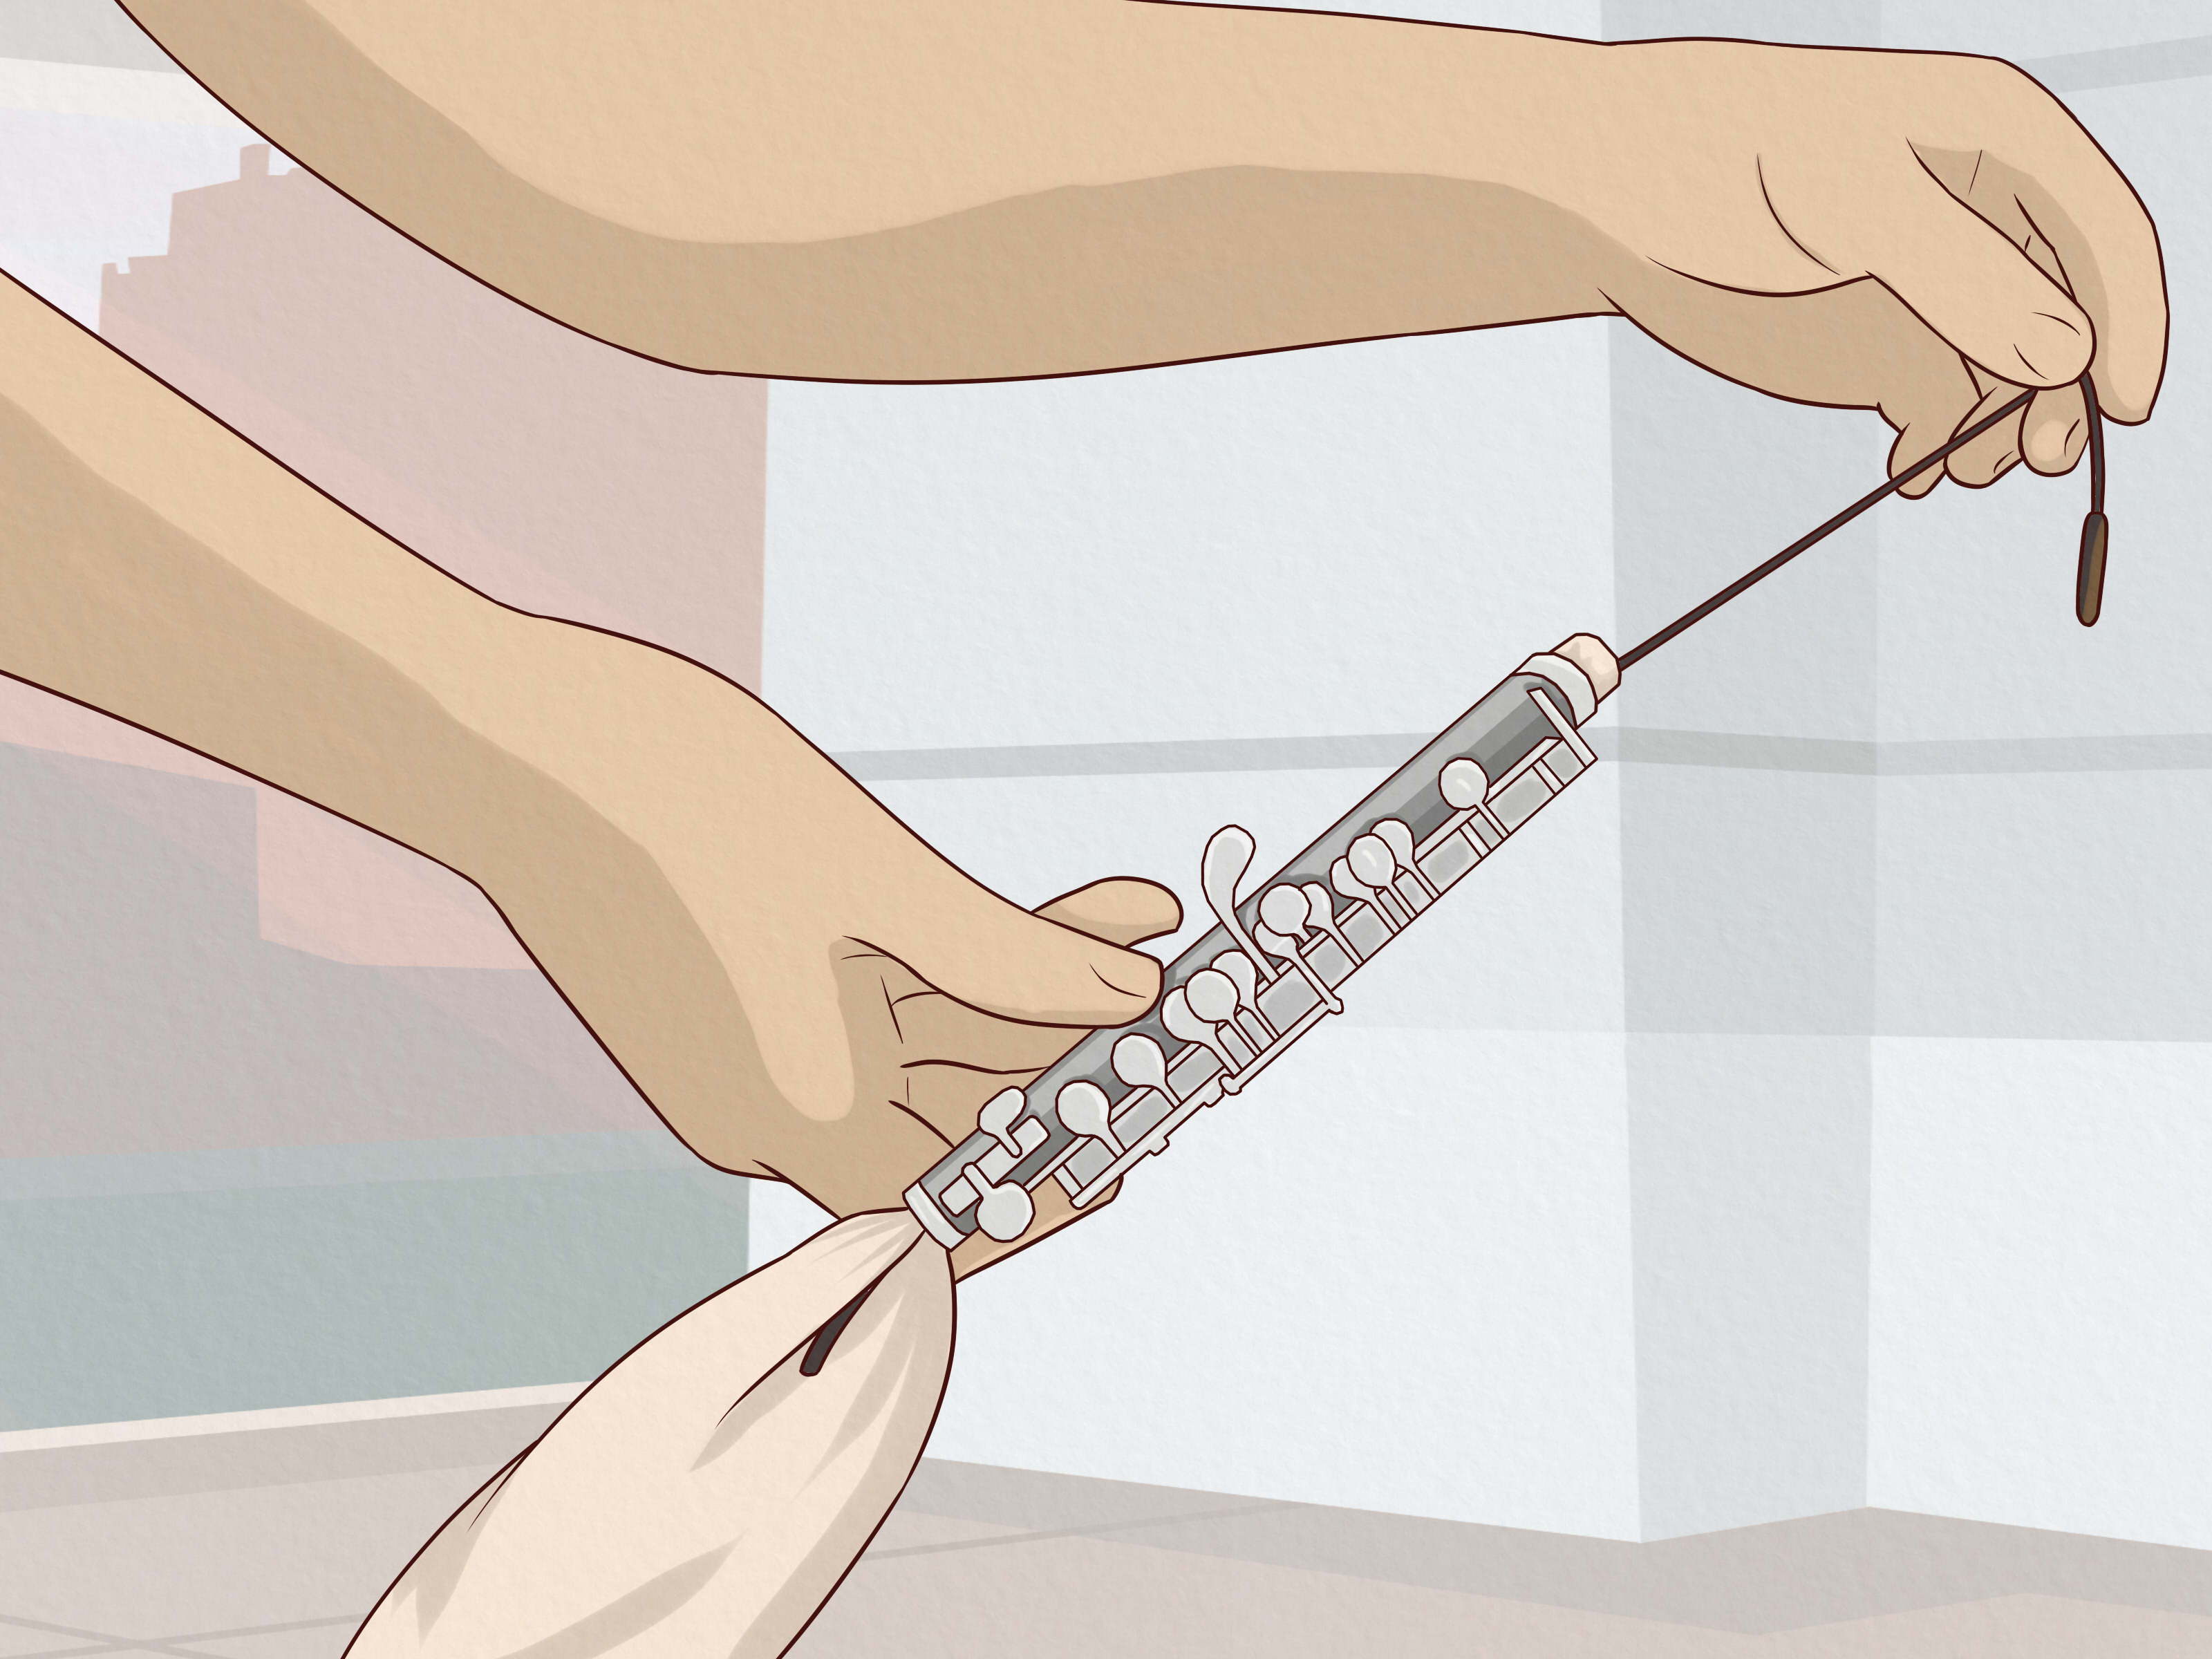
Before you play, check the basics. Assemble the headjoint carefully with a gentle twisting motion. Do not squeeze the keys like you are trying to open a pickle jar. Make sure the embouchure hole is aligned properly, and keep the instrument clean and dry after each use. If your piccolo feels unusually stuffy or unpredictable, it may need adjustment rather than more suffering from you.
A tuner, cleaning cloth, and sturdy stand are also worth having from day one. Tiny instrument, big maintenance energy.
Step 3: Fix Your Posture Before You Fix Your Sound
Many piccolo problems begin in the body, not the face. If your shoulders creep upward, your neck leans toward the instrument, or your wrists collapse, your sound and technique will pay the price. Bring the piccolo to your body instead of bending your body toward the piccolo.
Stand or sit tall with your chest free to expand. Keep your hands curved and relaxed. The instrument should sit a bit higher on the bottom lip than the flute, but your setup should still feel balanced rather than cramped. If you practice in front of a mirror, you will catch a lot of issues before they turn into habits.
Think “organized and easy,” not “rigid and serious.” Good piccolo posture is stable, but it should not look like you are posing for a statue in a museum lobby.
Step 4: Start With the Headjoint and Your First Sound
One of the smartest beginner piccolo tips is to spend a little time on the headjoint by itself. This helps you focus on air direction, lip shape, and response without also worrying about fingerings. It is a simple way to understand how the instrument wants to be played.
Blow across the embouchure hole with a focused airstream and experiment with directing the air slightly higher or lower. Listen carefully. The piccolo rewards tiny adjustments. A millimeter can feel like a plot twist.
Once you can get a stable sound on the headjoint, move to the full instrument and start with familiar notes such as B, A, and G in the staff. Because the fingerings are familiar to flutists, you can put more attention on tone and response rather than on memorizing everything from scratch.
Step 5: Build a Small, Focused EmbouchureNot a Pinched One
The phrase small aperture often scares beginners into making a tiny, tense opening and a tight smile-shaped embouchure. That is usually a fast route to a thin, buzzy sound. A better approach is to keep the lips forward, the opening compact and focused, and the throat relaxed.
Your piccolo embouchure should generally be smaller and slightly firmer than flute embouchure, but not squeezed. Keep the oral cavity open, avoid pressing the instrument too hard into your lip, and do not clamp your teeth together. The goal is a centered tone, not a survival whistle.
If the sound gets shrill, do not immediately blame your face. Often the real issue is that the air is unfocused, the lips are too tight, or you are covering too much of the embouchure hole. Adjust one thing at a time and listen.
Step 6: Start in the Low Register and Stay There Longer Than Your Ego Wants
New piccolo players are often tempted to leap straight into the top notes because, well, that is where the piccolo drama lives. Resist the urge. Start in the low register and build tone, control, and endurance before heading upward.
This is not glamorous, but it works. Low notes help you find resonance, train your air, and avoid the tightness that often appears when beginners chase high notes too soon. Spend time with long tones, one-octave scales, and easy etudes. Let your embouchure muscles adapt gradually.
If you rush into the high register too early, the piccolo may answer with squeaks, strain, lip buzz, and a level of emotional betrayal that feels personal. It is not personal. It is acoustics.
Step 7: Use Faster, Better-Directed Air Instead of Blowing Harder
This may be the most important lesson in learning how to play the piccolo: more force is not the answer. The instrument uses less air than the flute, but it needs a faster, narrower, better-directed airstream. That is a big difference.
When a note does not respond, beginners often try to bulldoze it into existence. That usually makes the sound sharper, harsher, and less stable. Instead, think about aiming the air with precision. Support from the body, keep the air moving, and let the aperture do its job.
A helpful mental image is to imagine playing in the higher register of the flute while you are on the piccolo. That can encourage the focused support you need without turning your face into a clenched fist.
Step 8: Tune Constantly and Learn Your Instrument’s Habits
Piccolo tuning is not optional. It is daily life. The instrument is extremely sensitive to temperature, air speed, embouchure changes, and register shifts. A note that behaved beautifully five minutes ago may suddenly act like it has its own agent and contract demands.
Use a tuner regularly, but do not stop there. Also practice with a drone, duet partner, or ensemble recording so you learn to match pitch in real musical situations. Many experienced players keep a pitch tendency chart to track which notes tend to run sharp or flat on their specific instrument.
Pay attention to warm-up time, too. A cold piccolo can sit flat, and tuning tendencies can change as the instrument warms. Serious players also learn about cork placement and maintenance, but if you are a beginner, the safest first step is to work with your teacher or repair technician rather than turning your piccolo into a science experiment on the kitchen table.
Step 9: Practice Light Articulation and Keep Early Sessions Short
Articulation on piccolo needs finesse. If you tongue too heavily, the sound gets choppy and the response gets messy. Think light, forward, and clean. The tongue should interrupt the air as little as possible.
Just as important, keep your early piccolo sessions short. Ten to fifteen minutes at the end of a flute practice session is often enough when you are starting out. That gives you a warm embouchure and reduces the risk of overworking the small muscles around the lips. As your endurance improves, you can gradually add more time.
This is one of those rare situations where stopping early is not laziness. It is strategy. Your future tone will thank you.
Step 10: Learn Real Music, Build a Routine, and Treat Piccolo as Its Own Instrument
Once you have a stable tone and some control, start playing actual music. Use easy solos, method material, etudes, scales, arpeggios, and simple excerpts. Baroque flute music can be especially useful because much of it sits comfortably on piccolo and encourages phrasing rather than pure note survival.
Create a practice routine that includes:
- Warm-up on flute first
- Short piccolo tone work
- Scales or arpeggios
- Intonation practice with tuner or drone
- Music or excerpts
Over time, you will stop thinking of the piccolo as “tiny flute mode” and start treating it as its own instrument with its own sound, style, and technique. That shift is where real progress begins.
Common Beginner Mistakes to Avoid
- Playing too high too soon: impressive for three seconds, exhausting for the next three days.
- Pinching the embouchure: this kills tone and often creates buzz or instability.
- Ignoring tuning: the piccolo hears your shortcuts and tells the whole ensemble.
- Holding back the sound: fear often creates weak support and worse tone.
- Practicing too long at first: endurance should be built, not forced.
- Assuming flute habits transfer perfectly: some do, but the piccolo needs its own attention.
What Playing the Piccolo Actually Feels Like: Real Beginner Experiences
For many players, the first week on piccolo is a strange combination of excitement, confusion, and deeply suspicious squeaking. You pick it up thinking, “I already play flute, so this should be easy.” Then the piccolo politely laughs in very high frequencies. That experience is normal.
Most beginners notice first that the instrument feels more exposed. On flute, you can sometimes hide inside the texture a little. On piccolo, not so much. When a note speaks clearly, it feels amazing. When it does not, it also feels very public, even if you are alone in your room with only a stand lamp judging you.
Another common experience is realizing that tiny adjustments matter far more than expected. A slight change in lip placement, jaw angle, or air direction can suddenly make a stubborn note ring. That can be frustrating in the beginning, but it also becomes one of the most satisfying parts of piccolo playing. You start to feel like a craftsperson instead of a guesser.
Beginners also tend to experience a funny mental shift with the high register. At first, high notes can feel scary and brittle. Then, after patient low-register work, those upper notes begin to respond with less effort. That moment is often a turning point. You stop attacking the instrument and start collaborating with it.
There is also the endurance factor. Early on, even ten focused minutes can make your embouchure feel tired. That does not mean you are doing everything wrong. It usually means you are building new coordination. Players who progress well are often the ones who stay disciplined, stop before fatigue wrecks the sound, and come back the next day ready to work again.
Intonation is another area where beginners have strong opinions very quickly. Usually the opinion is, “Why is every note trying to start an argument?” This is also normal. The piccolo teaches listening in a very direct way. You learn not just whether a note is sharp or flat, but how to fix it with air, embouchure, vowel shape, and alternate fingerings. That can feel like a lot at first, yet it develops musical awareness fast.
Emotionally, piccolo playing often builds confidence in an unexpected way. Because the instrument is exposed, every small win feels big. A clean entrance, a centered high note, a phrase that stays in tune, or an articulation pattern that finally clicks can give you real momentum. The piccolo may be demanding, but it is also honest. When you improve, you hear it immediately.
And yes, there is humor in the process. Everyone has had a note crack at the worst possible moment. Everyone has accidentally produced a sound that could qualify as a startled bird. Everyone has learned that the piccolo does not respond well to panic, force, or dramatic bargaining. That is part of the journey.
The players who end up loving piccolo are usually not the ones who try to conquer it in a weekend. They are the ones who get curious, stay patient, and learn to enjoy the small victories. Bit by bit, the instrument becomes less like a tiny menace and more like a brilliant musical voice that can soar over an entire ensemble with color, sparkle, and personality.
Final Thoughts
If you want to learn how to play the piccolo, the smartest approach is steady, not flashy. Build flute fundamentals first, use focused air, start in the low register, keep your embouchure compact but relaxed, and practice tuning as if it is part of your tonebecause it is. Short, thoughtful sessions will take you much farther than heroic, frustrated ones.
The piccolo may be small, but it rewards serious attention. Treat it as its own instrument, not just a flute side quest, and you will develop the tone, control, and confidence needed to play it well. Then one day you will hit a clear, ringing phrase above the ensemble and think, “Okay, now we’re talking.” Or, more accurately, “Now we’re sparkling.”













