
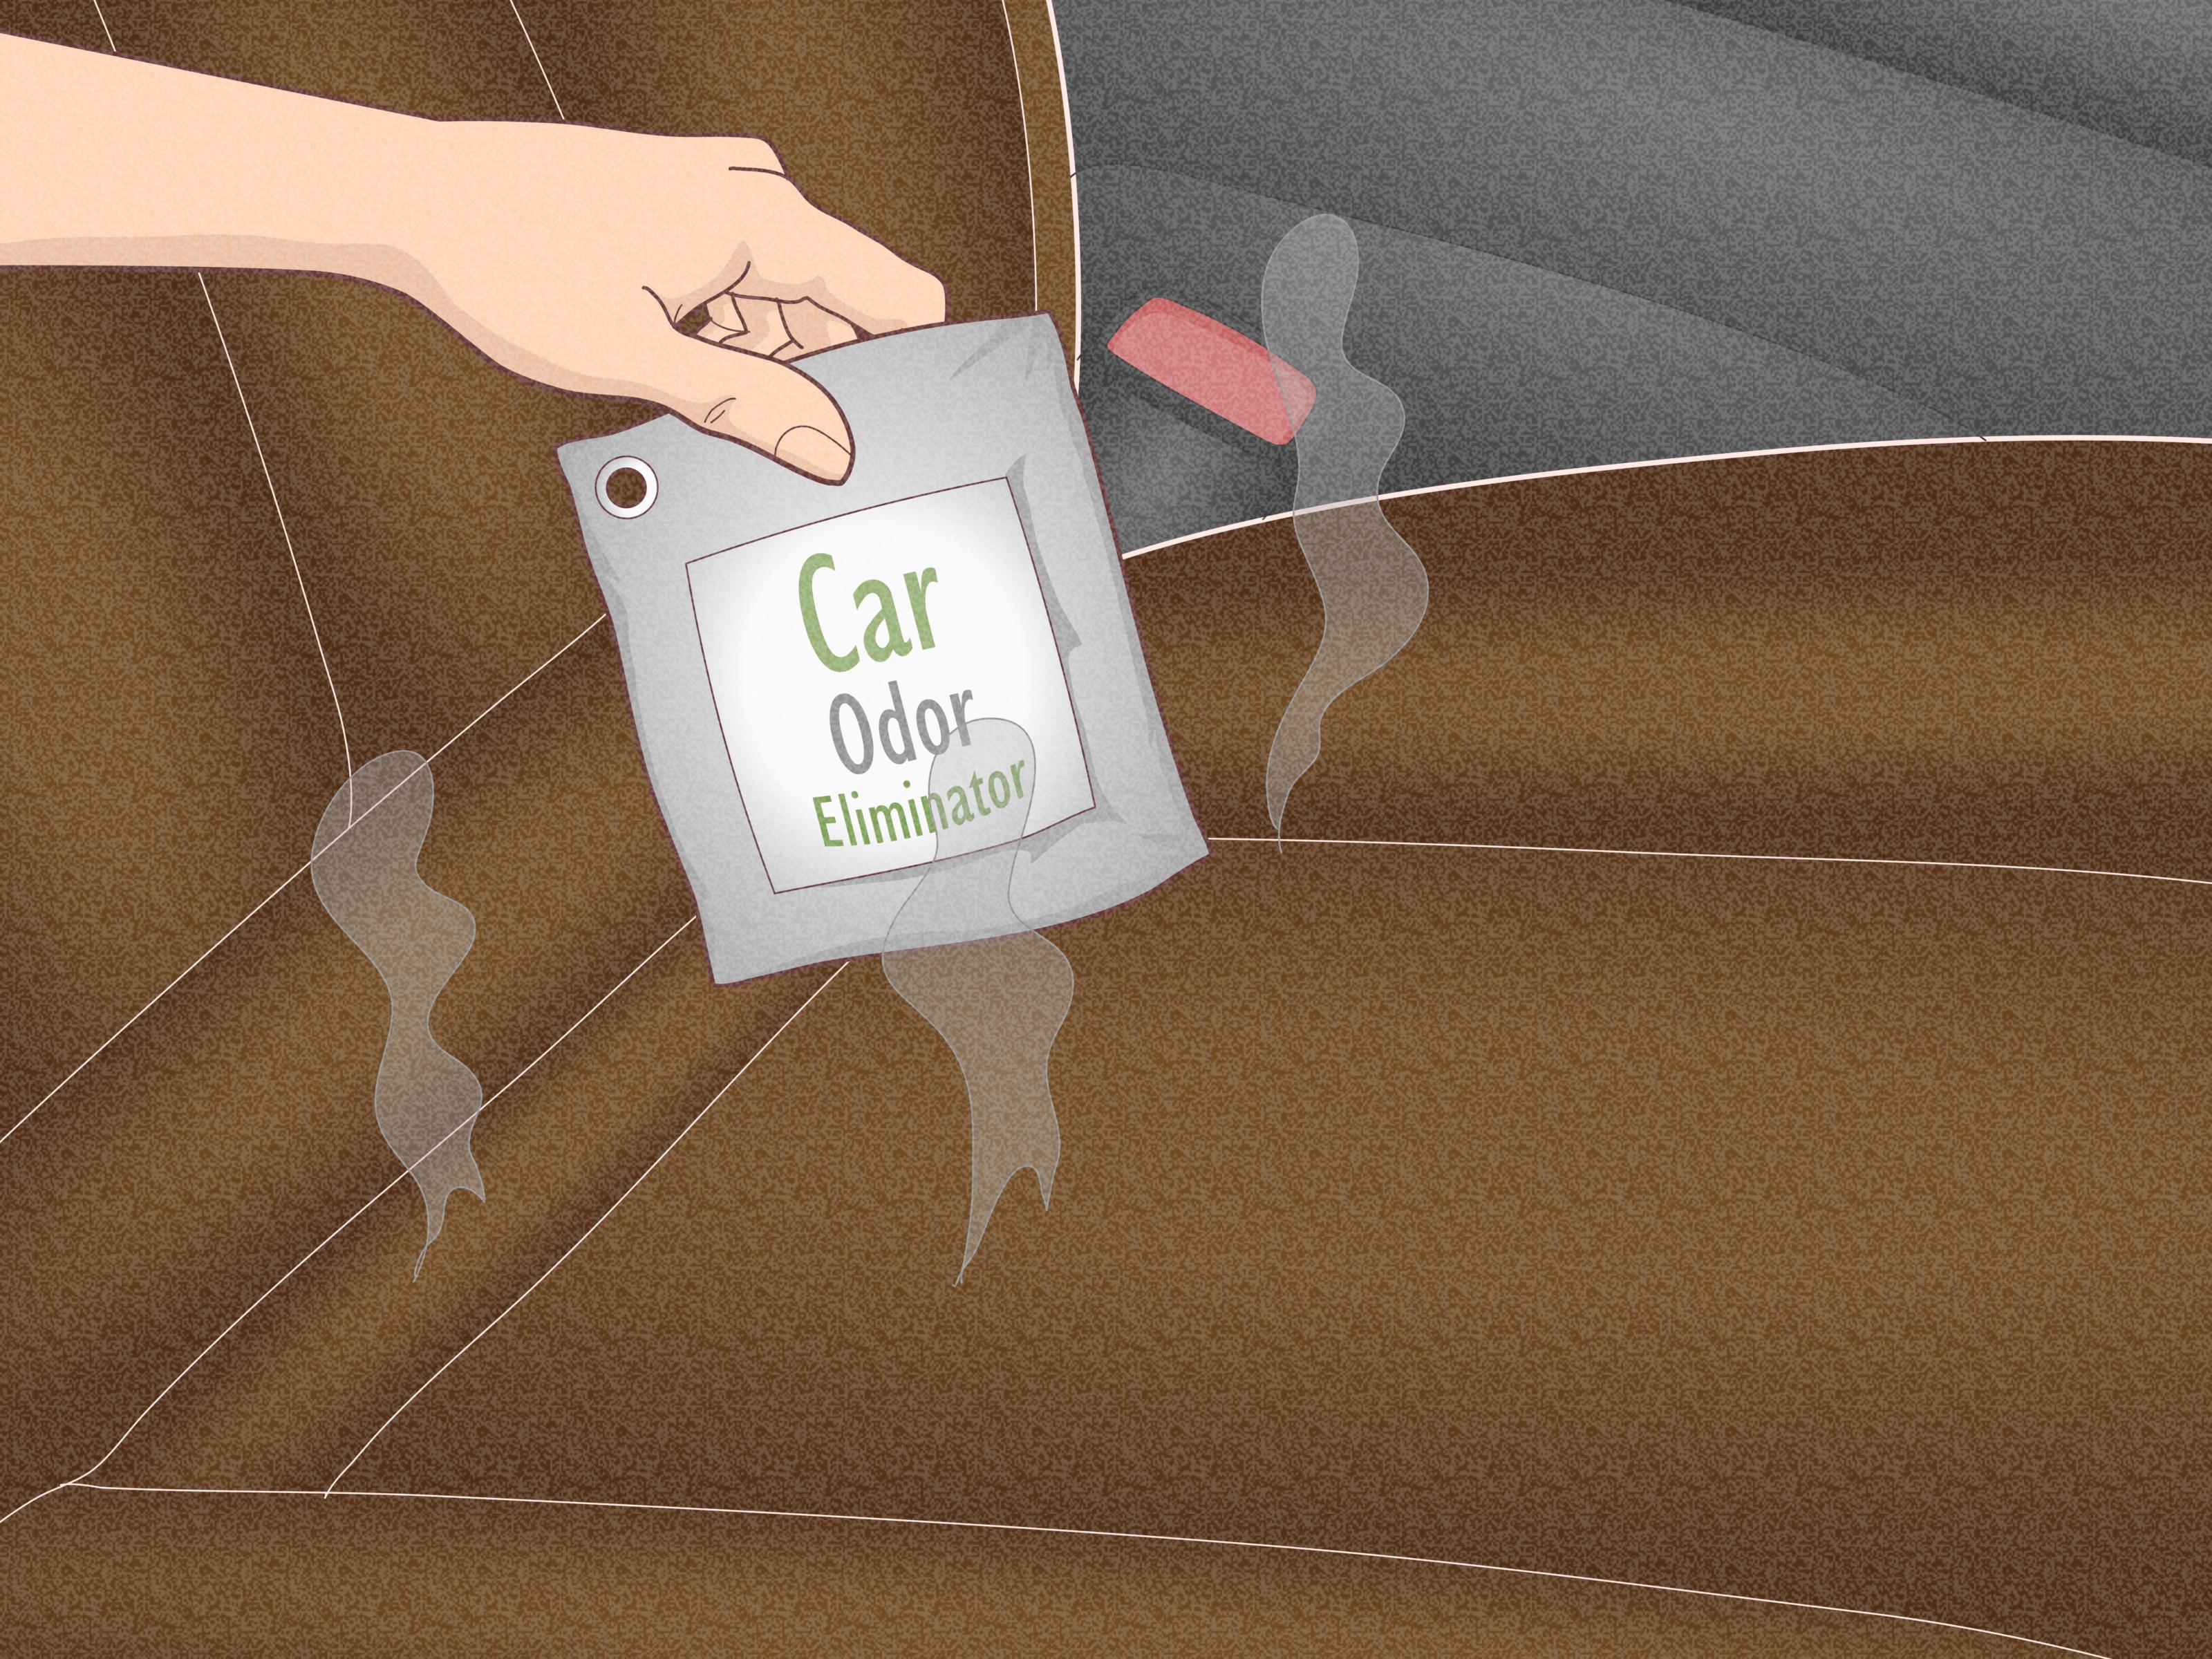
Milk looks innocent. It sits in the cup holder like a polite little beverage, minding its own business. Then one sharp turn, one enthusiastic toddler, or one grocery bag with poor boundaries happensand suddenly your car upholstery smells like a dairy farm having a bad week.
The good news? You can remove milk stains from car upholstery without panic, harsh chemicals, or pretending the smell “adds character.” The trick is acting quickly, using the right amount of moisture, and cleaning deeper than the surface. Milk contains proteins, fats, and sugars, which means it can leave both a visible stain and a sour odor if it soaks into fabric, foam padding, seams, or carpet under the seat.
This guide walks you through 12 simple steps to clean fresh or dried milk spills from cloth car seats, carpeted upholstery, and even leather or vinyl surfaces. You will learn how to blot, deodorize, rinse, dry, and prevent that mysterious “what died in here?” smell from returning every time the sun hits your dashboard.
Note: Always spot-test any cleaner on a hidden area first. Car upholstery varies widely, and what works beautifully on one fabric may leave a watermark on another.
Why Milk Stains Are So Hard to Remove from Car Upholstery
A milk spill is not just a “wipe it and forget it” mess. Milk is partly water, but it also contains proteins, natural fats, minerals, and lactose. When milk dries, those ingredients can cling to upholstery fibers. When it seeps into foam padding, bacteria can break it down and create that sour, funky odor nobody wants riding shotgun.
That is why the best way to remove milk stains from car upholstery is a two-part process: clean the stain and treat the odor source. Spraying air freshener over spoiled milk is like putting sunglasses on a raccoonit may distract you briefly, but it does not solve the problem.
What You Need Before You Start
Before cleaning, gather your supplies so you are not sprinting through the house with one wet towel and a look of deep regret.
- Clean white microfiber cloths or paper towels
- Cold water
- Mild dish soap or upholstery-safe cleaner
- White vinegar
- Baking soda
- Soft-bristle brush or old toothbrush
- Spray bottle
- Wet/dry vacuum or upholstery extractor, if available
- Fan or access to fresh air
- Leather cleaner and conditioner, for leather seats
Use white cloths when possible. Colored towels can transfer dye, especially when damp. Also, avoid bleach, ammonia, heavy perfume sprays, and too much water. Over-wetting car seats can push the milk deeper into the cushion and make drying harder.
Simple Ways to Remove Milk Stains from Car Upholstery: 12 Steps
Step 1: Remove Any Solid Debris
If the milk spill happened during breakfast-on-the-go chaos, there may be cereal, crumbs, cookie pieces, or other little passengers involved. Pick up any solids first. Use a spoon, dull scraper, or vacuum attachment to remove debris without grinding it into the upholstery.
This step matters because crumbs can turn into paste when mixed with cleaning solution. Nobody sets out to make seat-cushion oatmeal, yet here we are.
Step 2: Blot the Milk Immediately
Use a clean, dry microfiber cloth or paper towel to blot as much milk as possible. Press down firmly, lift, and repeat with a dry section of cloth. Do not rub. Rubbing spreads the milk, pushes it deeper into the fibers, and can rough up the fabric surface.
For a fresh spill, spend several minutes blotting. It may feel boring, but this is the step that saves you the most work later. The more liquid you remove now, the less odor you will battle tomorrow.
Step 3: Use Cold Water, Not Hot Water
Dampen a clean cloth with cold water and gently blot the stained area. Cold water helps dilute the milk without setting protein-based residue into the fabric. Hot water can make milk proteins cling more stubbornly, especially on cloth seats.
Use only enough water to dampen the surface. The goal is to dilute and lift the spill, not create a tiny indoor swimming pool in your back seat.
Step 4: Mix a Mild Cleaning Solution
For cloth upholstery, mix a few drops of mild dish soap with one cup of cool or lukewarm water. Stir until lightly sudsy. You can also use a car upholstery cleaner if the label says it is safe for your seat material.
Dip a microfiber cloth into the solution, wring it well, and blot the stain. If needed, use a soft-bristle brush to gently work the cleaner into the fabric. Gentle is the key word. You are cleaning upholstery, not sanding a deck.
Step 5: Clean Beyond the Visible Stain
Milk can spread underneath the fabric before the stain shows on top. Clean slightly beyond the visible edge of the spill. This helps prevent a ring from forming as the area dries.
For large spills, focus on sections. Blot, clean, rinse, and dry one area before moving to the next. Working in small zones gives you better control and helps avoid over-saturating the seat.
Step 6: Rinse with a Damp Cloth
After using soap, rinse the area with a cloth dampened with plain cold water. This removes leftover cleaner and milk residue. Soap residue can attract dirt later, so do not skip this step.
Again, avoid soaking the upholstery. Use a damp cloth, not a dripping one. If the seat feels squishy-wet, you have gone too far and should start extracting moisture immediately.
Step 7: Extract Moisture If You Can
If you have a wet/dry vacuum or portable upholstery extractor, use it to pull moisture out of the seat. This is especially helpful when milk has soaked into foam padding or carpet. Move slowly over the area so the machine has time to remove liquid.
No extractor? Press dry towels into the seat with firm pressure. You can even place a folded towel over the area and press with your hands. Replace towels as they become damp.
Step 8: Treat Odor with Baking Soda
Once the upholstery is no longer wet, sprinkle baking soda over the cleaned area. Let it sit for several hours or overnight, then vacuum thoroughly. Baking soda can help absorb lingering odors and moisture from fabric surfaces.
Do not pile baking soda onto soaking-wet upholstery. It can clump and become harder to remove. Wait until the seat is damp at most, preferably mostly dry.
Step 9: Use a Vinegar Solution for Sour Smells
If a sour milk smell remains, mix one part white vinegar with three parts water in a spray bottle. Lightly mist the area and blot with a clean cloth. Vinegar can help neutralize odors, but it should be used sparingly because too much moisture can drive the problem deeper.
Do not combine vinegar and baking soda in a dramatic volcano on your seat. The fizz looks satisfying, but it is not the most effective way to clean upholstery. Use them separately: vinegar for odor neutralizing, baking soda for dry deodorizing.
Step 10: Try an Enzyme Cleaner for Set-In Milk Odor
If the milk spill is old, or if the car smells sour after cleaning, use an enzyme-based upholstery cleaner. Enzyme cleaners are designed to break down organic residue, making them useful for protein-heavy messes like milk, formula, or food spills.
Follow the product label exactly. Most enzyme cleaners need dwell time to work, but they also require proper drying. Test first, apply lightly, blot, and allow the area to dry completely.
Step 11: Dry the Seat Completely
Drying is not optional. A damp car seat can invite mildew, musty odors, and more upholstery problems. Open the doors or windows if weather allows. Park in a safe, ventilated area. Use a fan to move air across the seat.
Avoid blasting the area with high heat. Gentle airflow is better than cooking the stain. If the cushion underneath stays wet, the smell can return even after the surface looks clean.
Step 12: Repeat or Call a Professional Detailer
Some milk spills require more than one cleaning round, especially if a full bottle leaked into the seat cushion. Repeat the cleaning and drying process if the stain or smell remains.
If the odor survives after two careful attempts, consider a professional auto detailer. Detailers have stronger extraction tools, steam equipment, and upholstery-safe treatments that can reach deeper layers. In severe cases, the seat may need partial disassembly so trapped milk can be cleaned from foam, seams, or carpet below.
How to Remove Milk Stains from Cloth Car Seats
Cloth seats absorb milk quickly, so speed matters. Start by blotting, then clean with mild soap and cold water. Use a soft brush only if the fabric can handle it. Rinse with a damp cloth and extract as much moisture as possible.
For cloth upholstery, the biggest mistake is using too much liquid. It feels logical to rinse the stain heavily, but car seats are layered. The top fabric may look clean while the foam underneath quietly develops a smell with the confidence of a villain in a movie sequel.
For best results, clean in controlled passes. Blot, apply cleaner, blot again, rinse lightly, extract, and dry. This method takes patience, but it protects the seat from water rings and lingering odor.
How to Remove Milk from Leather or Vinyl Car Seats
Leather and vinyl are usually easier to clean on the surface, but milk can still seep into stitching, perforations, cracks, and seat seams. Wipe the spill immediately with a dry cloth, then use a damp cloth with a small amount of leather-safe cleaner.
Avoid soaking leather. Too much water can damage the finish or dry out the material. After cleaning, wipe with a clean damp cloth, dry with a soft towel, and apply a leather conditioner if the seat needs it.
For perforated leather, be extra careful. Milk can settle inside the tiny holes. Use minimal liquid and blot repeatedly. If the smell remains, professional detailing may be the safest route.
How to Remove Milk Smell from Car Upholstery
Milk odor is often worse than the stain itself. The stain may disappear in twenty minutes, while the smell hangs around like it signed a lease. To remove milk smell from car upholstery, focus on three things: residue removal, odor neutralizing, and complete drying.
Start by cleaning the area with mild soap and water. Rinse lightly. Extract moisture. Once dry, use baking soda overnight and vacuum it thoroughly. If the smell remains, apply a light vinegar solution or enzyme cleaner.
Also check surrounding areas. Milk may have run under the seat, into the seat belt buckle area, onto carpet, or down the side of the cushion. A hidden spill can make the whole car smell even when the visible seat looks spotless.
Common Mistakes to Avoid
Using Too Much Water
Oversaturating the seat can push milk deeper into foam padding. Use damp cloths, not buckets of water.
Scrubbing Aggressively
Hard scrubbing can damage upholstery fibers and spread the stain. Blot first, then brush gently if needed.
Masking Odor with Air Freshener
Air freshener does not remove sour milk residue. It simply creates a new scent called “Vanilla Cupcake in a Barn.”
Closing the Car Before It Dries
Trapped moisture can create musty smells. Keep air moving until the seat is fully dry.
Skipping the Hidden Areas
Check seams, carpet, floor mats, seat rails, and under-seat storage. Milk is sneaky.
When the Milk Stain Is Already Dry
Dried milk stains require a little more patience. First, vacuum the area to remove loose residue. Then lightly dampen the stain with cold water. Let it sit for a few minutes to soften the dried milk, then blot.
Apply a mild soap solution and gently work it into the fabric. Rinse with a damp cloth and extract moisture. If odor remains after drying, use an enzyme cleaner. Dried milk often needs two rounds because the residue has had time to bond with the fibers and soak downward.
Do not attack a dried stain with hot water or harsh chemicals. That can set the stain, fade the upholstery, or leave a bigger mark than the original spill.
How to Prevent Milk Spills in the Car
You cannot prevent every spill unless you ban all drinks from the car, which sounds peaceful but unrealistic if you have kids, road trips, iced coffee habits, or a personality. Still, a few habits can help.
- Use spill-proof cups for children.
- Keep dairy drinks in a cooler bag during grocery trips.
- Place washable seat covers on high-risk seats.
- Clean spills immediately, even if they look small.
- Keep microfiber towels and a small trash bag in the car.
- Remove floor mats and rinse them quickly after spills.
A small car cleaning kit can save you from major odor drama. Keep towels, a travel-size upholstery cleaner, and a small box of baking soda in your trunk. Future you will be grateful.
Real-Life Experience: What Actually Works When Milk Hits the Seat
Here is the honest truth from anyone who has cleaned milk out of a car: the first ten minutes matter more than the fanciest cleaner. A fresh spill is usually manageable. A forgotten spill under a child’s booster seat in July is a tiny horror story with cup holders.
One practical experience is that blotting feels too simple, so people rush past it. That is a mistake. Pressing dry towels into the seat over and over can remove a surprising amount of milk before any cleaner touches the fabric. If the towel keeps coming up damp, keep blotting. The seat is telling you there is still liquid hiding inside.
Another lesson: smell travels. You may think the spill is only on the seat, but milk can drip into seams, down the seatback, into the carpet, or under a floor mat. When the odor remains after cleaning, inspect like a detective. Move the seat forward and backward. Lift the floor mat. Check the plastic trim near the seat base. Smell may be coming from a spot you never cleaned.
For cloth upholstery, a wet/dry vacuum or portable extractor makes a huge difference. It is not magic, but it pulls liquid from places towels cannot reach. If you do not own one, many people rent or borrow a small upholstery cleaner for bigger spills. Use it carefully, and avoid flooding the seat with cleaning solution.
Baking soda works best as a finishing move, not the whole plan. Sprinkle it after the seat is mostly dry, let it sit overnight, then vacuum slowly. If you sprinkle it too early, it turns pasty and annoying. That paste can settle into fabric texture and make the seat look dusty even after vacuuming.
Vinegar can help with sour odor, but more is not better. A light mist is enough. If the car smells like salad dressing afterward, you used too much. The vinegar smell usually fades as it dries, especially with windows open and air moving.
For parents, the best prevention is a washable seat protector under car seats and booster seats. Milk spills often hide beneath them, where they stay warm, trapped, and deeply committed to becoming disgusting. Check underneath regularly, especially after long drives.
For coffee lovers who also transport milk, creamers, protein shakes, or smoothies, treat every dairy spill like milk. Blot fast, clean lightly, and dry completely. Sweet dairy drinks can be even stickier because sugar adds residue that attracts dirt.
The final experience-based tip is simple: trust your nose, but do not let it bully you. If the smell improves after one cleaning, repeat the process. If it does not improve at all, the milk likely reached deeper padding or carpet. That is when a professional detailer is worth it. Paying for one deep extraction is better than driving around for weeks wondering whether your car has developed a cheese-based personality.
Conclusion
Removing milk stains from car upholstery is completely doable when you act quickly and clean correctly. Start by blotting the spill, use cold water, apply a mild cleaner, rinse lightly, extract moisture, and dry the seat fully. For odor, baking soda, vinegar, and enzyme cleaners can help when used the right way.
The main rule is simple: do not just clean what you can see. Milk can travel into seams, foam, carpet, and hidden corners. A careful cleaning process removes both the stain and the smell, helping your car feel fresh again instead of smelling like a forgotten lunchbox.
With the right steps, your upholstery can recoverand your car can go back to smelling like normal life, not a dairy aisle in distress.











