
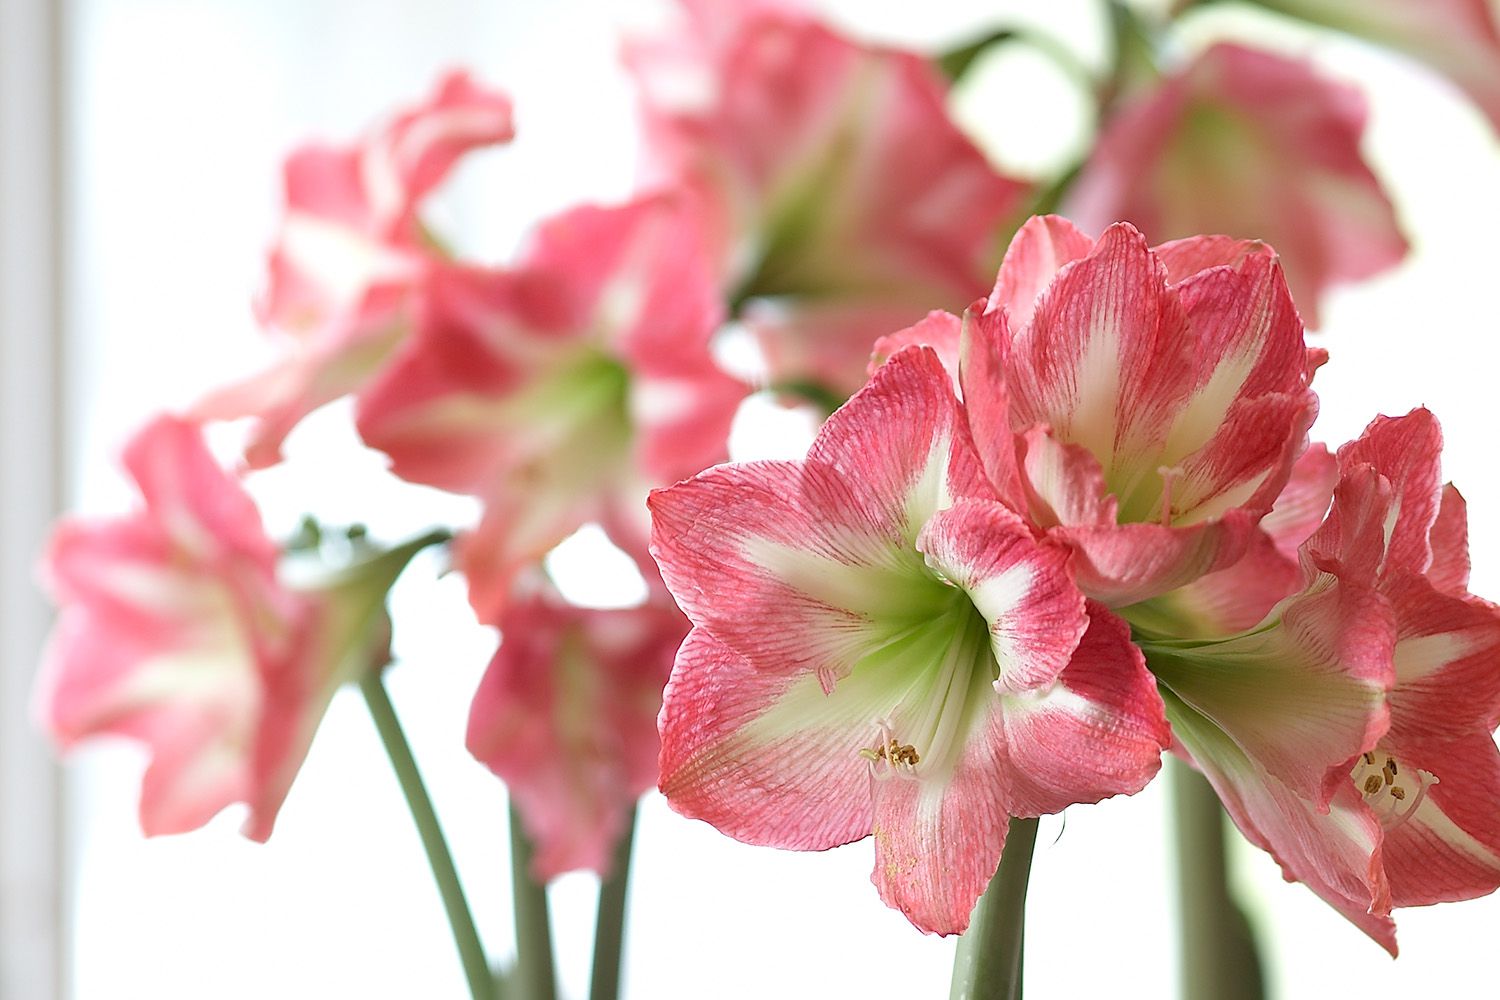
When your amaryllis finishes blooming, it can feel a little like the party ended early. One week you have giant trumpet-shaped flowers stealing the show from every other houseplant in the room. The next week? A sad stalk, a few fading petals, and a question hanging in the air: Now what?
The good news is that your amaryllis bulb is not “done.” In fact, the period after flowering is where the real work begins. If you handle post-bloom care the right way, that bulb can gather strength, rest, and come back with another round of flowers instead of heading straight for the gardening graveyard. So no, do not dramatically toss it in the trash like it betrayed you. It just needs a different kind of attention now.
This guide walks through exactly what to do with amaryllis bulbs after they bloom, including how to trim them, whether to keep the leaves, how to water and feed them, when to let them go dormant, and how to encourage them to flower again. If you have ever wondered whether your bulb still has a future, the answer is yes, as long as you stop treating it like a bouquet and start treating it like a living energy-storage system with excellent taste in flowers.
The Short Answer: Don’t Throw the Bulb Away
If you want the quickest possible answer, here it is: remove the faded flowers, keep the leaves, continue watering and feeding the plant, give it bright light, and then decide whether to let it go dormant before reblooming. That is the basic game plan.
After blooming, an amaryllis bulb needs time to rebuild energy. The flowers may be finished, but the bulb is still very much alive. The green leaves act like solar panels, capturing light and helping the bulb store food for the next blooming cycle. Your job is to help the plant keep photosynthesizing instead of cutting it back too early and accidentally canceling next year’s performance.
Step 1: Remove the Spent Flowers, Not the Whole Plant
The first thing to do with an amaryllis after it blooms is remove the faded flowers. This is more than a cosmetic cleanup. Once flowers begin forming seeds, the plant diverts energy into seed production instead of storing that energy inside the bulb. That is a bad trade if your goal is another bloom cycle.
Use clean scissors or pruners and snip off each faded blossom as it wilts. You can also remove the whole flower head when the display is over. What you should not do is hack off every green part in sight out of impatience. Gardening is not a haircut emergency.
What about the flower stalk?
This is where many people get a little snip-happy. If the flower stalk is still green, leave it alone for a while. A green stalk can still contribute energy to the bulb. Once the stalk turns yellow or starts drying out, cut it back to about 1 to 2 inches above the bulb. At that point, it has done its job.
Think of the flower stalk as a temporary employee who has not clocked out yet. If it is green, it is still on the payroll.
Step 2: Keep the Leaves Growing
If there is one rule of post-bloom amaryllis care you should tape to your refrigerator, it is this: do not remove healthy green leaves.
Those long, strap-like leaves may not be glamorous, but they are the reason your bulb has a chance to bloom again. Leaves collect sunlight and convert it into energy that gets stored inside the bulb. No leaves, no energy reserve. No energy reserve, no future flowers. It is a very direct relationship.
So even if the plant looks less exciting after the blooms fade, leave the foliage intact and let it keep growing. Place the pot in a bright spot indoors, ideally near a sunny window. South-facing exposure is often best indoors, though any location with strong bright light helps.
Step 3: Water It Like a Plant, Not Like a Problem
After the blooms are gone, your amaryllis still needs regular care. Keep the potting mix lightly moist, but never soggy. Overwatering is one of the fastest ways to turn a healthy bulb into a mushy regret.
A good rule is to water when the top inch or two of the potting mix feels dry. Then water thoroughly and let excess moisture drain away. Never let the pot sit in standing water for long. Amaryllis bulbs dislike wet feet in the same way most people dislike wet socks: intensely.
If your bulb is planted in a decorative cachepot, double-check that water is not pooling at the bottom. Bulb rot is not dramatic or exciting. It is just annoying and final.
What if my amaryllis was grown in water?
If you forced your amaryllis in water, the post-bloom situation is different. A bulb that bloomed in water usually will not rebloom again in water. In some cases, you can pot it in soil and try to rehabilitate it, but expectations should stay realistic. It may take a long recovery period, and some bulbs simply do not bounce back well.
Waxed amaryllis bulbs are also a special case. They are designed for one showy bloom using stored energy inside the bulb. Once that energy is spent, they are much less reliable for long-term growing than traditionally potted bulbs.
Step 4: Feed the Bulb for Next Year’s Flowers
Once your amaryllis is done blooming, start thinking less about flowers and more about food storage. This is the phase where fertilizer helps the bulb rebuild its reserves.
Use a balanced houseplant fertilizer or an all-purpose indoor plant fertilizer according to label directions. Many gardeners feed monthly during the active growing period. The goal is not to turn your plant into a bodybuilder overnight. The goal is steady support while it produces leaves and stores nutrients.
Bright light, regular watering, and consistent feeding work together. If one piece is missing, the bulb may survive, but it may not be strong enough to rebloom well. A weak bulb often gives you leaves and disappointment instead of flowers and bragging rights.
Step 5: Decide Whether to Move It Outdoors for Summer
One of the best things you can do with amaryllis bulbs after they bloom is give them a summer vacation outdoors, assuming your climate and schedule allow it. Once all danger of frost has passed, you can move the potted plant outside.
Do not shove it into full blazing sun on day one. Acclimate it gradually. Start in shade or bright indirect light, then slowly move it into a sunnier location over several days. Outdoor light and warm temperatures can help the plant grow stronger leaves and build up the bulb.
You have two good options:
- Keep the bulb in its pot and place the pot on a patio, porch, or deck.
- Sink the pot into a garden bed for the season without removing the bulb from the container.
Keeping it in the pot is often easier and safer because amaryllis roots can be brittle. It also makes it simpler to bring the plant back indoors before fall frost.
How much sun does it need outdoors?
Amaryllis generally does best with bright light and several hours of sun. In hot climates, morning sun with some afternoon shade can be a smart compromise. The exact sweet spot depends on your conditions, but the goal is vigorous leaf growth without scorching the plant.
Step 6: Know That Dormancy Is Helpful, but Not Always Mandatory
Here is where amaryllis care gets interesting. Many people assume the bulb must go dormant to bloom again. That is not entirely true. Some amaryllis can rebloom without a formal dormant period if they remain healthy and keep growing. However, a rest period is often used to control bloom timing, especially if you want flowers around the holidays.
So the real question is not “Does dormancy exist?” It is “Do you want to manage the timing?” If yes, dormancy is your tool.
How to put an amaryllis bulb into dormancy
In late summer or early fall, begin reducing water. Then stop watering and fertilizing completely. Place the plant in a cool, dry, dark or semi-dark location such as a basement, closet, or garage that stays around 45 to 55 degrees Fahrenheit. Let the leaves yellow and die back naturally. Once they are fully brown and dry, remove them.
Most guidance suggests a rest period of about 8 to 12 weeks. During that time, do not water the bulb. This dormant period helps reset the growing cycle and is especially useful when you want predictable reblooming.
If the idea of putting a plant in a dark closet feels dramatic, that is because it is. Fortunately, amaryllis handles drama better than most houseplants.
Step 7: Wake the Bulb Up and Start the Rebloom Cycle
After the dormant period, bring the bulb back into a warm, bright location. Start watering lightly, then increase moisture as new growth appears. At this stage, the bulb is essentially being invited back on stage.
You may also choose to repot it in fresh, well-draining potting mix if needed. Amaryllis generally likes to be somewhat pot-bound, so do not jump to an oversized container. A pot just a little larger than the bulb is usually best, with part of the bulb still sitting above the soil line.
Once active growth resumes, continue standard care. With good conditions, you may see flowers in about 4 to 8 weeks, depending on the bulb and how dormant it truly was before restarting.
Common Mistakes to Avoid
Amaryllis is not especially difficult, but it does punish a few classic mistakes with remarkable consistency. If you want to avoid the usual post-bloom heartbreak, skip these:
1. Cutting off all the leaves too soon
This is the biggest mistake. Green leaves are feeding the bulb. Remove them only after they naturally yellow and die back.
2. Letting the bulb sit in soggy soil
Too much water invites rot. Keep the soil lightly moist during active growth, not waterlogged.
3. Forgetting to fertilize
After bloom, the plant needs help rebuilding stored energy. A bulb that gets no feeding may survive but underperform.
4. Leaving it outdoors too late in the season
Amaryllis is not frost-tolerant. Bring it indoors before cold weather arrives.
5. Expecting instant reblooming from a weak bulb
Some bulbs need a full recovery cycle. If your bulb was small, stressed, or forced hard for a holiday display, it may need extra time before it produces another strong flower stalk.
What If the Bulb Makes Only Leaves and No Flowers?
This is frustrating, but it is also common. A leaf-only amaryllis usually means the bulb did not store enough energy during the post-bloom phase. The plant may have had too little light, too little fertilizer, too much water, or an incomplete dormancy period if you were trying to force a bloom schedule.
The fix is usually patience plus better growing conditions. Give the bulb a full season of strong leaf growth, regular feeding, and proper timing. In many cases, the next cycle is much better.
Bulb size matters too. Larger bulbs tend to bloom more reliably than smaller ones. So if your bulb acts like it is “not ready for commitment,” it may simply need more time to bulk up.
Can You Save Baby Bulbs or Offsets?
Yes. Mature amaryllis bulbs sometimes produce small offsets, often called bulblets. These can be separated after the dormant period and potted individually, though they usually need time to grow before they are large enough to bloom.
If you are patient, offsets are a nice bonus. If you are impatient, they are tiny reminders that gardening is a long-term relationship.
Practical Example: A Simple Yearly Amaryllis Care Timeline
Here is a simple example of how the amaryllis cycle can look in real life:
- January: The plant finishes blooming indoors. Remove spent flowers, keep leaves, continue watering.
- February to May: Place in bright light and fertilize regularly while leaves grow.
- Late spring to summer: Move outdoors after frost risk is gone. Keep growing and feeding.
- September: Bring indoors before frost. Reduce and then stop watering if you want dormancy.
- October to November: Keep the bulb cool, dark, and dry for 8 to 12 weeks.
- Late fall to winter: Bring the bulb back into light and warmth, restart watering, and wait for new growth.
This timeline is flexible, but it helps show that reblooming is less about one magical trick and more about respecting the bulb’s rhythm.
Real-World Experiences with Amaryllis After Blooming
One reason people get confused about what to do with amaryllis bulbs after they bloom is that the plant looks awkward right when you are supposed to care for it the most. During the flowering stage, it is elegant, dramatic, and photogenic. After the flowers fade, it becomes a pot of floppy green leaves that looks a little like it is waiting for an apology. That visual shift tricks many gardeners into thinking the bulb is finished. In real homes, that is usually the moment when a perfectly healthy bulb ends up in the trash.
A common experience goes like this: someone receives a holiday amaryllis, enjoys the flowers for two or three weeks, then cuts everything down because the stalk looks tired. The next season, nothing happens except a few leaves. The person concludes the bulb “didn’t work.” What actually happened is simple. The bulb never got enough time to recharge. Amaryllis is less like a bouquet and more like a rechargeable battery with roots.
Gardeners who have the best luck often describe a shift in mindset. Instead of asking, “How do I keep the flowers going forever?” they ask, “How do I help the bulb recover well?” Once that mental switch happens, the care routine gets easier. Bright light becomes non-negotiable. Fertilizer becomes part of the plan instead of an afterthought. The leaves stop looking messy and start looking useful.
Another real-world lesson is that outdoor summering makes a big difference for many bulbs. People often report that an amaryllis kept on a sunny porch or lightly shaded patio during warm months comes back stronger than one left in a dim corner indoors all year. The plant simply gets more energy. More energy means a fatter bulb, and a fatter bulb usually means better odds of blooming.
There is also a lot of trial and error with dormancy. Some growers swear by the classic cool, dark rest period and get dependable winter blooms each year. Others forget to force dormancy, keep the plant growing, and still get flowers later on. That can make the advice seem inconsistent, but it really reflects how adaptable amaryllis can be. The bulb has preferences, not a legal contract. Dormancy is often best when you want timing and control. Continued growth can work when your goal is simply keeping the plant alive and healthy.
Then there is the emotional side of it, which gardeners rarely mention but everyone understands. When an amaryllis reblooms after a year of patient care, it feels weirdly satisfying. It is not just another flower. It is proof that you paid attention, resisted overwatering, tolerated the ugly leaf stage, and did not panic-prune the plant into oblivion. In other words, you earned it.
If your bulb does not rebloom the first time, that is not failure. It is usually feedback. Maybe it needed more light. Maybe it was a smaller bulb. Maybe it had a spectacular holiday bloom and used up most of its reserves. Gardeners who stick with amaryllis for several years often say the plant teaches patience better than perfection. And honestly, that may be part of its charm. It gives you massive flowers up front, then quietly asks whether you are willing to do the boring part too.
Final Thoughts
So, what should you do with amaryllis bulbs after they bloom? Keep them growing. Remove spent flowers, protect the green leaves, give the plant bright light, water carefully, fertilize during active growth, and decide whether to use a dormant period to control reblooming. That is the formula.
The biggest mistake is assuming the show is over when the petals drop. For amaryllis, the post-bloom period is not the end. It is the setup for the sequel. Treat the bulb well, and it can reward you with another round of bold, oversized flowers that make every other winter houseplant look like it forgot its lines.
And if you are still staring at that pot of leaves wondering whether it is worth the effort, here is the honest answer: yes. Absolutely yes. Because very few plants can go from “what is this grassy mess?” to “wow, did that really come from the same bulb?” quite like an amaryllis can.












