
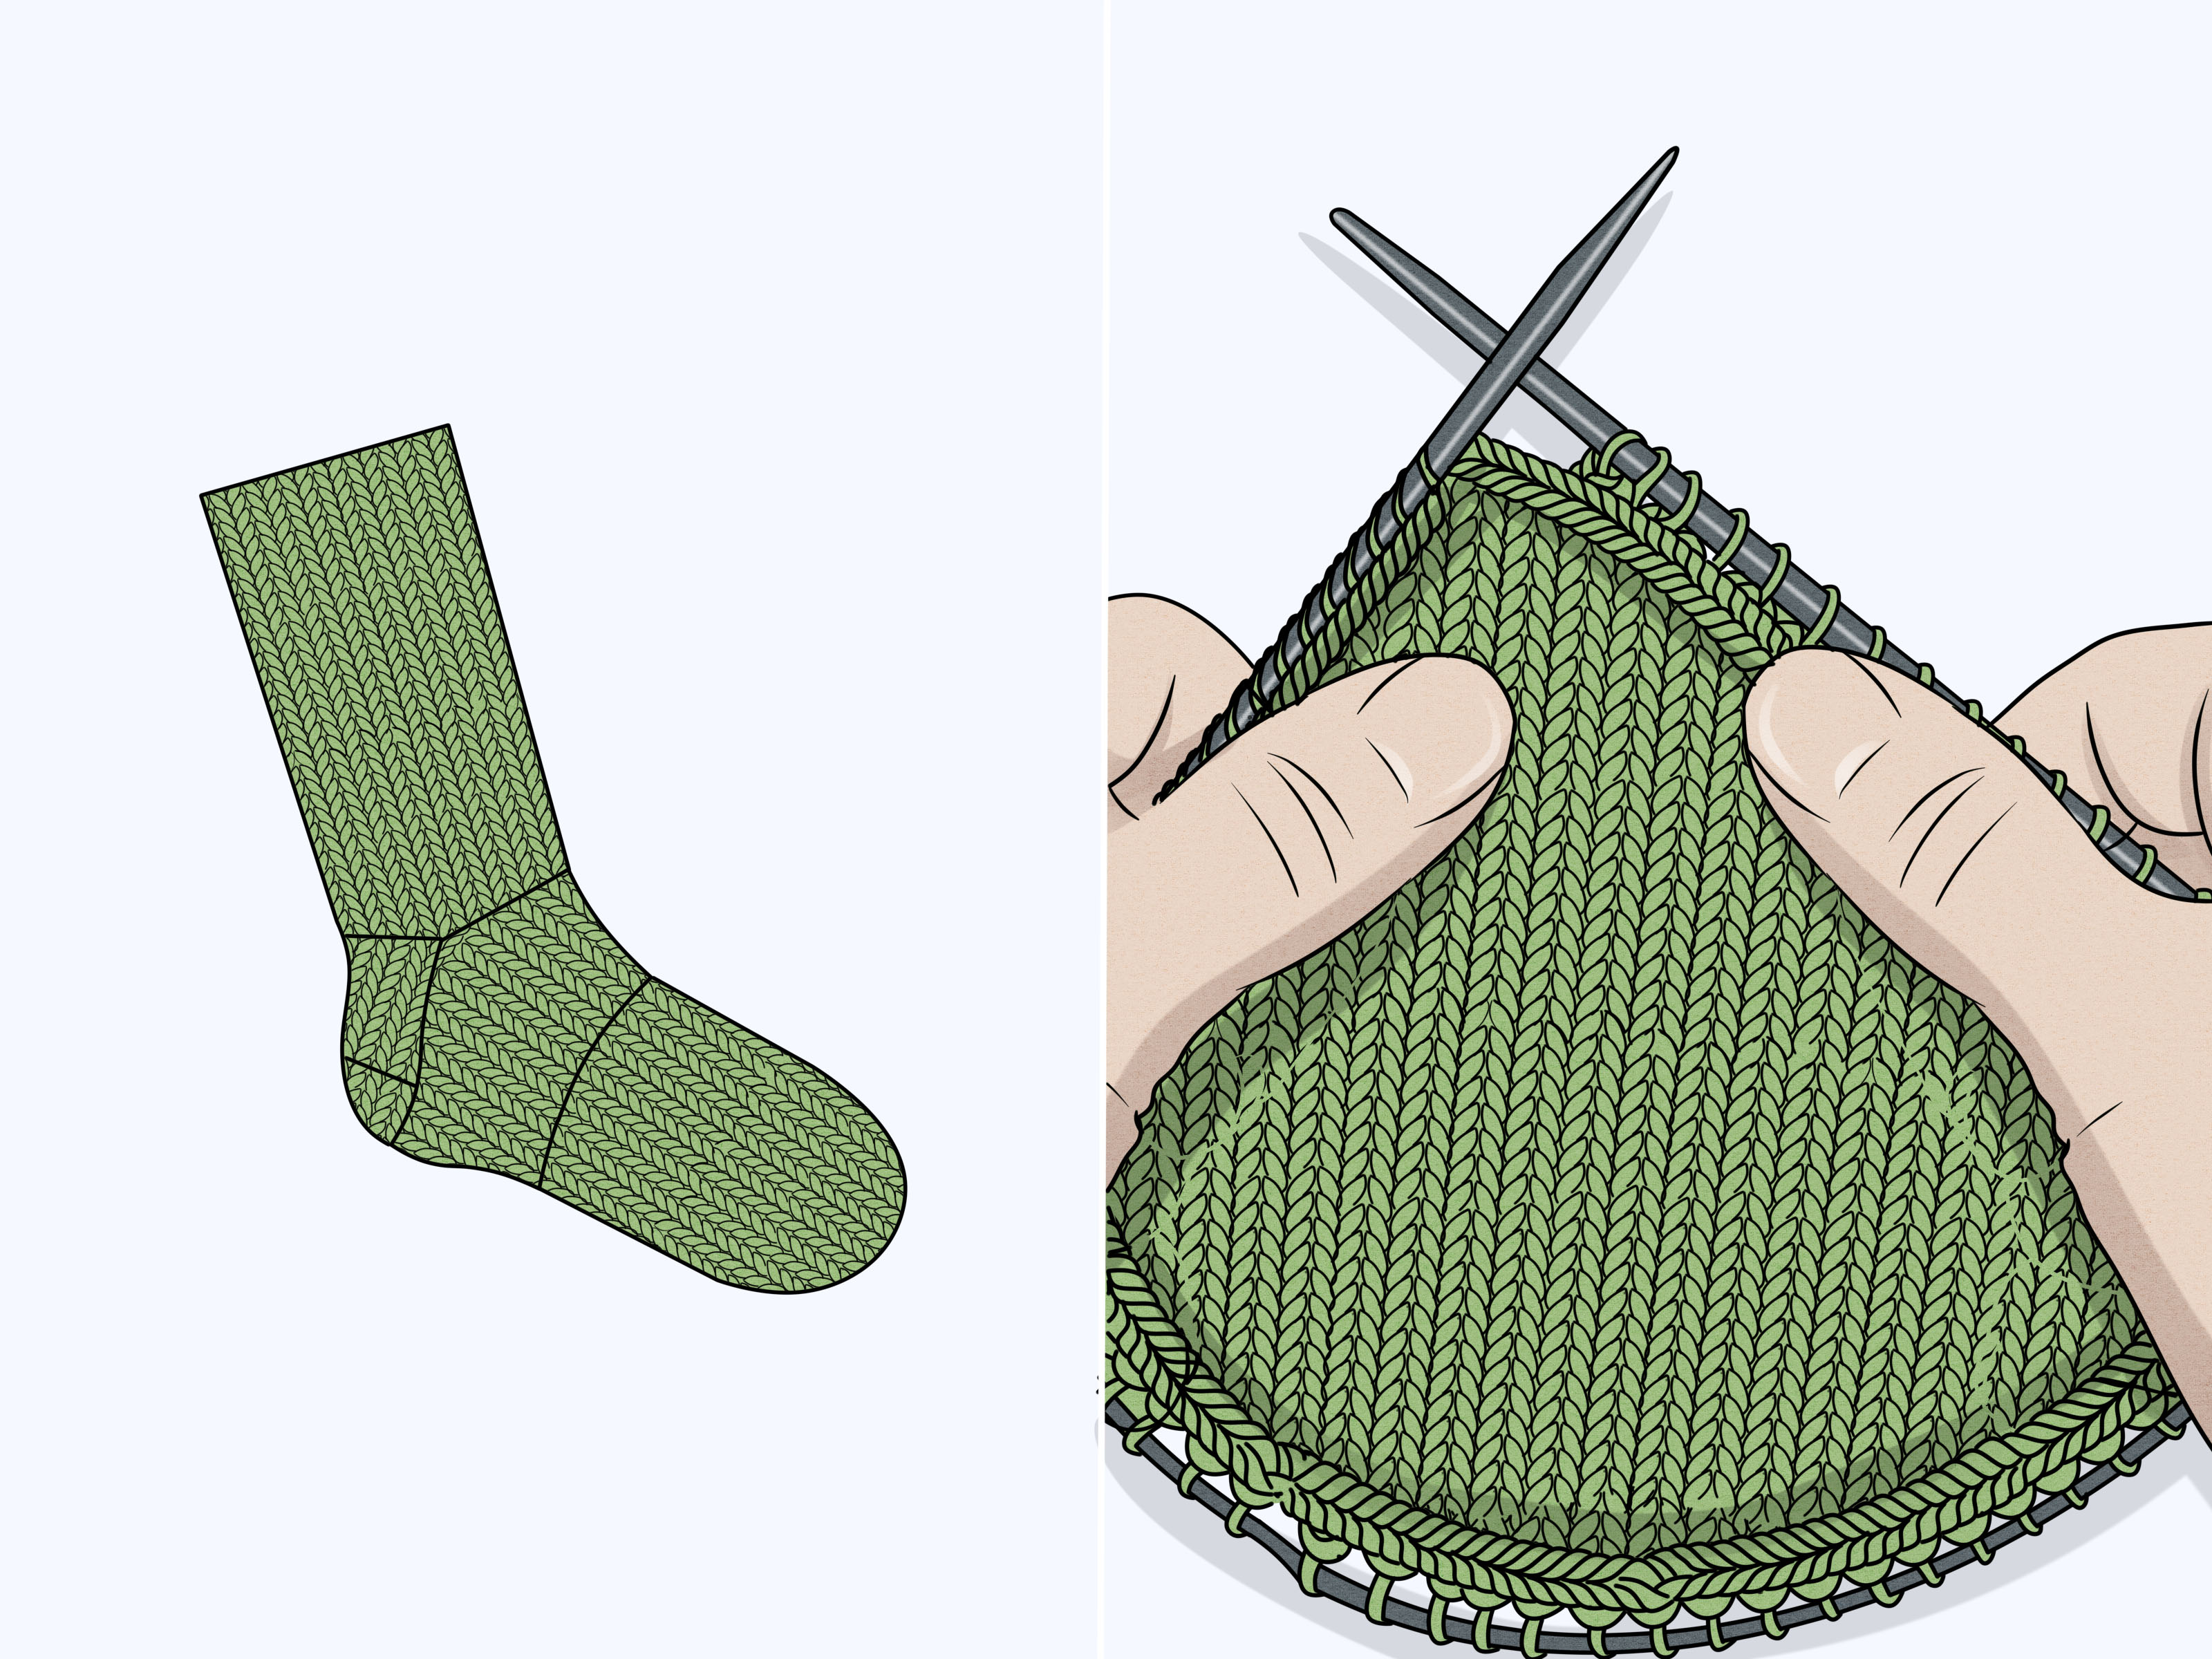
Knitting socks can look like advanced yarn wizardry. There is a ti that somehow closes without becoming a lumpy pouch. Fortunately, none of it requires magical powersor even a collection of double-pointed needles trying to escape beneath the couch.
Learning how to knit socks on circular needles gives you a portable, practical project that can be customized for almost any foot. With the magic loop method, one long circular needle can handle the cuff, leg, heel, foot, and toe. Once you understand how the sections fit together, a sock stops looking like an engineering problem and starts feeling like a logical sequence of small knitting tasks.
This guide explains a classic cuff-down sock with a heel flap and gusset. It also covers yarn selection, sizing, circular-needle techniques, common mistakes, and the lessons knitters usually learn during their first few pairs.
Why Knit Socks on Circular Needles?
Traditional sock patterns often use four or five double-pointed needles. That method works beautifully, but some knitters find the arrangement awkward. Circular needles reduce the number of needle tips in play and keep the project attached to a flexible cable.
The most popular circular-needle options are:
- Magic loop: One long circular needle holds the stitches in two sections.
- Two circular needles: Half the stitches sit on each circular needle.
- A short circular needle: A 9-inch needle can work for the leg and foot, although its tiny tips may feel uncomfortable to some knitters.
Magic loop is usually the most versatile choice because the same needle can accommodate every circumference, including the narrow toe. A flexible cable measuring approximately 32 to 40 inches is generally comfortable for an adult sock. Longer cables also make it possible to knit two socks at the same time once you are ready for that particular juggling act.
Supplies You Will Need
Sock Yarn
For everyday socks that will be worn inside shoes, fingering-weight sock yarn is the standard choice. Many sock yarns combine wool with nylon or another reinforcing fiber. Wool provides warmth, elasticity, and moisture management, while nylon helps the fabric tolerate repeated rubbing at the heel and toe.
A 100-gram skein containing roughly 350 to 450 yards is commonly enough for a pair of average adult crew socks. Tall legs, large feet, cables, and elaborate texture patterns may require additional yarn. Beginners often enjoy self-striping yarn because it creates visual excitement while the knitter performs nothing more dramatic than plain stockinette stitch.
Circular Needles
Choose the needle size needed to obtain the pattern gauge rather than automatically using the size printed on the yarn label. Fingering-weight socks are commonly worked on needles between US 1 and US 2.5, or approximately 2.25 to 3 millimeters.
A needle with a smooth, flexible cable is especially helpful for magic loop. A stiff cable may curl like a garden hose with strong opinions, making every transition more difficult than necessary.
Additional Tools
- A locking stitch marker or beginning-of-round marker
- A tape measure
- A tapestry needle
- Small scissors
- Waste yarn or stitch holders
- A row counter or note-taking app
Understand Sock Fit Before Casting On
A hand-knit sock should generally be slightly smaller than the foot it will cover. This is called negative ease. Without it, the sock may sag, twist, or collect beneath the arch like a tiny knitted accordion.
For a practical starting point, make the finished foot circumference approximately 8% to 12% smaller than the actual foot circumference. The finished foot length is often about 10% shorter than the wearer’s foot, although the ideal amount depends on the elasticity of the yarn and stitch pattern.
Measure around the widest part of the foot, usually near the ball. Also measure from the back of the heel to the tip of the longest toe. If the pattern offers several sizes, choose according to foot circumference first. Foot length can easily be adjusted while knitting.
Gauge matters more in socks than it does in many scarves or blankets. A fabric that is too loose may wear out quickly and feel uncomfortable inside a shoe. A fabric that is too tight may be stiff and difficult to pull over the heel. Knit a circular gauge swatch whenever possible because some knitters produce a different tension in the round than they do when working flat.
How Magic Loop Works
Magic loop divides the sock stitches into two groups. One group normally represents the front or instep, while the other represents the back of the leg and later the sole.
- Cast all required stitches onto a long circular needle.
- Slide the stitches toward the center of the cable.
- Find the halfway point and pull a loop of cable between the two stitch groups.
- Move both groups toward the needle tips.
- Check that every cast-on edge faces inward and that the stitches are not twisted.
- Pull the rear needle tip free, leaving those stitches resting on the cable.
- Use the free needle tip to knit across the stitches on the front needle.
- Turn the work, reposition the cable, and knit the second half.
After both halves have been worked, one complete round is finished. The movement soon develops into a rhythm: slide, pull, knit, turn, repeat.
Preventing Ladders
Ladders are loose vertical columns that may appear where the two magic-loop sections meet. To prevent them, keep the cable close to the last stitch worked and snug the first two stitches of each new section. Avoid pulling the first stitch with excessive force, which can distort the surrounding fabric.
You can also shift the division point by one or two stitches every few rounds. This prevents the same column from absorbing all the transition tension.
How to Knit a Cuff-Down Sock Step by Step
Step 1: Cast On a Stretchy Cuff
Use the stitch count provided by your pattern. Many adult fingering-weight socks begin with approximately 56 to 72 stitches, but your gauge and desired size determine the correct number.
A German twisted cast-on, elastic long-tail cast-on, or another stretchy method works well. A standard long-tail cast-on can also succeed if it is worked loosely. The cuff must stretch over the heel without cutting into the leg.
Divide the stitches equally for magic loop, confirm that the cast-on edge is not twisted, place a beginning-of-round marker if desired, and join for working in the round.
Step 2: Knit the Ribbed Cuff
Work approximately 1 to 2 inches of ribbing. Common options include knit-one, purl-one ribbing and knit-two, purl-two ribbing. Ribbing helps the sock grip the leg and return to shape after stretching.
Keep the first several rounds relaxed. A tight cuff may look tidy on the needles but become surprisingly stubborn when introduced to an actual ankle.
Step 3: Work the Leg
Continue in stockinette stitch or follow the leg pattern until the sock reaches the desired height. Because stockinette worked in the round consists entirely of knit stitches, this section is ideal for becoming comfortable with magic loop.
For a basic crew sock, the leg may measure approximately 5 to 8 inches from the cast-on edge. Remember that a longer leg requires more yarn.
Step 4: Create the Heel Flap
A traditional heel flap is usually worked back and forth over half the total stitches. The remaining instep stitches rest on the cable while the heel stitches are treated as flat knitting.
A reinforced heel stitch commonly alternates slipped stitches and knit stitches on right-side rows, followed by purl stitches on wrong-side rows. The slipped stitches create a dense, cushioned fabric that resists wear.
The flap is often worked for approximately the same number of rows as there are heel stitches, although patterns vary. A taller flap creates more room for a high instep.
Step 5: Turn the Heel
The heel turn uses short rows and decreases to transform the flat heel flap into a curved pocket. At first, the instructions may appear suspicious because the row ends while unworked stitches remain. This is intentional.
Follow each row exactly. Work to the specified point, decrease across the visible gap, knit or purl the next stitch, and turn. Repeating this process consumes the side stitches and forms the rounded base of the heel.
Do not attempt to intellectually wrestle the entire heel into submission before beginning. The shape becomes obvious after several rows.
Step 6: Pick Up Gusset Stitches
After turning the heel, knit across the heel stitches. Pick up and knit stitches along one side of the heel flap, work across the instep stitches, and pick up stitches along the opposite edge.
Slipping the first stitch of each heel-flap row creates a chain-like edge that makes these pickups easier. Many knitters also pick up one extra stitch at each upper corner of the heel flap to reduce the chance of a small hole.
Rearrange the stitches so the instep rests on one magic-loop half and the heel or sole stitches rest on the other. The sock will temporarily contain more stitches than it did before the heel.
Step 7: Shape the Gusset
Gusset decreases remove the extra stitches while creating room for the ankle and instep. Decreases normally occur on both sides of the instep every other round until the original stitch count has been restored.
One side commonly uses a knit-two-together decrease, while the other uses a slip-slip-knit decrease. Their opposite slants create balanced diagonal lines.
Step 8: Knit the Foot
Once the gusset is complete, knit evenly until the sock is ready for toe shaping. Try the sock on carefully or measure from the back of the heel.
Begin the toe when the foot is approximately 1.5 to 2 inches shorter than the desired finished length. The exact distance depends on the number and frequency of the toe decreases.
Step 9: Shape the Toe
Most wedge toes use four decreases per decrease round: two on the top of the foot and two on the sole. Work decrease rounds alternately with plain rounds at first. Near the end, the decreases may be worked every round.
Continue until the pattern’s final stitch count remains, with equal numbers on the top and bottom halves.
Step 10: Close the Toe
Kitchener stitch grafts the remaining live stitches together and creates a nearly invisible, flexible closure. Cut the yarn with a generous tail, thread it through a tapestry needle, and follow the grafting sequence carefully.
A three-needle bind-off is an alternative, but it creates a more noticeable ridge. That ridge may be acceptable for thick house socks but can feel bulky inside fitted shoes.
A Practical 64-Stitch Sock Roadmap
For a typical adult sock at a fingering-weight gauge, a simplified construction might look like this:
- Cast on 64 stitches.
- Divide them into two groups of 32 for magic loop.
- Work 1.5 inches of knit-two, purl-two ribbing.
- Knit the leg to the desired length.
- Work the heel flap over 32 stitches.
- Turn the heel according to the pattern.
- Pick up approximately 16 to 18 stitches along each flap edge.
- Decrease the gusset back to 64 stitches.
- Knit the foot until it is roughly 1.75 inches short of the target length.
- Shape and graft the toe.
This is a roadmap rather than a universal recipe. Foot circumference, gauge, heel depth, and toe shape must still be considered.
Common Sock-Knitting Problems
The Cast-On Is Twisted
A twisted cast-on cannot be corrected after several rounds without unraveling. Before joining, place the needle on a flat surface and confirm that the cast-on edge runs consistently around the inside.
The Sock Will Not Fit Over the Heel
The cuff may be too tight, the leg circumference may be too small, or the heel construction may not provide enough depth. Test the cuff after an inch of ribbing. For a high instep, consider a longer heel flap or a pattern specifically designed with additional heel depth.
Holes Appear Beside the Gusset
Pick up an extra stitch in the gap between the heel flap and instep. On the following round, decrease it with a neighboring stitch. Also ensure the working yarn is snug when transitioning between sections.
The Socks Are Different Lengths
Record the number of cuff rounds, leg rounds, heel-flap rows, and foot rounds used for the first sock. Measuring alone can be misleading because knitted fabric stretches. Two-at-a-time magic loop is another solution, but learning one sock at a time is generally less confusing for a first project.
The Fabric Feels Loose
Switch to a smaller needle and check gauge again. Sock fabric usually needs to be denser than sweater fabric because it experiences friction and must retain its shape.
Should You Try Toe-Up Socks?
Toe-up socks begin with a small seamless cast-on, increase through the toe, continue through the foot and heel, and finish at the cuff. They are useful when yarn quantity is uncertain because the leg can continue until the yarn is nearly gone.
They also allow the foot to be tried on early. However, beginners may find a cuff-down sock easier because the cast-on is familiar and the construction is widely documented. After completing one cuff-down pair, toe-up knitting becomes much less mysterious.
Experiences and Lessons From Knitting Socks on Circular Needles
The first experience of knitting a sock with magic loop often begins with cable confusion. The needle appears to have too many moving parts, and the stitches seem determined to face every direction except the correct one. During the first few rounds, progress may involve more sliding than knitting. That is normal. After an inch of ribbing, the cable movements usually become automatic.
A common early lesson is that tighter does not always mean neater. Beginners frequently pull the first stitch of each half-round with heroic enthusiasm to prevent ladders. The result may be a stubborn stitch that refuses to move from the cable onto the needle tip. Snugging the first two stitches gently creates a more even transition than strangling one stitch.
The leg tends to create false confidence. Round after round of plain knitting feels wonderfully simple, and the sock begins to look surprisingly professional. Then the heel flap arrives and changes the rules by returning to flat knitting. This transition can feel like taking a peaceful train ride and discovering that the final stop requires assembling a small bridge.
Working the heel flap, however, quickly reveals the logic of sock construction. Half the stitches form the back of the heel while the others wait to become the top of the foot. The heel turn is usually the emotional high point. At first, the unexplained gaps look like mistakes. A few short rows later, the flat fabric curves into a recognizable heel. It is one of knitting’s most satisfying transformations.
Picking up gusset stitches is where patience pays off. Rushing can create missed loops, uneven pickups, or holes near the ankle. Good lighting helps, as does counting the chain edges before inserting the needle. Picking up one additional stitch in each corner is a small technique that can dramatically improve the finished appearance.
Trying on the sock after the gusset is another valuable habit. The knitting should stretch comfortably over the heel without hanging loosely around the arch. This fitting check is more useful than blindly following a generic foot length, especially when knitting for someone whose feet are not conveniently shaped like a pattern diagram.
Many first socks end up slightly too large. The fabric may look perfect while relaxed, but socks live most of their lives under tension. Using negative ease and trusting the gauge calculation generally produces a better result than knitting to the exact dimensions of the foot.
The second sock brings its own challenge: motivation. The exciting discoveries happened during the first one, while the second appears to be a rerun. Detailed notes solve part of the problem by eliminating guesswork. Some knitters cast on the second sock immediately after finishing the first, before another project can begin whispering attractively from the yarn basket.
After a few pairs, magic loop becomes less of a technique and more of a familiar rhythm. Socks become compact travel projects, useful gifts, and excellent opportunities to experiment with color, texture, and heel construction. More importantly, every pair teaches the same reassuring lesson: complicated knitting is usually just a collection of simple steps performed in the correct order.
Conclusion
Learning how to knit socks on circular needles is an achievable project for any knitter who can cast on, knit, purl, increase, and decrease. Magic loop replaces a collection of double-pointed needles with one flexible tool, while the classic cuff-down construction divides the sock into understandable sections.
Start with plain yarn, a clearly written pattern, and enough patience to work through the heel one row at a time. Your first pair may include an uneven stitch or a slightly quirky toe, but handmade socks do not need factory-level perfection. They need to fit, feel comfortable, and survive the moment when someone asks, “Waityou actually made those?”












