
Chard is the leafy green that walks into the produce aisle wearing a rainbow jacket and somehow still gets ignored for kale. That is unfair. Swiss chard, rainbow chard, red chard, and green chard are all delicious, flexible, and surprisingly easy to cook once you understand one tiny secret: the stems and leaves are not on the same schedule.
The leaves cook quickly, like spinach with a little more backbone. The stems need a few extra minutes because they are crisp, juicy, and slightly celery-like. Treat them separately and chard goes from “mysterious farmer’s market bouquet” to “weeknight side dish hero.” Treat them the same and you may end up with mushy leaves and crunchy stems having an argument on your plate.
This guide explains how to cook chard in four simple and healthy ways: sautéed, steamed, boiled or blanched, and braised. You will also learn how to clean it, trim it, season it, store it, and use it in real meals without turning dinner into a culinary obstacle course.
What Is Chard?
Chard is a leafy green vegetable in the same general family as beets and spinach. It has broad, crinkly leaves and edible stems that may be white, red, yellow, pink, orange, or a full rainbow mix. The flavor is earthy, mildly bitter when raw, and sweeter once cooked. It is not actually from Switzerland in the way people often assume; the “Swiss” part is more of a historical naming quirk than a passport stamp.
Chard is popular because it gives you two vegetables in one. The leaves become tender and silky, while the stems stay firmer and add color, texture, and a gentle crunch. That makes it useful in sautés, soups, grain bowls, pasta, omelets, frittatas, casseroles, and simple side dishes.
Why Cook Chard?
You can eat young chard leaves raw, especially in salads, but cooking brings out the best in mature bunches. Heat softens the leaves, mellows bitterness, and makes the stems more pleasant to chew. Cooking also shrinks chard dramatically, which is good news if your grocery bag looks like it contains a small tree.
Chard is naturally low in calories and provides nutrients such as vitamin K, vitamin A, vitamin C, magnesium, potassium, iron, fiber, and antioxidants. It is a smart choice for people who want more leafy greens without eating salad every single day like a disciplined rabbit. One note: chard is high in oxalates and vitamin K, so people with a history of calcium oxalate kidney stones or those taking blood-thinning medication should ask a healthcare professional how often to eat it.
How to Prepare Chard Before Cooking
1. Choose fresh bunches
Look for leaves that are deep green, lively, and not slimy, yellow, or wilted. Stems should feel firm and crisp. Smaller leaves tend to be sweeter and more tender, while larger leaves are heartier and need slightly more cooking time.
2. Wash it well
Chard can hide grit in its leaves and ribs. Rinse it under cool running water, or swish the leaves in a large bowl of cold water. Lift the leaves out instead of dumping the bowl over them, because the dirt settles at the bottom. If the bunch is very sandy, repeat the process. Chard has many talents; “crunching like beach sand” should not be one of them.
3. Separate stems from leaves
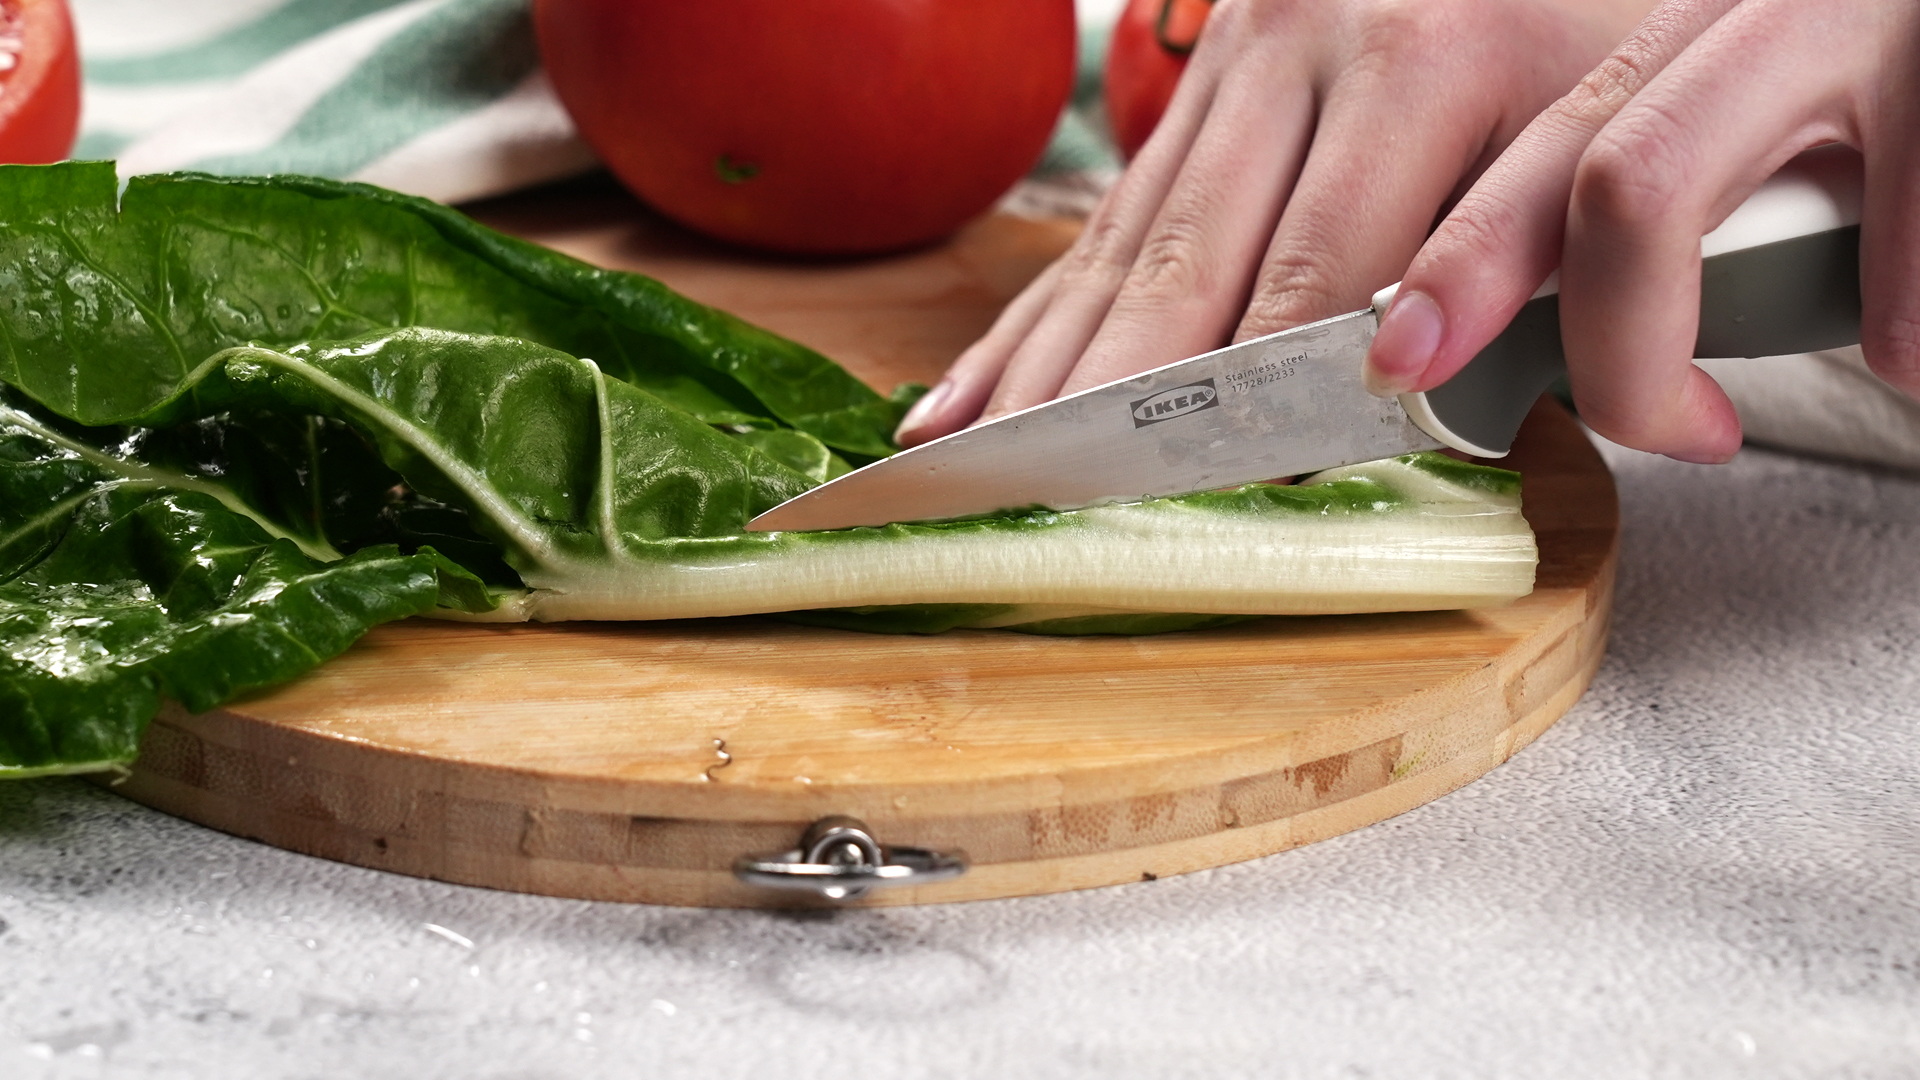
Lay each leaf flat and slice along both sides of the stem. Chop the stems into small pieces and slice or tear the leaves. Keep them separate because the stems usually need a head start in the pan.
4. Dry the leaves
For sautéing, dry leaves help prevent steaming and splattering. For steaming or braising, a little water clinging to the leaves is fine. In fact, it can help the chard cook gently.
Method 1: Sautéed Chard with Garlic and Lemon
Sautéing is the fastest and most flavorful way to cook chard. It is perfect when you want a healthy vegetable side dish in about 10 minutes. Garlic, olive oil, and lemon are the classic trio here because they balance chard’s earthy flavor with richness and brightness.
Ingredients
- 1 large bunch chard
- 1 tablespoon olive oil
- 2 garlic cloves, thinly sliced or minced
- 1 tablespoon lemon juice
- Salt and black pepper, to taste
- Optional: red pepper flakes, toasted nuts, Parmesan, or white beans
Steps
- Wash the chard and separate the stems from the leaves.
- Chop the stems into small pieces and slice the leaves into ribbons.
- Heat olive oil in a large skillet over medium heat.
- Add the stems and cook for 3 to 4 minutes, stirring often.
- Add garlic and cook for about 30 seconds, just until fragrant.
- Add the leaves in handfuls, stirring as they wilt.
- Cook for 3 to 5 minutes, until tender and most excess liquid has evaporated.
- Season with salt, pepper, and lemon juice.
Best uses
Sautéed chard is excellent beside grilled chicken, salmon, turkey meatballs, eggs, roasted potatoes, or lentils. You can also toss it with pasta and a little reserved pasta water for a fast dinner that feels more sophisticated than the effort required.
Healthy tip
Use olive oil moderately. A little fat helps carry flavor and makes the dish satisfying, but chard does not need to swim laps in oil. Add lemon at the end so the flavor stays bright.
Method 2: Steamed Chard
Steaming is one of the cleanest ways to cook chard. It softens the leaves without needing much oil and keeps the flavor fresh. If sautéed chard is the fun friend at dinner, steamed chard is the practical friend who remembered to bring reusable containers.
Ingredients
- 1 large bunch chard
- Water for steaming
- Salt, to taste
- Optional: lemon zest, vinegar, tahini, yogurt sauce, sesame oil, or herbs
Steps
- Wash and trim the chard.
- Separate stems and leaves.
- Add 1 to 2 inches of water to a pot and bring it to a simmer.
- Place chopped stems in a steamer basket first and steam for about 2 minutes.
- Add the leaves and steam for another 3 to 5 minutes, until tender.
- Drain well and season immediately.
Best uses
Steamed chard is a great base for simple sauces. Try lemon juice and olive oil, garlic yogurt, tahini dressing, balsamic vinegar, or a spoonful of pesto. It also works well in meal prep because the flavor is mild enough to pair with different proteins and grains throughout the week.
Healthy tip
After steaming, press out excess water with the back of a spoon or a clean towel. Watery greens can dilute sauces and make your plate look like it experienced a tiny vegetable rainstorm.
Method 3: Boiled or Blanched Chard
Boiling or blanching chard is useful when you want a milder flavor, a softer texture, or greens that can be frozen for later. It is also a good method if chard tastes too bitter for you. A quick boil can help draw out some sharpness, especially in larger, more mature leaves.
Ingredients
- 1 large bunch chard
- Large pot of water
- Salt, optional
- Ice water, if blanching
Steps for boiling
- Wash and separate the stems and leaves.
- Bring a large pot of water to a boil.
- Add chopped stems first and cook for about 2 to 3 minutes.
- Add the leaves and cook for another 1 to 2 minutes.
- Drain well and season with olive oil, lemon, garlic, pepper, or herbs.
Steps for blanching
- Bring a large pot of water to a rolling boil.
- Add chard leaves and blanch briefly, usually about 1 to 2 minutes.
- Blanch thicker stems a little longer, around 2 to 3 minutes.
- Transfer immediately to ice water to stop the cooking.
- Drain, squeeze dry, and use or freeze.
Best uses
Boiled or blanched chard is excellent in lasagna, omelets, soups, stews, stuffed breads, savory pies, and grain bowls. Since much of the excess moisture is removed, it blends nicely into recipes without making them soggy.
Healthy tip
Do not overboil chard unless your goal is a green side dish with the personality of wet tissue. Keep the cooking time short, drain well, and season boldly.
Method 4: Braised Chard
Braising is the cozy method. Instead of cooking chard quickly over high heat, you simmer it gently with aromatics and a small amount of liquid. This method turns sturdy leaves and stems into a soft, savory side dish that tastes like it took far more effort than it did.
Ingredients
- 1 large bunch chard
- 1 tablespoon olive oil
- 1 small onion or shallot, chopped
- 2 garlic cloves, minced
- 1/4 cup low-sodium broth or water
- 1 teaspoon vinegar or lemon juice
- Salt and black pepper, to taste
- Optional: chickpeas, white beans, tomatoes, mushrooms, or chili flakes
Steps
- Wash the chard and separate stems from leaves.
- Chop stems and slice leaves.
- Heat olive oil in a skillet or shallow pot over medium heat.
- Add onion and chard stems. Cook for 4 to 5 minutes, until softened.
- Add garlic and cook for 30 seconds.
- Add leaves and broth, then cover the pan.
- Cook for 5 to 8 minutes, stirring once or twice, until tender.
- Finish with vinegar or lemon juice, salt, and pepper.
Best uses
Braised chard is wonderful with beans, roasted chicken, fish, brown rice, quinoa, polenta, or whole-grain toast. Add chickpeas and tomatoes and you have a quick Mediterranean-style meal. Add mushrooms and a poached egg and suddenly brunch looks like it has a publicist.
Healthy tip
Use low-sodium broth or water, then season at the end. This gives you more control over salt while still creating a rich, savory flavor.
Flavor Pairings That Make Chard Taste Better
Chard is earthy, slightly mineral, and gently bitter, which means it loves ingredients that add brightness, richness, heat, or sweetness. Lemon juice, vinegar, tomatoes, and yogurt bring acidity. Olive oil, avocado, nuts, cheese, and eggs bring richness. Garlic, onion, shallots, chili flakes, cumin, smoked paprika, and black pepper add depth.
For a simple formula, remember this: chard plus fat, acid, salt, and aroma equals success. For example, sauté chard in olive oil with garlic, finish with lemon, and add a pinch of salt. That is not complicated cooking; that is letting the vegetable stop being shy.
Common Mistakes When Cooking Chard
Cooking stems and leaves at the same time
The stems need more time. Add them first, then the leaves later. This keeps the leaves tender without leaving the stems too crunchy.
Skipping the wash
Chard can hold dirt. Wash it thoroughly, especially if it comes from a farmers market or garden.
Using too much liquid
Chard releases moisture as it cooks. Start with less liquid than you think you need, especially when braising.
Forgetting acid
Lemon juice or vinegar makes cooked chard taste brighter and less flat. Add it near the end for the best flavor.
Overcooking the leaves
Chard leaves cook quickly. Once they are wilted and tender, stop. The goal is silky, not swampy.
How to Store Cooked and Raw Chard
Store raw chard unwashed in a loose plastic or produce bag in the refrigerator. If the leaves are damp, wrap them in a paper towel first. For best quality, use chard within a few days, although very fresh bunches may last longer.
Cooked chard can be stored in an airtight container in the refrigerator for 3 to 4 days. Reheat it gently in a skillet or microwave. If it releases liquid, drain it or cook it uncovered for a minute to reduce moisture. Blanched chard can also be frozen after it is drained and squeezed dry.
Real Kitchen Experience: What Cooking Chard Teaches You
The first time many people bring chard home, they stare at it like it came with assembly instructions that were accidentally printed in another language. The bunch is huge, the stems are bright enough to direct traffic, and the leaves look like they could double as emergency umbrellas. But once you cook it, chard becomes one of those ingredients that quietly earns a permanent spot in your kitchen.
One useful lesson is that chard rewards patience, but not too much patience. Give the stems a head start and they become tender with a pleasant bite. Add the leaves too early and they collapse before the stems are ready. Add them too late and dinner becomes a scheduling meeting. The sweet spot is simple: stems first, leaves second, acid last.
Another experience worth knowing is that chard changes personality depending on the cooking method. Sautéed chard tastes bold and slightly nutty, especially when garlic hits warm olive oil. Steamed chard tastes clean and green, ideal for lemony sauces or sesame dressing. Blanched chard is mild and cooperative, ready to disappear into lasagna, eggs, soups, or pasta. Braised chard is the comfort-food version, soft and savory enough to sit beside beans or roasted meat without acting like a garnish.
Chard is also forgiving. If you accidentally cook it a minute too long, it will usually still taste good. If you underseason it, a squeeze of lemon and a pinch of salt can rescue it. If the stems seem too firm, add a splash of water, cover the pan, and let them soften. This is not a vegetable that demands restaurant-level precision. It is more like a reliable neighbor who owns jumper cables.
The biggest practical tip from cooking chard regularly is to stop thinking of it only as a side dish. Add sautéed chard to scrambled eggs. Stir blanched chard into ricotta for stuffed shells. Fold braised chard into white beans and serve it with toast. Toss chopped steamed chard with brown rice, lemon, feta, and chickpeas. Add it to soup during the last few minutes of cooking. Once you start using it this way, one bunch disappears quickly.
Chard also helps reduce food waste because the stems are edible. Many people toss them out, assuming they are tough or useless, but they are one of the best parts. Chop them finely and cook them like celery. Add them to soups, sautés, omelets, stir-fries, and grain bowls. Their color makes simple meals look intentional, which is helpful on nights when dinner is basically “whatever survived in the refrigerator.”
In everyday cooking, chard is best when kept simple. You do not need a complicated sauce or rare imported spice. Garlic, lemon, olive oil, pepper, and a hot pan can do wonders. Add beans, eggs, pasta, fish, chicken, or grains, and you have a healthy meal that feels fresh without feeling fussy.
Conclusion
Learning how to cook chard is mostly about understanding timing. The stems need a little more attention, the leaves cook quickly, and the whole vegetable tastes better with acid, aromatics, and proper seasoning. Whether you sauté it with garlic and lemon, steam it for a light side dish, blanch it for meal prep, or braise it into something cozy and satisfying, chard is one of the easiest leafy greens to love.
It is colorful, nutritious, affordable, and flexible enough for weeknight dinners or more polished meals. Once you get comfortable with the four methods above, chard stops being that dramatic leafy thing in the produce aisle and becomes exactly what it should be: a simple, healthy, delicious vegetable that deserves more attention.











