
Getting shoes onto a baby can feel less like a parenting task and more like a slapstick performance starring one determined tiny person and two impossibly wiggly feet. One moment your baby is smiling. The next, they have curled every toe like a defensive sea creature and launched a sock across the room. The good news is that putting shoes on a baby does not have to become a daily wrestling match. With the right timing, the right fit, and a gentler approach, it can turn into a quick, low-drama routine.
Before diving into the steps, here is one important truth: babies do not always need shoes as early as adults think. If your baby is mostly crawling, cruising along furniture, or practicing steps indoors, bare feet or socks are often enough. Shoes become more useful when little feet need protection outdoors or on rough, hot, or cold surfaces. And when it is time for shoes, the goal is not stiff, fancy footwear. It is comfort, flexibility, room to move, and a fit that does not turn those sweet feet into grumpy little burritos.
Why the Right Approach Matters
Baby feet grow quickly, and they are still learning how to balance, grip, and move. That means the way you put on shoes matters almost as much as the shoes themselves. A shoe that goes on smoothly, fits well, and stays secure without squeezing can help your baby feel steady and comfortable. A shoe that is too tight, too loose, or too hard to get on can lead to fussing, slipping, tripping, red marks, or a dramatic protest worthy of an awards season montage.
So yes, technique matters. Not “Olympic skill event” matters, but definitely “this will make your morning easier” matters.
How to Put Shoes on a Baby: 10 Steps
Step 1: Make Sure Your Baby Actually Needs Shoes
Start here, because this is the step adults skip when they get hypnotized by miniature sneakers. If your baby is not walking outside yet, shoes may be more about fashion than function. Indoors, many babies move best barefoot because they can grip the floor and feel where their feet are landing. If you are heading outdoors, going somewhere chilly, or walking on rough ground, then shoes make sense. Otherwise, socks or bare feet may do the job just fine.
This step also helps you choose the right type of shoe. A pre-walker usually needs something soft, simple, and easy to remove. A baby who is actually walking outdoors needs a shoe with a closed toe, flexible structure, and a sole with traction.
Step 2: Pick a Calm Moment, Not a Chaotic One
Trying to put shoes on a tired, hungry, furious baby is like trying to fold a fitted sheet during a windstorm. Technically possible. Spiritually exhausting.
The best time to put shoes on is when your baby is calm and slightly distracted. After a diaper change, before leaving the house, while sitting in your lap, or during a quiet moment on the floor can all work well. Some parents get great results by giving the baby a soft toy, a board book, or even one sock to “help” with. Babies love jobs they are not qualified for.
Step 3: Choose Thin, Comfortable Socks if Socks Are Needed
If the shoes are designed to be worn with socks, choose a pair that is soft, smooth, and not overly bulky. Thick socks can make a well-fitting shoe suddenly feel too tight. Seams can bunch up around the toes and annoy a baby who cannot explain why the world feels wrong but is still prepared to cry about it.
Pull the socks on first and smooth out wrinkles around the toes and heel. If you notice the sock twisting, fix it before the shoe goes on. A twisted sock inside a small shoe is basically a complaint waiting to happen.
Step 4: Check the Shoe Before It Goes Anywhere Near the Foot
Do a quick inspection. Open the shoe wide. Make sure the tongue is lifted, the straps are undone, and nothing is tucked inside. Check for bunched lining, tags, pebbles, cracker crumbs, and any mystery object that somehow made it into the shoe since the last outing. Parenting has a way of turning every shoe into a tiny storage unit.
Also look at the shoe itself. The best baby shoes are lightweight, flexible, and roomy enough in the toe box for toes to spread naturally. If the shoe feels stiff, narrow, or awkward for you to handle, it will probably be awkward for your baby to wear too.
Step 5: Hold the Foot Gently but Securely
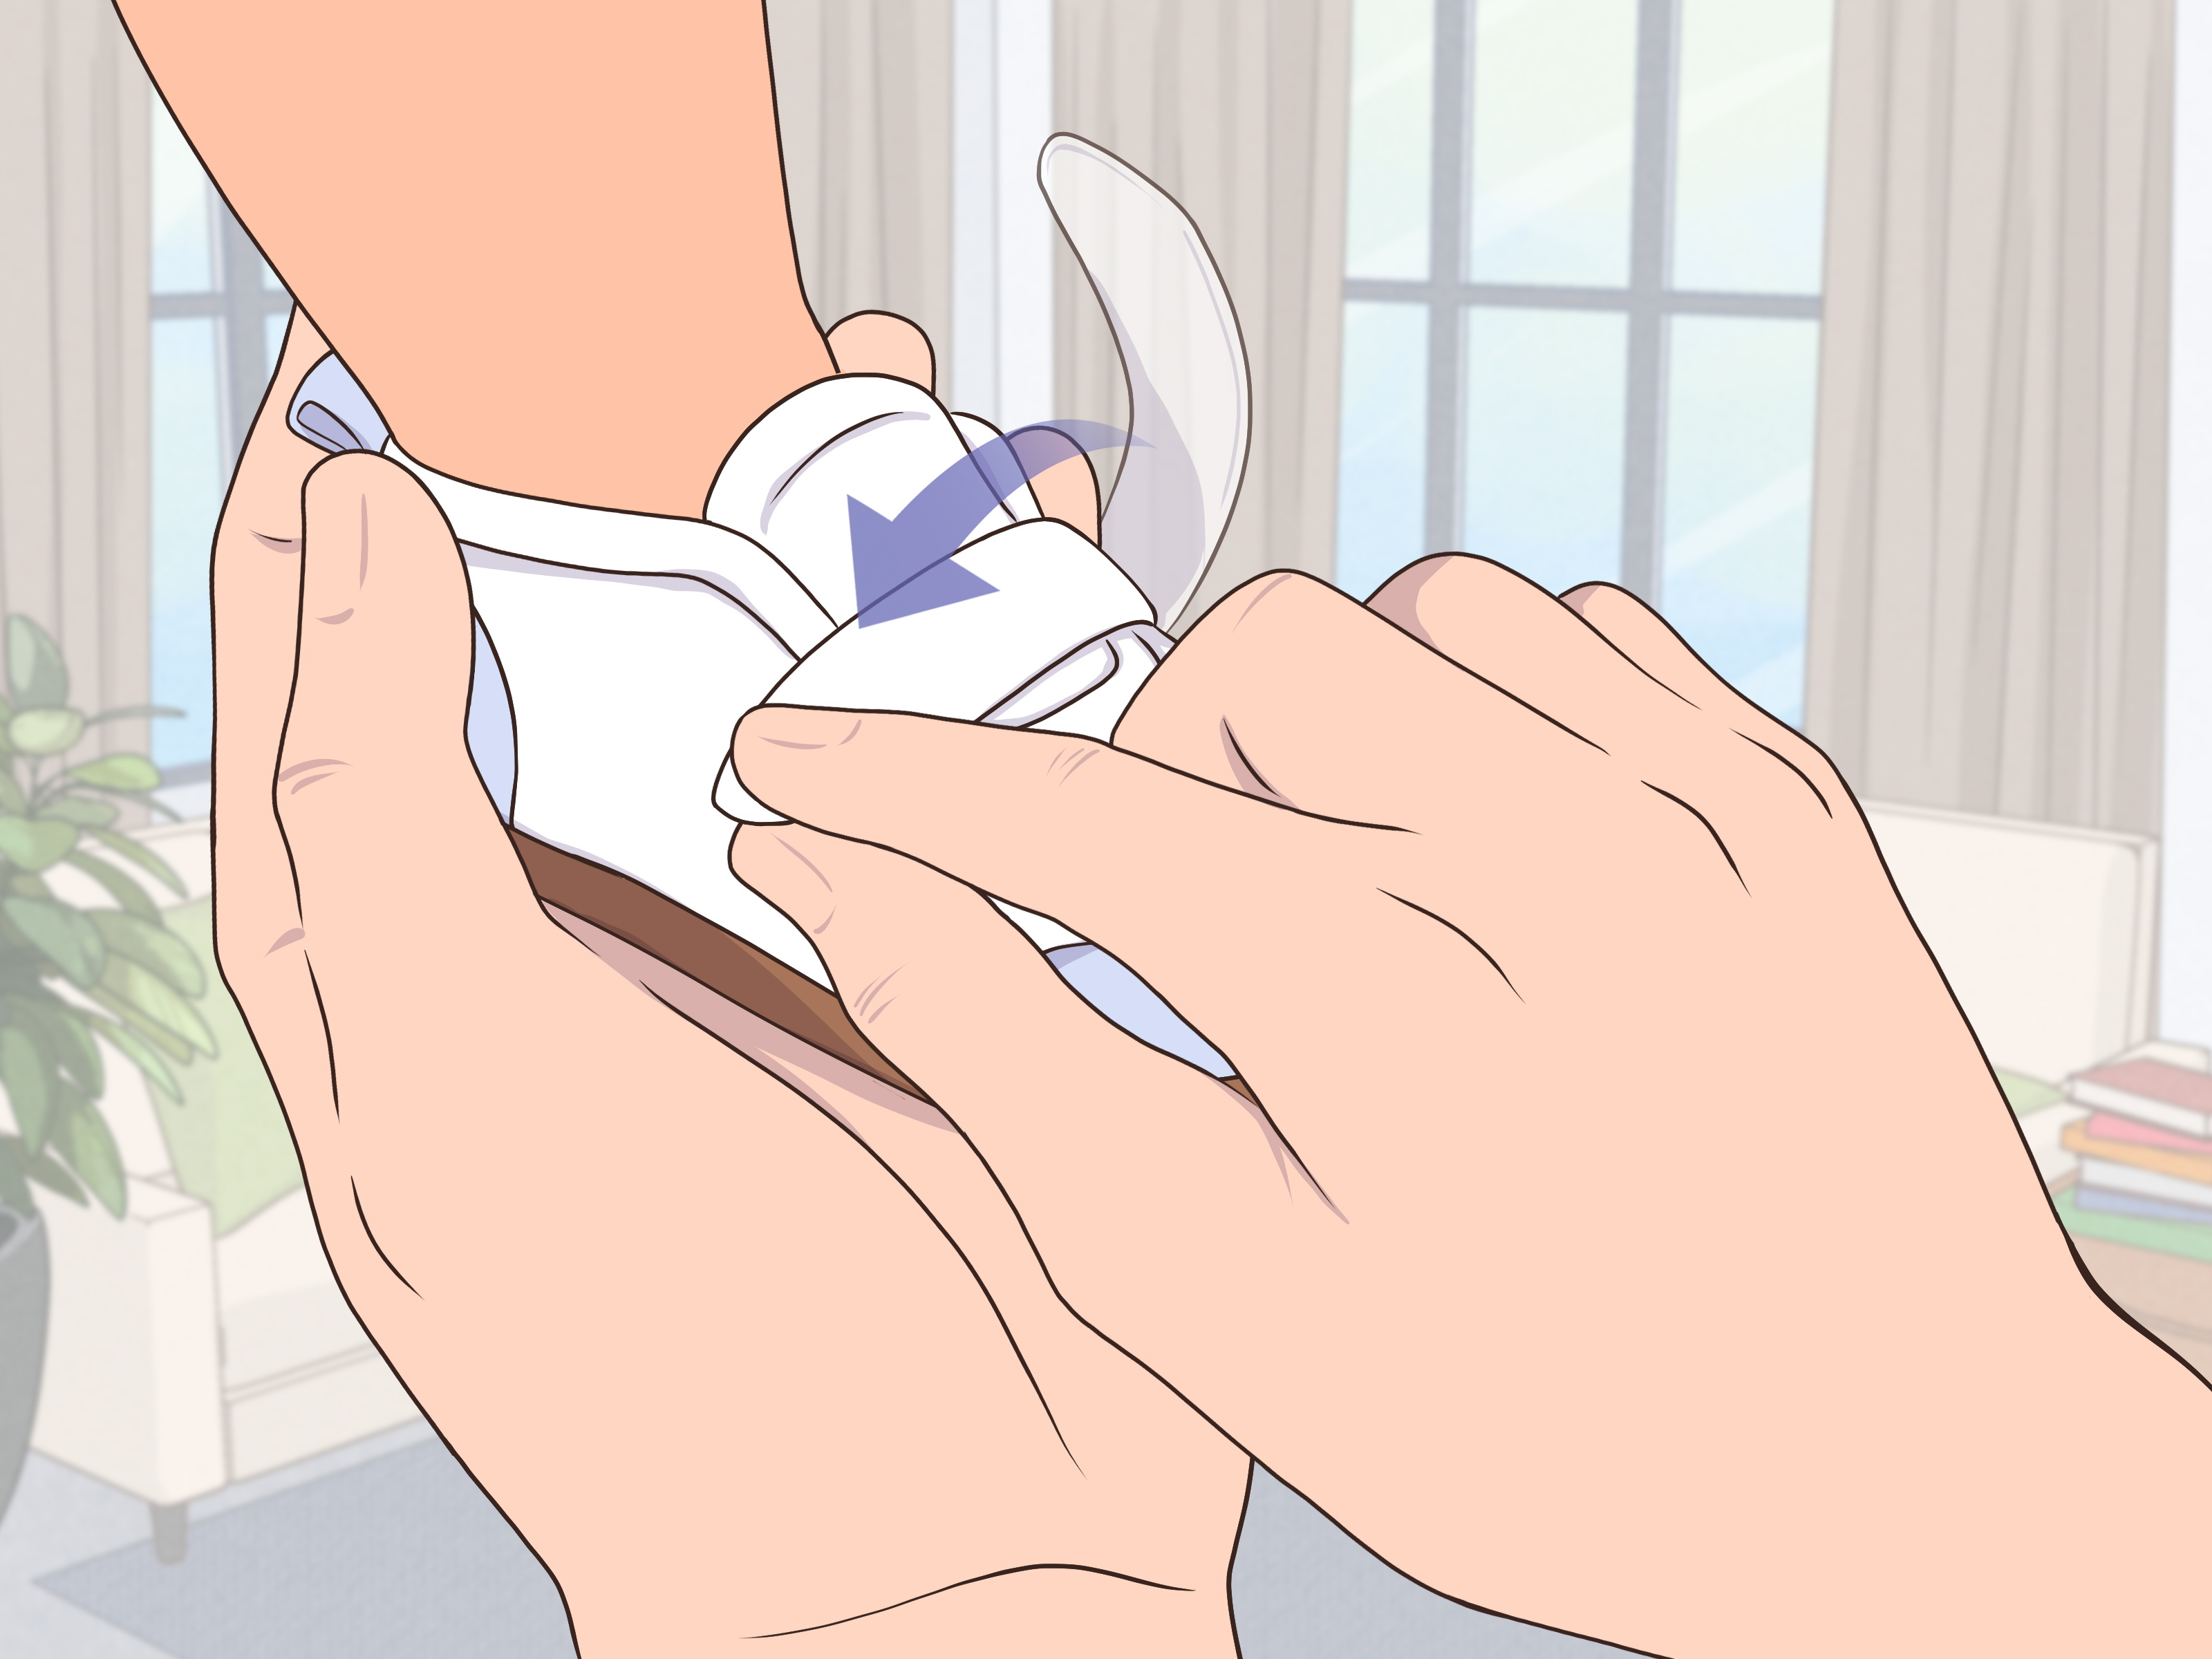
Place your baby on your lap facing outward, or sit in front of them while they are seated on the floor. Hold one foot in your hand with a gentle but steady grip. You do not need to squeeze the ankle like you are restraining a tiny escape artist. Just support the heel and stabilize the foot enough that you can guide it smoothly into the shoe.
If your baby curls their toes, lightly stroke the top of the foot or press very gently at the base of the toes to encourage them to relax. Some babies uncurl their toes when they see the shoe opening and realize resistance is futile. Others remain committed to the drama. Stay patient.
Step 6: Angle the Toes In First
Guide the toes into the shoe before trying to seat the heel. This sounds obvious, but the trick is to angle the foot slightly downward so the toes slide forward naturally. If you try to push the whole foot straight in at once, the toes may bunch, the heel may get stuck, and everyone loses.
Take it slow enough to feel whether the toes are entering cleanly. If the foot stops halfway, do not force it. Pull back, open the shoe wider, and try again. Forcing a shoe onto a baby foot is how you end up with folded socks, scrunched toes, and a baby who suddenly has very strong opinions.
Step 7: Seat the Heel Fully
Once the toes are in, use your thumb to guide the heel down into place. You may need to tug the back of the shoe slightly or pull up the heel tab if there is one. The goal is to make sure the heel is fully seated and not half perched on the back edge like a commuter who almost missed the train.
If the heel will not settle without a struggle, the shoe may be too small, too narrow, or simply shaped wrong for your baby’s foot. That is not a parenting failure. That is just your cue to try a different pair.
Step 8: Fasten the Shoe Snugly, Not Tightly
Velcro straps, elastic laces, and easy closures are your friends. Fasten the shoe so it stays on, but do not cinch it down like you are securing cargo for international shipping. A baby shoe should feel snug around the midfoot and heel, while still leaving room in the toe area.
You should be able to see that the shoe is secure without leaving deep marks. If the strap barely reaches, the shoe is likely too tight. If the shoe slips off with one casual kick, it is probably too loose. The sweet spot is “stays on during movement, does not make the foot angry.”
Step 9: Do a Quick Fit Check
Before you declare victory, check the fit. Your baby should have room at the front of the shoe, roughly about a finger-width or around 1 to 2 centimeters from the longest toe to the end, depending on the shoe style. Toes should not be crammed together, and the shoe should not gape so much that the foot slides around.
Watch for warning signs that the fit is off: red marks after a short wear, difficulty getting the shoe on, frequent slipping at the heel, toe curling every time the shoe comes out, or your baby immediately trying to yank the shoes off with the intensity of a tiny action hero. Some babies remove perfectly fine shoes because that is fun. But repeated discomfort signs deserve attention.
Step 10: Let Your Baby Test-Drive the Shoes
Set your baby down and let them move. If they are crawling, cruising, or walking, observe how the shoes behave. Are they tripping more? Does one heel pop out? Does the shoe twist sideways? Do they suddenly move like the floor has become lava? Those are clues.
A good baby shoe should support movement without making it look unnatural. If your baby seems steady and unbothered after a few minutes, you are probably in good shape. If not, adjust the straps, recheck the socks, or consider whether the pair is the wrong size or style.
Common Mistakes Parents Make
One of the biggest mistakes is buying shoes that are too big “so the baby can grow into them.” It sounds practical, but oversized shoes can make a new walker less stable and more likely to trip. Another common mistake is choosing stiff, heavy shoes that look adorable in photos but feel like tiny bricks in real life.
Parents also sometimes assume expensive means better. Not necessarily. A good baby shoe does not need magical architecture, elite-level branding, or a price tag that makes you question your life choices. It needs to fit well, bend where the foot bends, stay on securely, and protect the foot when needed.
And then there are hand-me-down shoes. Hand-me-down clothes? Usually great. Hand-me-down shoes? More complicated. Shoes mold to the way one child moves and wears them down, so a second child may not get the same healthy fit.
How to Tell When It Is Time to Size Up
Baby feet grow fast, so a pair that fit beautifully last month may suddenly turn into a tiny foot prison. Check fit regularly, especially during the first walking months. A good rule is to recheck at least once a month.
It may be time to size up if the shoes are hard to put on, the toes are pressing against the front, your baby gets red marks after wearing them, or they seem more irritable during shoe time than usual. Some babies cannot tell you, “Mother, this toe box is oppressive,” so you have to read the clues.
When to Talk to a Pediatrician
Most shoe struggles are ordinary fit or mood issues. But call your pediatrician if your baby seems to have foot pain, persistent redness, blisters, limping, swelling, or one shoe always fits very differently from the other. Also reach out if your baby is walking in a way that worries you or if you feel unsure about whether a foot shape or walking pattern is normal. Baby feet come with many harmless quirks, but peace of mind is a beautiful thing.
Real-Life Experiences Parents Commonly Have With Baby Shoes
If there is one universal truth in parenting, it is this: the baby shoe struggle rarely looks like the catalog photo. Real life is usually more like, “Why is there only one shoe on this child, and why is the other one in the diaper bag next to a banana?” That is completely normal.
Many parents notice that the first challenge is not putting the shoes on. It is getting the baby to accept that shoes now exist. Some babies freeze the second the shoes go on and stare at their feet like they have been betrayed by evolution. They take one robotic step, lift a leg dramatically, and look personally offended. Usually, this phase passes after a few short wears. The trick is not to make the first experience too long. A ten-minute outing can be much more successful than a full afternoon of shoe-based outrage.
Another common experience is the toe-curling protest. You line up the shoe, guide the foot in, and suddenly every toe folds under like a tiny fist. Parents often assume they are doing something wrong, but many babies do this simply because the sensation is new. Slowing down, opening the shoe wider, and relaxing the foot before trying again can make a huge difference. In real homes, the winning technique is usually the least dramatic one.
Then there is the sock issue. A surprising number of parents discover that the shoe is not the problem at all. The problem is a bulky sock seam sitting across the toes like a speed bump. Once the sock is smoothed out or swapped for a thinner pair, the shoe slides on and the baby stops objecting. It is a humbling reminder that parenting is sometimes just advanced troubleshooting in stretchy pants.
Parents of early walkers also talk about the “looks fine but falls off” phase. The shoe seems secure until the baby takes six steps, kicks once, and leaves it behind like a tiny celebrity exiting a limo. In many cases, the issue is either a loose closure or a shoe shape that does not match the baby’s heel. Some babies need a narrower heel grip, while others do better with a wider opening and adjustable straps. You do not always solve this with a bigger or smaller size. Sometimes you solve it with a different style altogether.
Outings bring their own lessons. Families often learn quickly that soft, cute, open shoes are not always ideal for parks, sidewalks, or grassy areas. Toes get scraped, shoes collect mulch, and everyone suddenly understands why closed-toe shoes are recommended for outside walking. On the flip side, parents also discover that babies do best when they are barefoot in safe indoor spaces. So the real-life balance becomes simple: barefoot when learning and safe, shoes when protection is needed.
Perhaps the most comforting experience parents share is that shoe routines get easier. The first week might feel clumsy. The first pair might not work. Your baby may act like you are introducing an outrageous new policy. But with repetition, better fit, and calmer timing, most babies adjust. Eventually, you will put on both shoes in under a minute and feel like a domestic wizard. Then your child will learn to pull them off in public, and the circle of life will continue.
Final Thoughts
Putting shoes on a baby is not really about forcing tiny feet into tiny footwear. It is about choosing the right moment, the right fit, and the right kind of shoe for the stage your baby is in. Keep it gentle, keep it simple, and remember that comfort beats cuteness every time. The best baby shoe routine is the one that protects little feet without getting in the way of how babies naturally move, learn, and explore.
So yes, baby shoes can be adorable. But the real win is getting them on without tears, keeping them on without drama, and making sure those tiny feet stay happy for the next big adventure.











