
Installing a shower faucet can transform an outdated bathroom without requiring a full renovation, a demolition crew, or a dramatic home-improvement montage. A new handle, valve, showerhead, and trim plate can improve temperature control, stop leaks, and make the entire shower look cleaner and more modern.
However, the phrase install a shower faucet can describe two very different projects. Replacing compatible exterior trim is usually a beginner-friendly afternoon job. Replacing the rough-in valve hidden inside the wall involves water-supply connections, wall access, careful measurements, and possibly soldering. That version is still manageable for an experienced DIYer, but it deserves more respect than simply changing a showerhead.
This guide explains both situations, with special attention to a complete shower faucet installation. Because valve dimensions, cartridge designs, outlet orientations, and connection requirements vary by manufacturer, always treat the instructions supplied with your faucet as the final authority. Major retailers and manufacturers also recommend following local plumbing and building codes and contacting a licensed plumber when the installation exceeds your skill level.
Understand What You Are Replacing
Trim-Only Replacement
The visible parts of a shower faucet are collectively called the trim. These parts may include the handle, escutcheon plate, shower arm, showerhead, tub spout, and decorative sleeves.
A trim-only update is possible when the new trim kit is designed for the valve already installed behind the wall. Compatibility is crucial. A shiny new handle from one manufacturer generally cannot be attached to a random valve from another manufacturer, and even products from the same brand may use different valve generations or cartridge systems.
Before ordering anything, identify the existing faucet brand and valve model. Look for a logo on the handle or trim plate, compare the cartridge with manufacturer diagrams, or contact the manufacturer with clear photographs. Some universal rough-in systems accept several trim collections, but that flexibility applies only to products specifically designed for that valve platform.
Complete Valve Replacement
A complete replacement means removing the old valve body and installing a new one inside the wall. You may need this option when the existing valve is damaged, severely corroded, incompatible with your chosen trim, or too old to provide modern pressure-balancing or thermostatic protection.
This project typically requires access through the shower wall or, preferably, through the drywall on the opposite side. Opening a bedroom or closet wall is often easier and less risky than cutting tile. Tile has a special talent for turning one small plumbing project into an unexpected bathroom remodel.
Tools and Materials You May Need
Your exact supply list depends on the faucet model and the type of plumbing in your home. Gather everything before shutting off the water so your household does not spend the evening negotiating over the last bottle of drinking water.
- New shower faucet, rough-in valve, cartridge, and compatible trim kit
- Adjustable wrench and tongue-and-groove pliers
- Phillips and flat-head screwdrivers
- Hex-key set
- Tape measure and level
- Utility knife and drywall saw
- Pipe cutter appropriate for copper, PEX, or CPVC
- Deburring tool or emery cloth
- Manufacturer-approved fittings and adapters
- Wood blocking or a mounting board
- Drill and corrosion-resistant screws
- PTFE thread-seal tape or approved pipe-thread sealant
- Plumber’s silicone, when specified
- Bucket, towels, flashlight, and safety glasses
- Inspection mirror or phone camera
For sweat-soldered copper connections, you will also need a torch, heat shield, lead-free plumbing solder, flux, fitting brush, emery cloth, and appropriate fire-safety equipment. Copper pipe and fittings must be cut square, cleaned thoroughly, deburred, fluxed, heated correctly, and allowed to cool without movement. Poor surface preparation and excessive heat are common reasons soldered joints fail.
Before You Begin
Read the Entire Installation Manual
Do not begin by assuming all shower valves are installed the same way. The manual identifies the required rough-in depth, correct valve orientation, approved pipe types, cartridge-removal instructions, test-cap procedures, mounting dimensions, and temperature-limit adjustment.
Find the finished-wall reference marks on the plaster guard. These marks show where the valve must sit in relation to the final tile, backer board, or shower surround. A valve installed too deeply may prevent the handle from engaging. A valve installed too far forward may leave the trim plate floating away from the wall like a tiny chrome satellite.
Check Permits and Local Codes
Rules vary by city, county, and state. Some areas allow homeowners to replace plumbing fixtures without a permit, while others require a permit or inspection when concealed supply piping or a shower valve is altered.
Modern plumbing codes commonly require individual shower valves to use pressure-balancing, thermostatic, or combination protection. They also generally require an adjustable maximum-temperature limit, commonly set so the delivered water does not exceed 120 degrees Fahrenheit. Verify the rules adopted in your jurisdiction instead of assuming that one national model code applies unchanged everywhere.
Know When to Call a Plumber
Professional help is sensible when the home has badly corroded galvanized pipe, damaged supply lines, inaccessible connections, previous unpermitted modifications, persistent low pressure, mold, rotten framing, or a plumbing layout you cannot confidently identify. Call a plumber if you are uncomfortable using a torch inside a wall or cannot shut off the water reliably.
How to Install a Shower Faucet Step by Step
Step 1: Shut Off the Water Supply
Turn off the main water valve or the dedicated bathroom shutoffs, if available. Open the old shower valve and a faucet at a lower level of the house to relieve pressure and drain the lines. Confirm that water has stopped before cutting a pipe or removing the cartridge.
Cover the shower drain and protect the tub or shower base with a folded towel or drop cloth. This prevents screws from disappearing into the drain and protects the finish when a wrench inevitably attempts a gravity experiment. Manufacturers and home-improvement guides consistently recommend shutting off the supply and relieving pressure before valve disassembly.
Step 2: Remove the Existing Trim
Locate the handle’s retaining screw. It may be visible, hidden beneath a decorative cap, or positioned on the underside of the handle as a small hex screw. Remove the handle, sleeve, escutcheon screws, and trim plate.
Score old caulk carefully with a utility knife before pulling the plate away from the wall. Place all reusable parts in a container. If you are performing a trim-only replacement, compare the exposed valve and stem with the compatibility information supplied with the new kit before proceeding.
Step 3: Create Safe Access to the Valve
For a complete valve replacement, inspect the opposite side of the shower wall. A drywall access opening is usually easier to repair than tile. Use a stud finder and make a controlled opening large enough to reach the hot and cold supplies, shower riser, tub-spout drop, and valve mounting points.
If front access is unavoidable, confirm that the new remodeling plate will cover the opening before cutting. Mark the cutout carefully and wear eye protection. Check for electrical cables, blocking, and pipes before inserting a saw into the wall.
Step 4: Document the Existing Plumbing
Take several photographs before disconnecting anything. Label the hot supply, cold supply, shower outlet, and tub outlet. In a typical installation, hot water enters on the left, cold water enters on the right, and the shower outlet points upward, but you must follow the markings and instructions on your specific valve body.
Some valve models must not be inverted, while others allow alternate orientations only after cartridge changes or special adjustments. Shower-only installations may require the unused tub outlet to be capped with an approved threaded plug.
Step 5: Remove the Old Valve
Support the surrounding piping so it does not twist or pull against connections elsewhere in the wall. Cut the pipes with the appropriate tubing cutter, leaving enough straight, undamaged pipe for the new fittings. If the old connections are threaded, use two wrenches so one supports the stationary fitting while the other loosens the connection.
Remove the valve and inspect the exposed pipes. Cut back any crushed, deeply scratched, corroded, or misshapen sections. Clean out loose debris, but do not allow dirt, drywall dust, or metal shavings to enter the water lines.
Step 6: Install Solid Blocking
A shower valve must be securely mounted. Install a horizontal wood stringer or blocking between the wall studs at the depth specified in the manual. Position the valve temporarily against the blocking and check the plaster guard’s finished-wall markings.
Account for every wall layer, including backer board, waterproofing membrane, adhesive, tile, or the thickness of a prefabricated surround. Measure twice using the actual finished-wall materials whenever possible. Secure the blocking firmly so the valve does not flex when the handle is operated.
Step 7: Dry-Fit the New Valve and Piping
Assemble the valve and fittings without making permanent connections. Verify that the valve is level, the “UP” marking points in the correct direction, the hot and cold inlets match the supplies, and the shower outlet aligns with the riser.
For a tub-and-shower combination, confirm the tub-spout connection requirements. Some valve manufacturers restrict the materials, lengths, fitting sizes, or number of elbows allowed between the valve and tub spout. An incorrect tub-spout drop can create back pressure and cause water to dribble from the showerhead while the tub is filling. Follow the valve manual rather than improvising this section.
Step 8: Prepare the Valve for Heat or Debris
If you are soldering, read the manufacturer’s instructions before applying heat. Many valves require the cartridge, pressure-balancing components, seals, check valves, or plastic parts to be removed before soldering. Failure to remove heat-sensitive components may damage the valve before anyone has taken the first shower.
Use a flame-resistant heat shield behind each joint, keep a fire extinguisher nearby, and inspect the wall cavity after soldering. Never direct a torch toward wood framing, insulation, waterproofing, wiring, or hidden combustible material.
Step 9: Connect the Water Lines
Make each connection using the method approved for your valve and pipe material.
- Copper sweat connections: Clean and deburr the pipe and fitting, apply flux, heat the fitting evenly, and feed lead-free solder into the joint.
- PEX connections: Use the correct expansion or crimp system, approved transition fittings, proper tools, and required spacing.
- CPVC connections: Use compatible primer and cement when required, observe curing times, and protect the material from excessive stress.
- Push-to-connect fittings: Cut the pipe square, deburr it, mark the insertion depth, and push the pipe fully into the fitting.
- Threaded connections: Apply the specified thread sealant only to tapered pipe threads, then tighten without overstressing the valve body.
Push-to-connect manufacturers emphasize proper pipe preparation and full insertion to the marked depth. Plumbing installation guides likewise stress using connection systems designed for the pipe material and valve being installed.
Step 10: Secure the Valve
Fasten the valve to the blocking using the mounting holes and hardware specified by the manufacturer. Check that it remains level and does not move when moderate pressure is applied to the stem.
Secure the shower-arm drop-ear elbow and tub-spout connection independently. The trim should not be responsible for holding the plumbing in place. A properly supported shower arm feels solid when the showerhead is adjusted and does not wiggle behind the wall.
Step 11: Flush and Pressure-Test the System
Follow the manual’s flushing procedure. Depending on the valve, this may involve leaving the cartridge out, installing a flushing cap, or using a test plug. Slowly restore the water supply and flush debris from the lines before installing sensitive internal components.
Inspect every connection with a bright flashlight and dry tissue. A tiny bead of moisture can reveal a leak that is difficult to see on shiny brass or copper. Operate the valve, test both hot and cold supplies, and check the shower and tub outlets.
Do not close the wall immediately after a five-second inspection. Leave the system pressurized and check it repeatedly. Manufacturer instructions commonly call for running the system, verifying proper operation, and inspecting for leaks before the installation is considered complete.
Step 12: Repair and Finish the Wall
Once the valve has passed its leak test, repair the access opening. Restore backer board and waterproofing according to the wall-system manufacturer’s instructions. Do not rely on the decorative trim plate as the shower’s only waterproofing measure.
Keep the valve’s service opening within the size allowed by the trim plate. The escutcheon must sit flat against the finished surface and cover the opening completely.
Step 13: Install the Cartridge and Trim
Install the cartridge in the required orientation and secure it with the specified clip, bonnet nut, or retaining ring. Do not force the cartridge. If it does not seat smoothly, confirm its alignment and inspect the valve body for debris.
Install the sleeve, gasket, escutcheon plate, adapter, and handle in the sequence shown in the manual. Tighten trim screws evenly so the plate remains flat. Apply silicone only where directed. Some designs require a small unsealed opening at the bottom of the escutcheon so trapped water can drain.
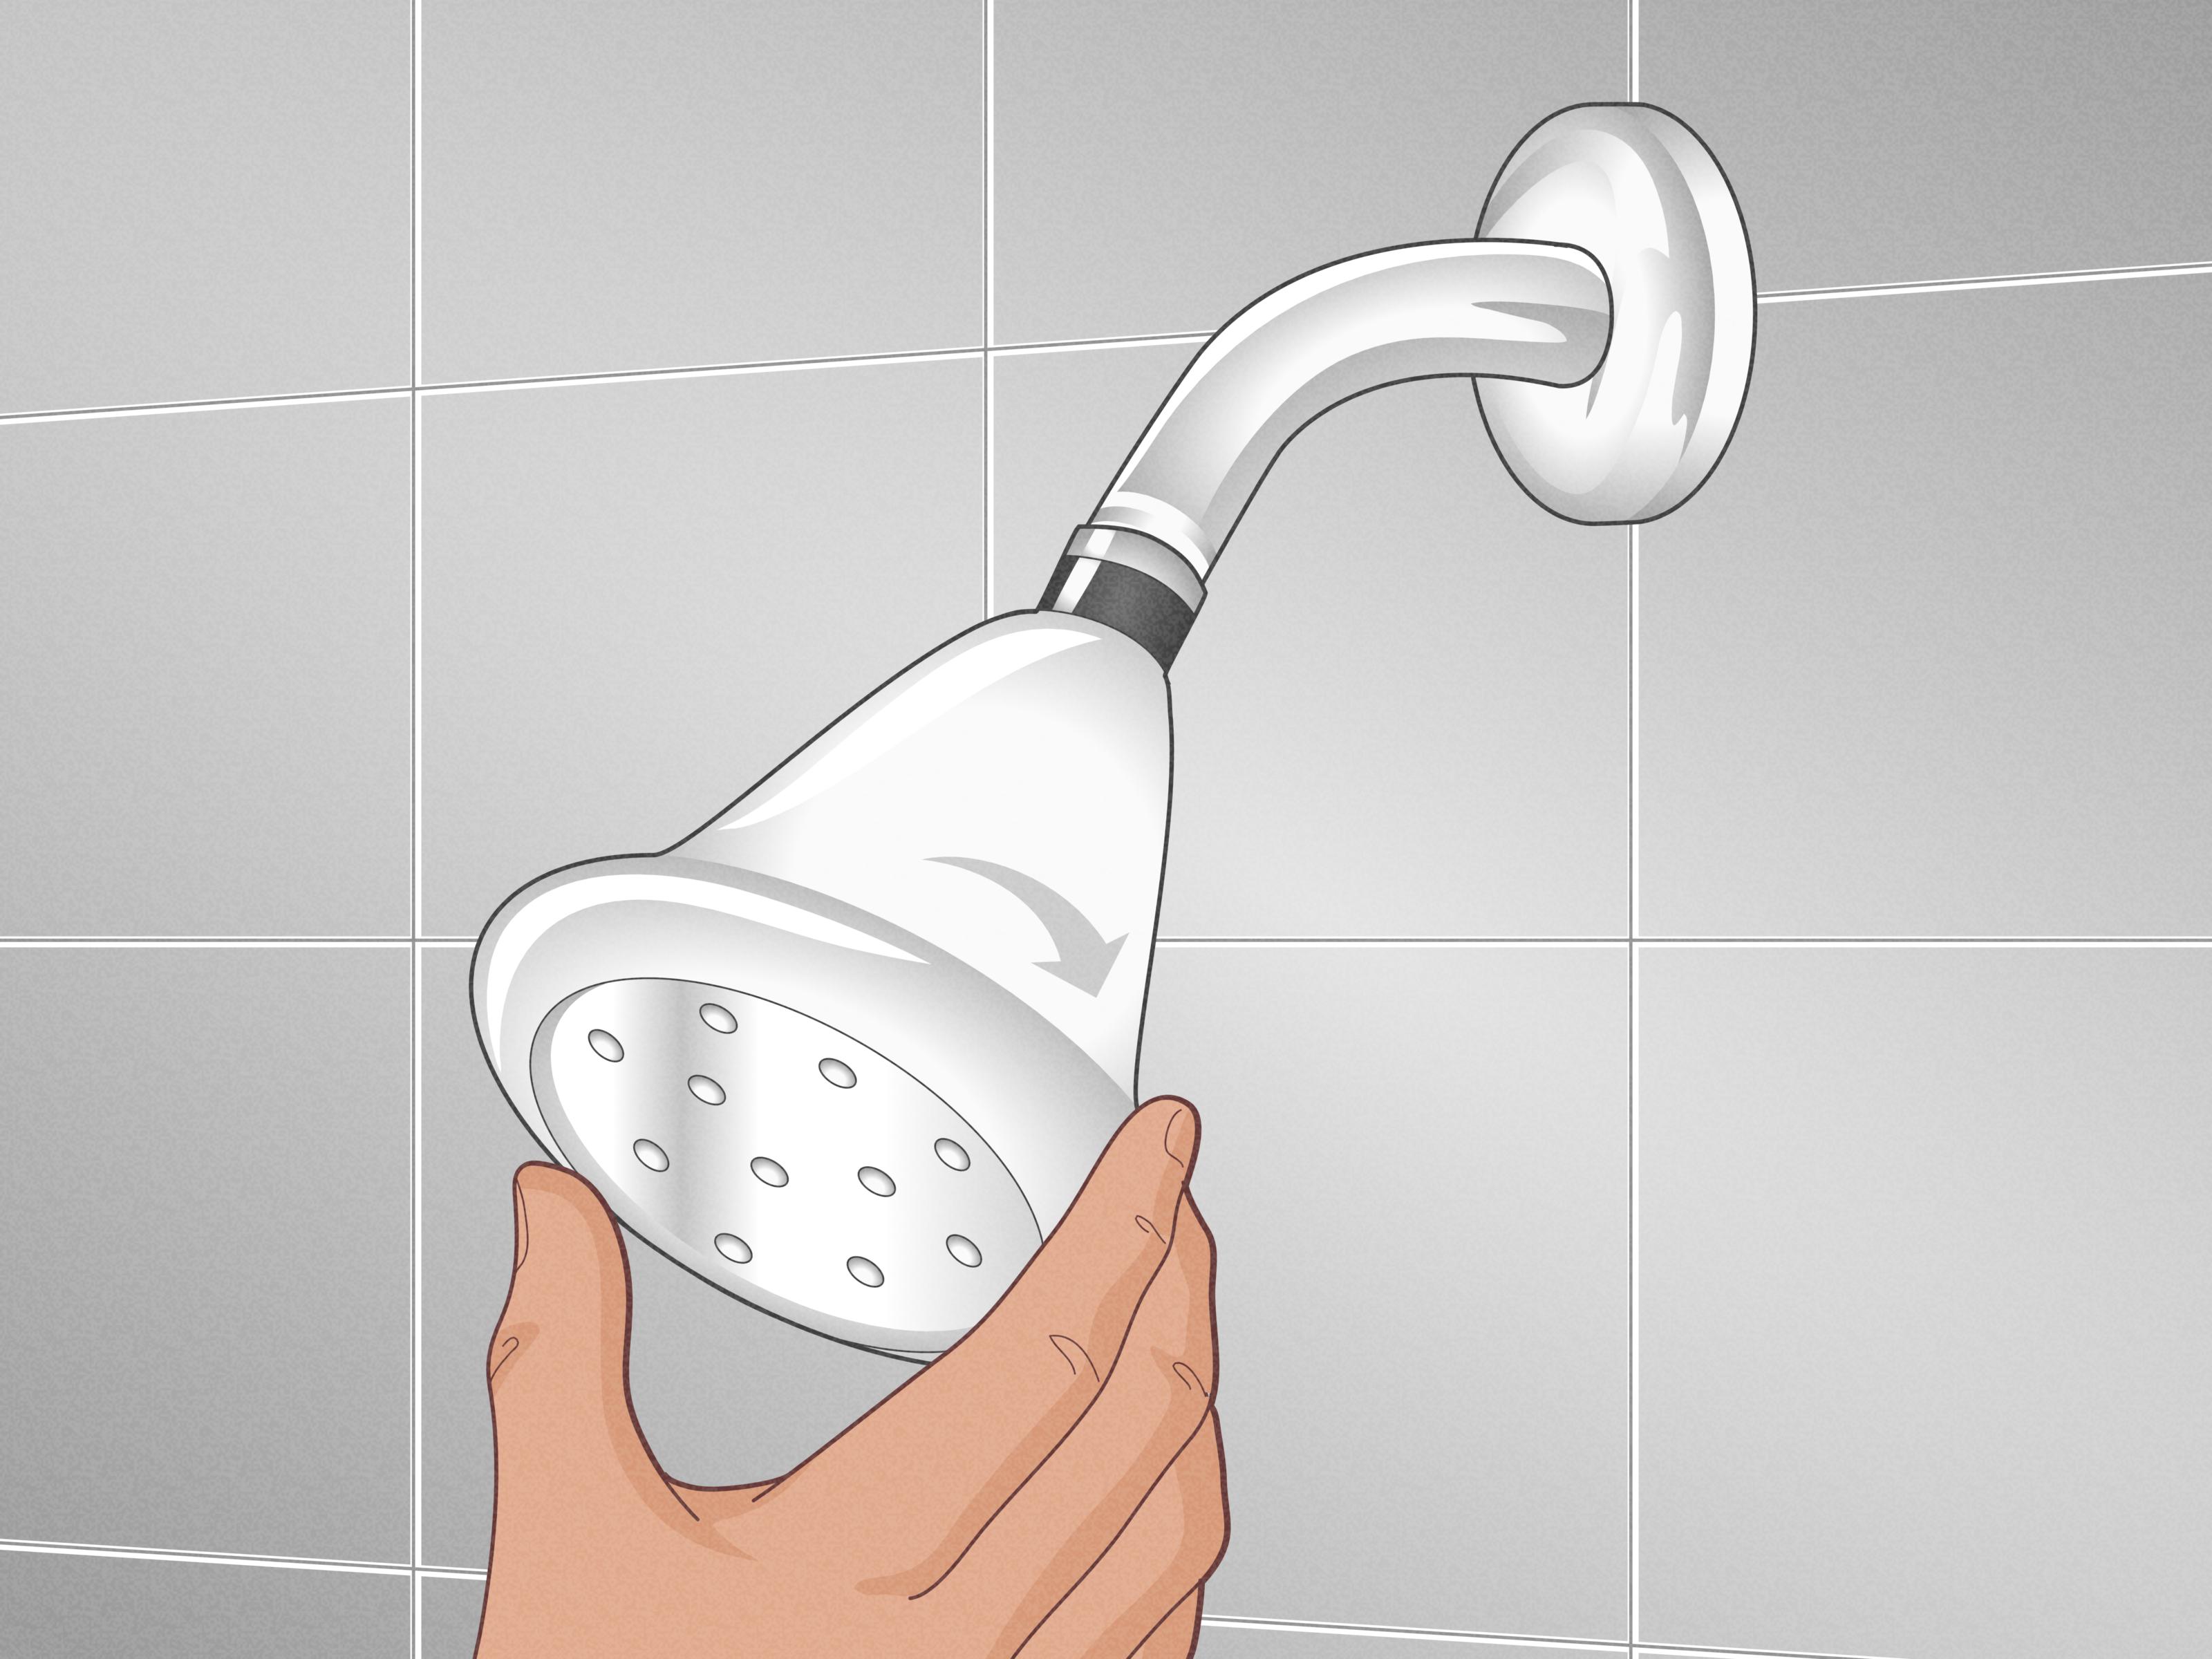
Step 14: Install the Shower Arm and Showerhead
Wrap the shower-arm threads with PTFE tape in the tightening direction, if specified. Thread the arm into the drop-ear elbow and tighten it until secure and correctly oriented. Protect decorative finishes with a strap wrench or a cloth beneath the wrench jaws.
Install the flange and attach the showerhead. Many showerheads are designed to be hand-tightened; excessive wrench pressure can damage the finish, crack a plastic connector, or deform an internal gasket. Confirm that required washers, screens, and hose gaskets are present.
Step 15: Set the Temperature Limit
Turn on the shower while standing outside the spray. Allow the water temperature to stabilize, then measure it with an accurate thermometer. Adjust the cartridge’s rotational limit stop or temperature-limit mechanism according to the manufacturer’s instructions.
Do not skip this step. The handle may appear to operate correctly even when its maximum setting is unsafe. Many modern codes specify a maximum shower temperature setting of 120 degrees Fahrenheit, and manufacturers commonly provide an adjustable limit mechanism for that purpose.
Common Shower Faucet Installation Mistakes
Buying Incompatible Trim
A trim kit is not automatically compatible because the handle shape looks similar. Verify the exact rough-in valve series before buying.
Setting the Valve at the Wrong Depth
This mistake can make the handle impossible to attach or prevent the escutcheon from sealing against the wall. Calculate the complete finished-wall thickness before securing the valve.
Applying Heat With the Cartridge Installed
Torch heat can damage seals, pressure-balancing components, and plastic parts. Remove everything identified in the manual and use a heat shield.
Failing to Flush the Lines
Cutting and connecting pipes can introduce metal fragments, mineral scale, plastic shavings, or old sealant. Those materials can clog a new cartridge or showerhead immediately.
Closing the Wall Too Soon
A connection that appears dry at first may develop a slow leak under pressure. Test repeatedly before covering the valve.
Forgetting the Temperature Limit
The rotational limit stop is a safety adjustment, not an optional comfort feature. Set it with a thermometer after the hot-water system reaches its normal operating temperature.
Field-Tested DIY Experiences That Make the Job Easier
The written instructions make shower faucet installation sound wonderfully linear: remove the old valve, install the new valve, test it, and enjoy a victorious shower. Real homes are rarely that cooperative. Walls conceal creative plumbing, crooked framing, mystery fittings, and repairs performed by someone whose main tool may have been optimism.
Photograph Everything Before Cutting
One of the most useful habits is taking wide and close-up photographs before disconnecting the old valve. Capture the pipe routing, fitting orientation, stud locations, depth of the existing valve, and the position of every support.
For example, imagine removing a valve and discovering that two nearly identical pipes disappear behind a stud. A photograph showing which pipe entered the hot side can save considerable confusion. Add pieces of painter’s tape labeled “hot,” “cold,” “shower,” and “tub” before making the first cut. Five minutes of documentation can prevent an hour of detective work.
Build a Finished-Wall Depth Sample
Valve depth causes more trouble than almost any other part of the project. Instead of estimating the final wall thickness, make a small sample using scraps of backer board, waterproofing material, adhesive, and tile. Hold this stack against the framing while positioning the plaster guard.
Suppose the manual allows the finished wall to land within a half-inch range. That sounds generous until thick stone tile, uneven mortar, and a slightly bowed stud consume the entire tolerance. A physical sample removes much of the guesswork.
Use the Backside of the Wall When Possible
Opening drywall in a closet or hallway is usually easier than cutting finished tile. Drywall can be patched, sanded, and painted with ordinary tools. Matching discontinued tile is a different adventure, often involving online auctions and intense conversations with strangers who own three dusty pieces of “almond mist” ceramic from 1998.
A rear access panel can also be useful later. When appropriate for the room, install a removable plumbing access panel instead of permanently sealing the opening. It provides a straightforward way to inspect or service the valve in the future.
Dry-Fit More Than Once
Complete the entire assembly without solder, cement, crimp rings, or permanent push connections. Confirm the valve depth, orientation, handle clearance, shower-riser alignment, tub-spout distance, and escutcheon coverage.
Then temporarily hold the trim against the projected finished-wall plane. This simple rehearsal may reveal that the handle hits a shelf, the plate does not cover the planned opening, or the tub outlet is slightly misaligned. Permanent plumbing connections are much less amusing to redo.
Protect the Valve During Soldering
When soldering a brass valve, many experienced installers assemble short copper sections and fittings on a workbench first. This allows several joints to be soldered away from framing. The prepared assembly can then be connected to the existing supplies with fewer in-wall torch operations.
Whether soldering on a bench or inside the wall, remove heat-sensitive valve components when instructed. Keep a spray bottle, fire extinguisher, and heat shield nearby. After finishing, inspect the cavity immediately and again several minutes later. A smoldering scrap of paper or insulation does not always announce itself promptly.
Test With Dry Tissue, Not Just Your Eyes
New copper, chrome, and brass reflect flashlight beams, making tiny droplets difficult to spot. Wipe each connection completely dry, wrap or press clean tissue around it, and check for darkened areas after the system has remained pressurized.
Test the valve in several positions. Run cold water, warm water, and the hottest permitted setting. Operate the tub diverter if present. A connection may remain dry when the valve is off but seep when pressure or temperature changes.
Do Not Rush the Final Five Percent
After the difficult plumbing work is complete, it is tempting to install the handle quickly and declare victory. The last steps deserve equal care. Flush the valve, clean the cartridge bore, confirm every gasket, tighten trim screws evenly, set the temperature stop, and inspect for leaks around the shower arm.
Also verify that the handle indicates hot and cold correctly. If the water temperature moves in the wrong direction, do not simply learn to live with a backward handle. Recheck the cartridge orientation and manufacturer instructions.
Keep the Manual and Spare Parts Information
Place the manual, model number, receipt, and cartridge information in a labeled envelope or digital home-maintenance folder. Take a photograph of the valve before closing the wall. Years later, that information can make ordering a replacement cartridge dramatically easier.
A future homeowneror a future version of you who no longer remembers what happened on plumbing Saturdaywill appreciate the documentation.
Final Thoughts
Learning how to install a shower faucet is largely an exercise in preparation. The visible trim may be simple, but the hidden valve must be compatible, correctly oriented, firmly supported, positioned at the proper depth, connected with approved materials, flushed, pressure-tested, and adjusted for safe water temperature.
Take accurate measurements, follow the product manual, respect local plumbing requirements, and resist the urge to close the wall before testing every connection. A careful installation provides smooth handle operation, stable water temperature, reliable flow, and the deeply satisfying knowledge that the shower works because you installed it correctlynot because the plumbing gods briefly looked the other way.













