
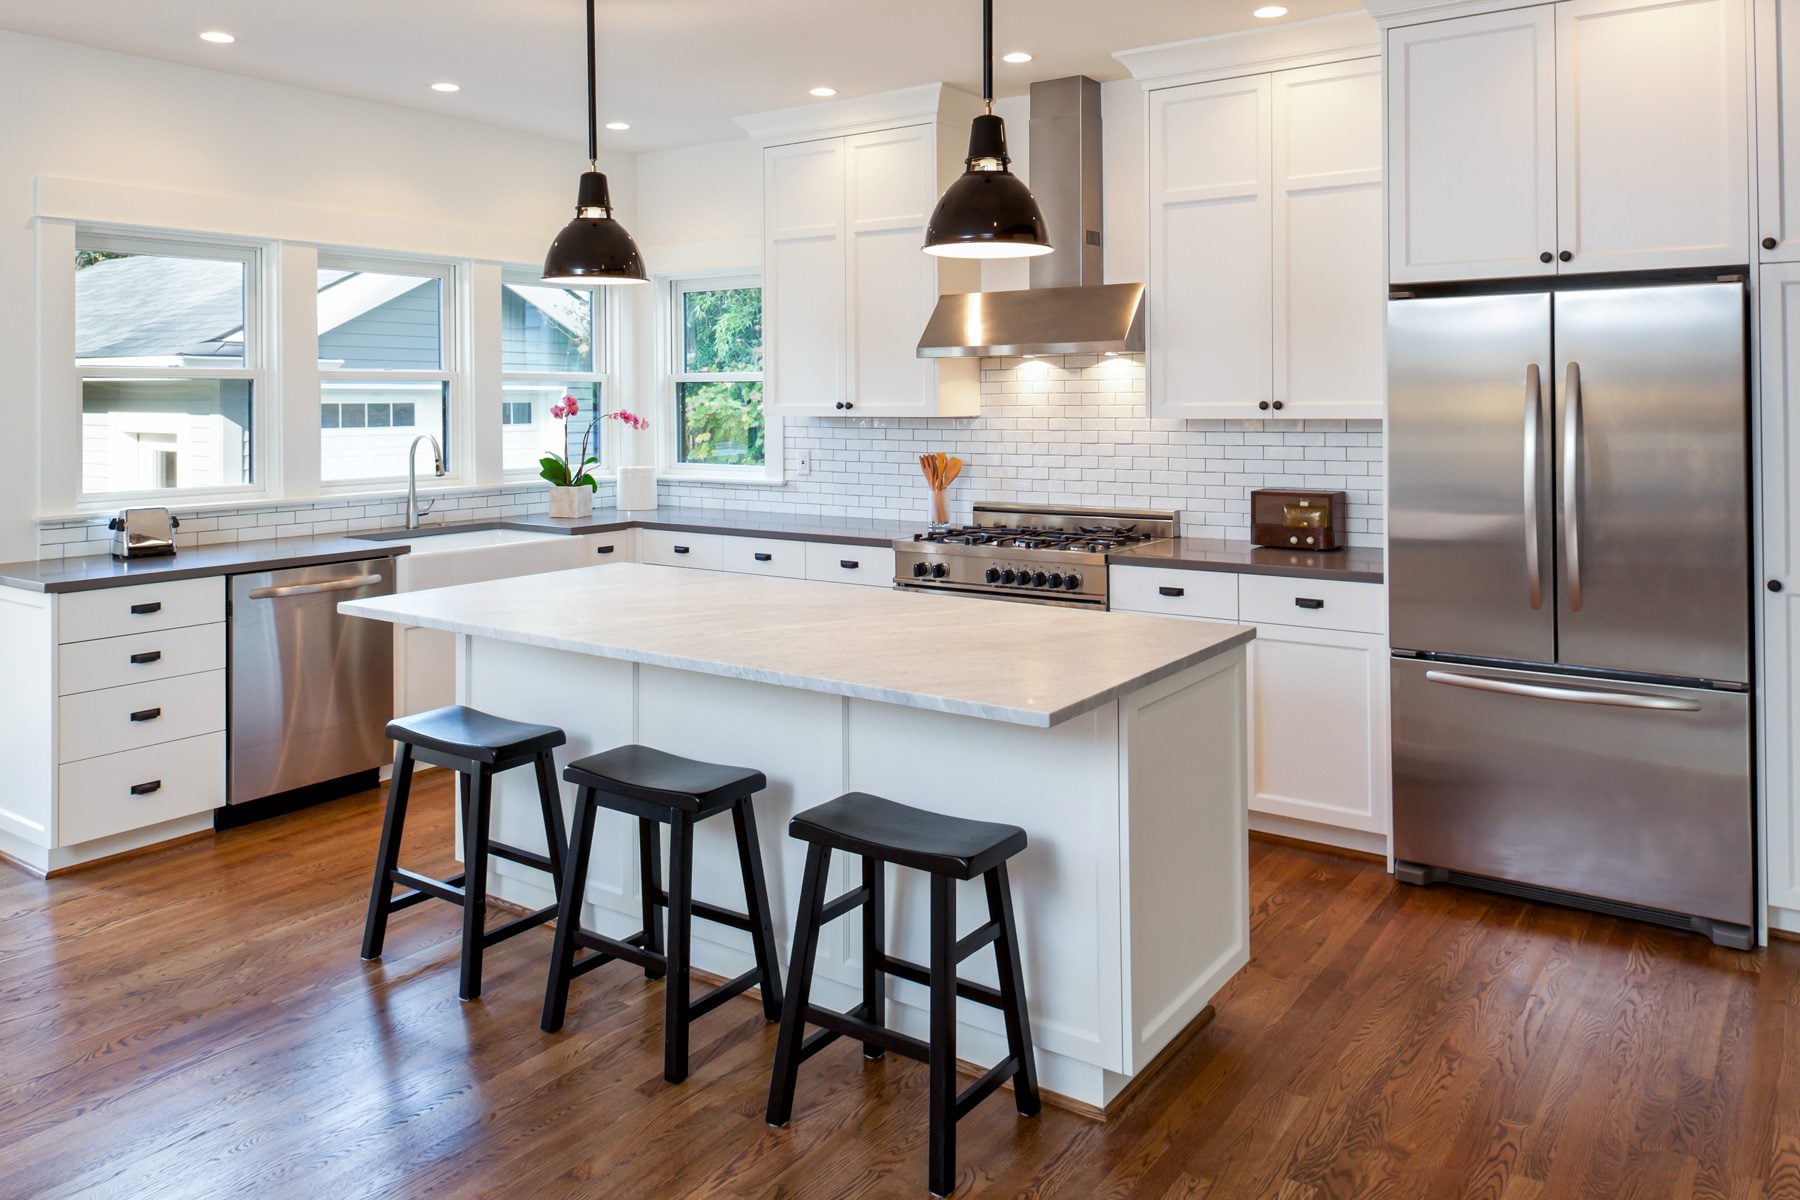
A kitchen island can be a prep station, breakfast table, storage superheroroomsometimes within the same 20 minutes. That is impressive work for what is essentially a very well-dressed rectangle.
The most inspiring kitchen island ideas do more than look beautiful in photographs. They improve traffic flow, place useful tools within reach, create comfortable seating, and give the kitchen a clear visual center. Whether you are remodeling a spacious open-plan kitchen or trying to squeeze more function into a compact room, the right island should reflect how you actually cook and live.
Plan the Island Around Your Kitchen, Not the Other Way Around
Before choosing marble, paint colors, or dramatic pendant lights, measure the available floor space. A kitchen island should make movement easier rather than turning dinner preparation into an obstacle course. Although 36 inches may be workable in certain low-traffic areas, aisles of approximately 42 to 48 inches generally provide more comfortable circulation, especially near appliances, seating, and busy work zones. ide what the island must accomplish. Is your priority food preparation, informal dining, storage, cleanup, entertaining, or a combination of these? Position frequently used features near the refrigerator, sink, and range while keeping guests outside the main cooking path. A beautiful island that blocks the dishwasher every time someone sits down is not a design feature. It is a domestic prank.
17 Kitchen Island Ideas That Combine Style and Function
1. Make the Island a Contrasting Color
Painting the island a different color from the surrounding cabinets is one of the easiest ways to create a focal point. Deep navy, forest green, warm clay, charcoal, or muted blue can add personality without overwhelming the room.
For a balanced result, repeat the island color in a smaller detail, such as a Roman shade, piece of artwork, backsplash accent, or set of counter stools. In an otherwise white kitchen, a colored island adds depth and helps prevent the room from feeling like a particularly expensive laboratory.
2. Choose a Furniture-Style Island
An island with visible legs, decorative feet, inset panels, or a freestanding profile can make a kitchen feel warmer and less heavily built in. This approach works particularly well in traditional, cottage, farmhouse, and transitional interiors.
A vintage worktable can also become an island when its height and condition are appropriate. Add a durable countertop, discreet electrical access, and a lower shelf for bowls or cookware. Because more of the floor remains visible, furniture-style islands can make a smaller room feel less crowded. . Add a Waterfall Countertop
A waterfall island continues the countertop material vertically down one or both ends, creating a clean, architectural appearance. Quartz, marble, quartzite, porcelain, and dramatic stone-look surfaces can all produce a striking result.
This treatment is especially effective when the material has expressive veining because the pattern becomes visible from across the room. Careful slab planning is essential so the veining flows naturally around the edge instead of appearing abruptly interrupted.
4. Bring in Texture With a Fluted Base
Fluted, reeded, or slatted island panels introduce texture without requiring bold color. Vertical detailing can soften a large block of cabinetry and create attractive shadows as daylight moves through the kitchen.
Painted fluting feels polished and contemporary, while natural oak or walnut brings warmth. Rounded fluting also pairs beautifully with curved corners. Keep the grooves practical: extremely narrow channels positioned beside a stove may become tiny museums dedicated to flour and bread crumbs.
5. Soften the Layout With Curved Corners
Not every kitchen island needs to be a sharp-edged rectangle. Rounded ends, oval islands, and gently curved seating areas improve visual flow and can make circulation feel more natural in open kitchens.
Curves are particularly useful near entrances or family walkways where pointed corners would otherwise sit at hip height. A rounded seating end can accommodate stools in a more conversational arrangement, allowing people to face one another instead of sitting in a rigid line like nervous contestants on a cooking show.
6. Create a Dedicated Butcher-Block Prep Zone
A full wood countertop adds warmth, but you can also combine butcher block with stone to create a specialized preparation area. Wood feels comfortable beneath the hands and works well for baking, chopping, or serving casual meals.
Use a properly sealed, food-appropriate surface and follow the manufacturer’s maintenance instructions. A mixed countertop can also visually separate different functionsfor example, durable stone around a sink and a warmer wood section beside the stools.
7. Design Storage for the Items You Actually Own
Generic cabinets often lead to generic clutter. Before ordering an island, inventory the equipment you intend to store there. Deep drawers can hold pots and mixing bowls, narrow pullouts can organize trays and cutting boards, and shallow top drawers can keep utensils close to the prep surface.
Other useful additions include a hidden trash and recycling center, spice storage, a paper towel holder, charging drawers, and a lift mechanism for a heavy mixer. Purpose-built storage reduces countertop clutter and prevents the familiar experience of opening five doors while looking for one colander. . Add Open Shelving at the Ends
Open shelves can make a solid island feel lighter while providing space for cookbooks, serving bowls, baskets, or frequently used dishes. Shelves located on the ends are especially practical because they remain accessible without interfering with the primary work zone.
For a calm appearance, display a limited collection rather than filling every inch. Repeating colors or materialssuch as white ceramics, woven baskets, and wood boardscreates a deliberate arrangement instead of a shelf that appears to be awaiting a yard sale.
9. Use Seating That Disappears When Not Needed
Backless or low-profile stools can slide entirely beneath the countertop, keeping aisles open and making a small kitchen feel more spacious. A recessed seating area also prevents stools from projecting into the main traffic path.
Comfort still matters. Select the correct stool height, provide adequate knee space, and test the seat before purchasing six of them. A beautiful stool that becomes uncomfortable after seven minutes is decoration, not seating. Thoughtful stool storage is particularly valuable in compact kitchens and entertaining spaces. 0. Extend the Island Into a Dining Table
An attached table-height extension provides a more comfortable dining position than standard counter seating. It also visually separates eating from food preparation without requiring a bulky two-tier countertop.
The extension may be made from wood to contrast with a stone island, supported by furniture-style legs, or positioned perpendicular to the main work surface. This layout works well for children, older adults, long dinners, laptop sessions, and anyone who prefers eating without climbing onto a bar stool.
11. Connect the Island to a Banquette
For a sociable, space-conscious design, attach a bench or banquette to the back of the island. The cooking side remains functional while the opposite side becomes a comfortable breakfast nook or dining zone.
Built-in bench storage can hold linens, serving pieces, or rarely used appliances. Upholstery adds softness to a room dominated by hard surfaces, but choose durable, cleanable fabric. Tomato sauce has an uncanny ability to locate the most expensive textile in the house. 2. Use a Mobile Island in a Small Kitchen
A rolling cart or compact movable island provides extra workspace without permanently occupying the center of the room. Move it beside the range during meal preparation, use it as a serving station when entertaining, and roll it against a wall when the floor needs to be clear.
Look for locking casters, sturdy construction, useful drawers, and a surface large enough for real work. A mobile island can also be created from stock cabinets, an old workbench, or an upcycled bookcase, making it a practical option for renters and budget-conscious renovations. 3. Install a Workstation Sink
Placing the sink in the island allows the cook to face the room rather than a wall. A workstation model adds ledges for cutting boards, strainers, drying racks, and serving accessories, turning the sink into a flexible preparation center.
Plan the dishwasher, trash pullout, dish storage, plumbing, and electrical outlets at the same time. Keep the seating side far enough from splashing water, and consider how dirty dishes will look from adjoining living spaces. The island can be the social heart of the kitchen without displaying last night’s lasagna pan as modern sculpture.
14. Build in a Cooktop and Landing Space
A cooktop can transform the island into an interactive cooking station, especially for homeowners who enjoy preparing meals while talking with family or guests. However, it requires careful planning for ventilation, electrical or gas connections, heat-resistant surfaces, and safe clearances.
Provide generous landing space beside the cooktop and avoid placing seats directly behind hot cookware. Consider where pot handles, splatters, utensils, and ingredients will go during a busy dinner. Function should determine the dimensionsnot the appliance brochure’s most glamorous photograph.
15. Create a Beverage or Entertaining Station
Turn one end of the island into a coffee, wine, or beverage zone. An undercounter refrigerator, beverage cooler, ice maker, glassware drawer, or small sink allows guests to help themselves without entering the main cooking area.
This feature is especially useful in open-plan homes because the island can function as a buffet or bar during gatherings. Place entertaining storage on the outward-facing side so drinks and serving pieces remain accessible while the cook continues working.
16. Consider Two Smaller Islands
In a genuinely large kitchen, two purpose-driven islands can work better than one enormous structure. One island might handle washing and food preparation, while the second provides seating, serving space, baking storage, or a beverage station.
Double islands create distinct work zones and can improve circulation when properly planned. They are not, however, a requirement for proving that your kitchen is large. Maintain comfortable aisles around both islands and make sure each one has a specific job beyond giving guests additional surfaces on which to leave their phones. 7. Finish the Island With Sculptural Lighting
Pendant lights visually anchor an island and provide focused illumination for chopping, reading recipes, serving food, and completing homework. Large islands may suit two or three fixtures, while a compact island can look better beneath one sculptural pendant or a streamlined linear light.
Choose fixtures that relate to the island’s scale without blocking sightlines. Then keep countertop decoration simple: a vase of branches, a bowl of fruit, or a tray with useful items is usually enough. The island is still a work surface, not a gift shop display window. n>
How to Choose the Right Kitchen Island Idea
Begin with your daily routine. A frequent baker may prioritize a lower wood preparation surface, tray storage, and an appliance lift. A family with children may value durable counters, rounded corners, charging outlets, and comfortable seating. Someone who entertains regularly might prefer a beverage refrigerator, hidden glassware storage, and a broad serving surface.
Next, consider visual weight. A large kitchen can support substantial cabinetry and dramatic stone, while a smaller room may benefit from open legs, lighter colors, modest dimensions, or a mobile design. Current design guidance increasingly favors islands tailored to the household rather than oversized structures installed simply because space is available. ally, test the proposed footprint. Mark it on the floor with painter’s tape, place cardboard boxes inside the outline, and walk around it while opening the oven, refrigerator, dishwasher, and cabinet doors. Add temporary chairs where the stools will sit. This inexpensive experiment can reveal expensive mistakes before construction begins.
Real-World Kitchen Island Experiences and Lessons
Kitchen island projects tend to teach the same lesson repeatedly: the most satisfying design is rarely the one with the greatest number of features. It is the one that removes small frustrations from everyday life.
Homeowners often begin by imagining a dramatic centerpiece and later discover that drawer placement, trash access, aisle width, and electrical outlets affect them far more than a fashionable edge profile. A countertop may look spectacular, but the island will feel poorly planned if someone must walk around it whenever a spoon, towel, or cutting board is needed.
One particularly valuable experience is testing movement before finalizing the dimensions. A taped outline can seem reasonable when the kitchen is empty. Add open appliance doors, a seated person, a dog waiting for dropped cheese, and two family members attempting to pass each other, and the same outline may suddenly feel enormous. Reducing an island by several inches can sometimes make the entire kitchen feel larger and work better.
Seating also deserves realistic testing. Four stools may fit mathematically along a countertop, yet people need elbow room, knee space, and a path to get in and out. Families frequently use island seating for longer periods than expectedfor breakfast, schoolwork, video calls, and casual dinners. Comfortable seats and an adequate overhang can therefore matter more than squeezing in one additional stool.
Storage planning produces similar surprises. Deep cabinets may look generous on a floor plan but become inconvenient when small items disappear behind large ones. Wide drawers, vertical tray dividers, and pullout shelves usually make contents easier to see. Storing items close to the activity they support is even more important. Baking supplies belong near the baking surface; dish towels belong near the sink; serving pieces belong on the guest-facing side.
Integrated appliances can be wonderful, but every appliance changes the island’s supporting requirements. A sink needs plumbing and creates a cleanup zone. A cooktop needs ventilation and safe landing space. A beverage refrigerator requires electrical service and ventilation clearance. These elements should be planned early, because adding them later may involve opening finished floors or replacing cabinetry.
Material samples are another source of practical wisdom. Stone, paint, wood, metal, and upholstery can look very different under kitchen lighting than they do in a showroom. View samples together during the morning, afternoon, and evening. A white countertop may reveal gray, cream, or blue undertones, while a dark island color may appear rich in daylight and almost black at night.
Many successful renovations also leave part of the countertop intentionally empty. It is tempting to fill the island with flowers, cookbooks, bowls, candles, and decorative trays. Yet clear space is what allows the island to become a baking station on Saturday, a buffet on Sunday, and a school project headquarters on Monday. Flexible space is a feature, even though it does not appear on an appliance specification sheet.
Finally, experienced remodelers recognize that not every kitchen needs a permanent island. A peninsula, worktable, rolling cart, or compact movable unit may deliver the required workspace without compromising circulation. The goal is not to join Team Island at all costs. The goal is to create a kitchen that feels intuitive, comfortable, and enjoyable every day.
Conclusion
The best kitchen island ideas balance inspiration with honest planning. Color, stone, wood, fluting, curves, lighting, and beautiful stools can give the island personality, but dimensions and daily function determine whether it becomes a beloved gathering place or an attractive obstacle.
Choose features that support your habits, protect comfortable walkways, and make frequently repeated tasks easier. When the design is right, the island will not merely occupy the center of the kitchenit will earn its place there.











