
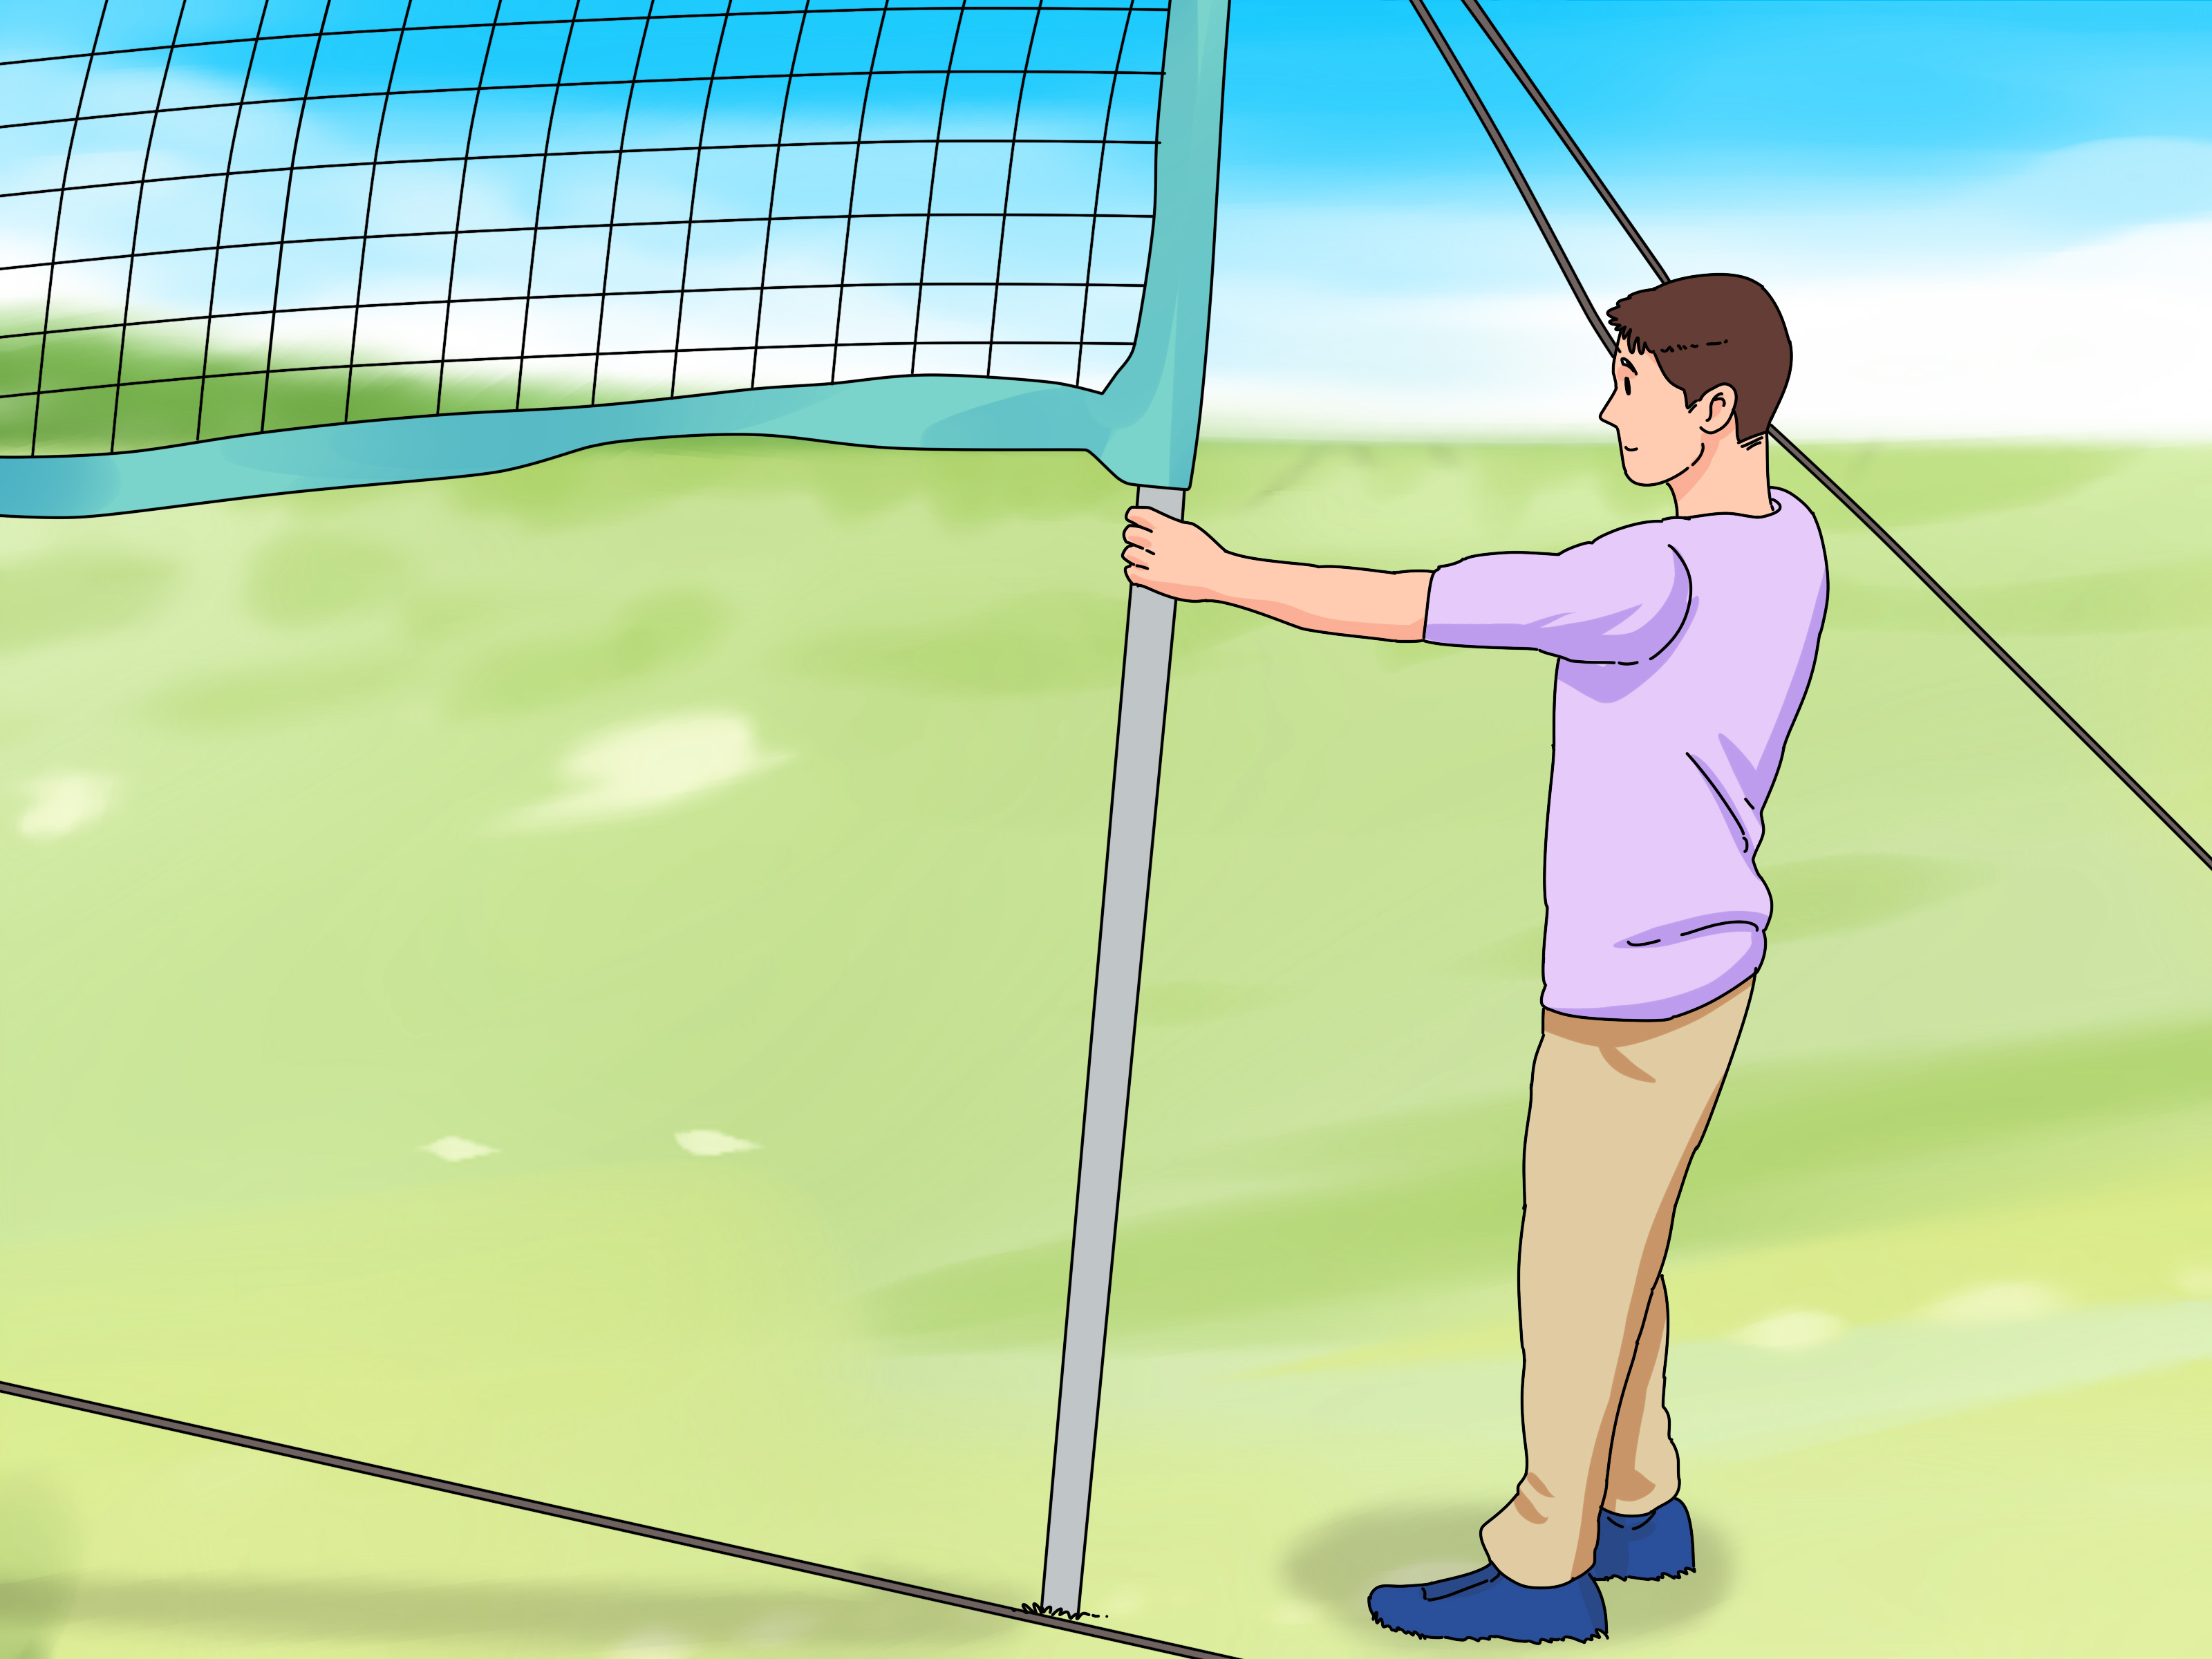
Hanging a volleyball net looks simple until the first serve flies under the tape, the left pole leans like it has trust issues, and someone says, “Is this regulation?” Good news: learning how to hang a volleyball net is not complicated. You just need the right space, the correct net height, stable poles, even tension, and a few safety checks before anyone starts spiking like they are auditioning for the national team.
This guide walks you through 14 practical steps for setting up a volleyball net indoors, outdoors, in a backyard, on grass, or on sand. Whether you are preparing for casual family play, school practice, beach doubles, or a neighborhood tournament, the goal is the same: a net that is straight, secure, properly measured, and ready for a clean game.
For standard competitive play, men’s volleyball nets are commonly set at 7 feet 11 5/8 inches, while women’s nets are set at 7 feet 4 1/8 inches. Beach volleyball uses the same adult net heights, although the court size differs from indoor volleyball. For younger players, recreational games, or mixed-skill groups, the net height may be adjusted to keep play fun and fair.
What You Need Before Hanging a Volleyball Net
Before you start, gather your equipment. Having everything nearby prevents the classic “where did the stake go?” scavenger hunt that turns a five-minute setup into a full outdoor mystery novel.
Basic Equipment Checklist
- Volleyball net
- Two volleyball poles or posts
- Guy lines, ropes, cables, or ratchet tensioning system
- Ground stakes or anchors for outdoor setups
- Measuring tape or net height measuring chain
- Boundary lines or court tape
- Rubber mallet for stakes
- Pole pads for indoor or competitive setups
- Antennae for regulation-style play
- Level playing surface
If you are using a portable volleyball net system, read the manufacturer’s instructions first. Portable systems often have height markings, locking pins, sleeves, clamps, or ratchets that must be assembled in a specific order. The net may look like a friendly rectangle, but the hardware has opinions.
How to Hang a Volleyball Net: 14 Steps
Step 1: Choose a Safe, Flat Playing Area
Start by choosing a level space with enough room around the court. For indoor volleyball, a regulation court is about 59 feet long by 29.5 feet wide. Beach volleyball courts are smaller, usually about 52 feet 6 inches long by 26 feet 3 inches wide. Backyard games can be more flexible, but avoid slopes, holes, rocks, sprinkler heads, tree roots, and anything else that could turn a great rally into an ankle complaint.
Leave extra space around the court so players can chase the ball safely. A cramped volleyball court is basically dodgeball with a net, and nobody asked for that.
Step 2: Decide the Right Net Height
Measure your net height based on the players and type of game. Common adult regulation heights are 7 feet 11 5/8 inches for men and 7 feet 4 1/8 inches for women. For coed recreational games, many groups use the men’s height, but casual play can be adjusted as long as everyone agrees before the match begins.
Younger players often need lower nets. A lower net helps beginners serve, rally, and learn positioning instead of spending the whole afternoon watching the ball bounce back like it hit an invisible wall.
Step 3: Mark the Center Line
The volleyball net should sit directly over the center line of the court. If you are setting up indoors, the center line may already be painted on the floor. Outdoors, use measuring tape, rope, chalk, or temporary court lines to mark the middle.
This step matters because the net divides the court into two equal sides. If the center line is crooked, one team gets a bigger kingdom, and volleyball is not supposed to be a land dispute.
Step 4: Place the Poles in the Correct Position
Position one pole on each side of the court, just outside the sideline. For regulation-style setups, posts are placed outside the court boundary rather than directly on the sideline. This keeps the playing area clear and reduces collision risk.
For portable outdoor systems, lay the net on the ground first to estimate pole spacing. Most full-size volleyball nets are around 32 feet long, but portable recreational nets may vary. Do not guess wildly. A net stretched too far may sag, while a net placed too close will hang like a tired hammock.
Step 5: Secure the Poles Upright
Indoor poles usually slide into floor sleeves or attach to weighted portable bases. Outdoor poles may use stakes, anchors, guy lines, or buried sleeves. Make sure both poles stand straight before attaching the net. If one pole leans, the net height and tension will be uneven.
For grass setups, drive stakes firmly into the ground at an angle away from the pole. For sand setups, use proper sand anchors or buried deadman-style anchors designed for volleyball systems. Never rely on tiny tent stakes for a full-size net in windy conditions unless you enjoy surprise engineering failures.
Step 6: Attach One End of the Net to the First Pole
Begin by attaching the top cable, rope, or loop of the net to one pole. Many systems have hooks, pulleys, sleeves, or clips. Make sure the top band of the net faces outward cleanly and is not twisted.
If the net has side straps, Velcro closures, or dowels, fasten them according to the system design. A neat attachment at the first pole makes the rest of the setup easier. Think of it like buttoning a shirt: start wrong, and suddenly the whole thing looks suspicious.
Step 7: Stretch the Net Across the Court
Carry the other end of the net across the center line to the second pole. Keep the top cable from dragging through dirt or sand if possible. Attach the net loosely at first so you can adjust height and alignment before fully tightening.
Check that the net is centered between the sidelines. If the net has side bands, those should align near the court sidelines. If you are using antennae, they will eventually be placed directly above the sidelines to mark the legal crossing space.
Step 8: Tighten the Top Cable or Rope
Use the ratchet, pulley, winch, rope cleat, or tensioning system to tighten the top of the net. The goal is firm tension without over-tightening. The top band should be straight, not drooping dramatically in the middle.
Stand to the side of tensioning hardware while tightening, especially with ratchet systems. Do not stand directly behind a loaded cable or crank. Hardware under tension deserves respect, just like a teammate who says, “I’ve got it!” and absolutely does not have it.
Step 9: Secure the Bottom of the Net
After the top is secure, fasten the lower net straps or ropes. The bottom should be snug enough to keep the net from flapping but not so tight that it pulls the poles inward or distorts the mesh.
A stable bottom edge improves play because the ball reacts more consistently when it touches the net. It also makes the whole setup look cleaner and more professional, which is nice when someone inevitably takes photos.
Step 10: Measure the Net Height at the Center
Measure from the playing surface to the top edge of the net at the center. This is the most important measuring point. For official-style play, use the proper height for your group: 7 feet 11 5/8 inches for men, 7 feet 4 1/8 inches for women, or the selected youth/recreational height.
On sand, rake or level the surface before measuring. Sand shifts, players dig, and one enthusiastic warmup can change the surface enough to affect the reading.
Step 11: Check Both Sides of the Net
Measure near both sidelines as well. The sides should be even and should not be significantly higher than the center. If one side is too high or too low, adjust the pole height, cable tension, or anchor lines.
This is where many setups go from “close enough” to “actually good.” A net can look straight from ten feet away and still be uneven. Your eyes are helpful; a tape measure is less emotionally invested.
Step 12: Add Antennae for Regulation-Style Play
If you are setting up for serious practice or match play, attach antennae to the net above the sidelines. Antennae mark the legal crossing space for the ball. If the ball crosses outside the antenna or hits an antenna, it is out of bounds in standard volleyball rules.
For casual backyard games, antennae are optional, but they help reduce arguments. And fewer arguments mean more volleyball and fewer dramatic courtroom speeches over whether the ball was “definitely in.”
Step 13: Add Pole Padding and Safety Checks
For indoor volleyball, school gyms, clubs, and competitive play, pole pads are strongly recommended and often required. Wrap the pads around the posts and fasten them securely. Make sure tensioning handles, hooks, and metal parts are not exposed where players may run or dive.
For outdoor setups, inspect stakes, guy lines, and anchors. Brightly colored guy lines are easier to see and less likely to trip players. If kids are playing nearby, double-check that all stakes are fully seated and sharp edges are covered or kept outside traffic areas.
Step 14: Test the Net Before Playing
Finally, give the net a gentle test. Lightly press the top band, check the pole stability, inspect all knots or clips, and walk around the court. Serve a few balls over the net and watch how it behaves. If the net sags, shakes excessively, or pulls the poles inward, pause and adjust.
Do not skip the test. It takes one minute and can save you from a mid-game collapse that makes everyone stop, stare, and quietly blame the person holding the mallet.
Common Mistakes When Hanging a Volleyball Net
Using the Wrong Net Height
The most common mistake is setting the net by eye. Volleyball net height is specific, and even a few inches can change the feel of the game. Always measure from the playing surface to the top of the net.
Over-Tightening the Net
A tight net is good; an aggressively over-tightened net is not. Too much tension can bend poles, stress cables, damage hardware, or pull anchors loose. Tighten until the top band is straight and stable, then stop before your inner superhero gets involved.
Ignoring the Playing Surface
Grass, sand, gym floors, and concrete all require different setup choices. Outdoor systems need reliable anchors. Indoor systems need proper sleeves, bases, and floor protection. Sand setups need leveling because players move the surface constantly.
Forgetting Safety Padding
Poles are not part of the fun. Add padding whenever players may run near the posts, especially in fast games. A well-padded pole is boring, and boring is exactly what you want from safety equipment.
Indoor vs. Outdoor Volleyball Net Setup
Indoor Setup
Indoor volleyball nets are usually supported by heavy-duty poles placed in floor sleeves or attached to portable bases. These systems often use crank, winch, or ratchet tensioners. The biggest priorities are correct height, stable poles, proper padding, and protection for the gym floor.
Grass Setup
Grass setups are popular for backyard volleyball, camps, and picnics. Choose firm ground, use strong stakes, and angle guy lines away from the court. Avoid muddy areas because stakes can loosen, and players can slip.
Beach or Sand Setup
Beach volleyball requires solid anchors because sand does not grip like packed soil. Use sand anchors designed for volleyball systems, level the court before measuring, and recheck the net height after extended play.
Extra Tips for a Better Volleyball Net Setup
Use boundary lines whenever possible. A net without court lines can work for casual pepper games, but full play becomes confusing quickly. Marking the court helps players judge serves, attacks, and defensive coverage.
Keep the net square to the court. If the poles are not aligned, the net may cut across the court at an angle. That makes one side slightly shorter and gives the game a strange backyard carnival feel.
Store your net dry. Moisture can weaken ropes, encourage mildew, and make hardware rust faster. After outdoor play, shake off sand, wipe metal parts, and let the net dry before packing it away.
Personal Experience and Practical Lessons From Hanging Volleyball Nets
The first lesson from setting up volleyball nets is simple: the ground always looks flatter than it is. A lawn may appear smooth from the patio, but once you stretch a net across it, every bump suddenly becomes a strategic feature. Before hanging the net, walk the area slowly. Look for dips, soft spots, sprinkler covers, stones, and roots. Players focus on the ball, not the ground, so the setup crew has to be the responsible adult in the room, even if the room is a backyard with lemonade.
The second lesson is that two people make the job much easier. One person can hang a lightweight recreational net, but two people can keep the poles straight, prevent twisting, and adjust tension evenly. When one person tightens while the other checks alignment, the result is cleaner and safer. For portable systems with ratchets or guy lines, teamwork also prevents the poles from leaning inward as the net gets tighter.
Another practical tip is to measure more than once. Many people measure the center, celebrate too early, and then discover that one sideline is several inches off. Measure the center first, then measure near both antennas or sidelines. If you are on sand, measure again after leveling. If you are playing for several hours, check the height during breaks. Nets loosen, sand shifts, ropes stretch, and someone always “accidentally” hangs on the net after a dramatic block attempt.
For outdoor play, anchor quality matters more than people expect. Cheap stakes may work for a short children’s game, but a full-size net catches wind like a sail. On breezy days, use stronger anchors, drive stakes deeply, and angle guy lines away from the court. Keep the lines visible. Bright rope, cones, or small flags can prevent players from tripping when they chase a ball outside the sideline.
For backyard games, do not obsess over perfect regulation if the group is mixed in age and ability. A slightly lower net can make the game more enjoyable for beginners, families, and younger players. The best recreational volleyball setup is one that encourages longer rallies and fewer frustrated serves into the tape. Competitive players may want exact height, but casual players usually want fun first and rulebook arguments never.
Finally, make teardown part of the routine. Loosen the tension before removing stakes or clips. Wipe dirt or sand from the net, coil ropes neatly, and store everything in the same bag. Future you will be grateful. Nothing ruins a sunny volleyball afternoon faster than opening a storage bag and finding a rope knot that looks like it was tied by an octopus under pressure.
Conclusion
Hanging a volleyball net is a straightforward project when you follow the right order: choose a safe area, mark the court, set the poles, attach the net, tighten it carefully, measure the height, add safety padding, and test everything before play. Whether you are setting up an indoor volleyball net, a beach volleyball net, or a backyard volleyball net, the details matter. A straight, secure net creates better rallies, fewer disputes, and a much safer game.
The best setup is not just regulation-correct; it is also practical for the players using it. Measure accurately for competitive games, adjust thoughtfully for younger or casual players, and always prioritize safety. Once the net is stable and the court is ready, all that is left is to serve, dive, laugh, and pretend your missed spike was “just a warmup.”
Note: Always follow the instructions that came with your specific volleyball net system. For schools, clubs, leagues, and tournaments, confirm the current rulebook requirements before official play.













