
Important safety note: This guide is educational, not a replacement for real skydiving training. If you are a student jumper, tandem passenger, AFF student, licensed skydiver, or curious person who just watched one too many action movies, follow the procedures taught by your instructors and written for your specific equipment. In a parachute emergency, survival depends on altitude awareness, practiced emergency procedures, and fast, calm action.
A parachute failure sounds like the kind of nightmare your brain writes at 3:00 a.m. after too much coffee. The good news is that modern skydiving is built around redundancy. Sport parachute systems use a main canopy, a reserve canopy, emergency handles, training routines, and often backup devices such as an automatic activation device, or AAD. The bad news is that none of those tools help if you freeze, forget your training, or spend your remaining altitude trying to negotiate with gravity.
So, how do you survive if your parachute fails to open? The real answer begins before the jump: learn, rehearse, inspect, and respect your hard deck. The steps below explain the mindset and general actions behind parachute emergency procedures, using plain American English and a little humor because panic already has the drama department covered.
Step 1: Understand What “Parachute Fails to Open” Really Means
In skydiving, a “failed parachute” does not always mean a backpack full of nothing. A malfunction can be total, partial, high-speed, low-speed, spinning, tangled, twisted, or simply not landable. Your main canopy might not deploy at all, might deploy but fail to inflate properly, or might open in a way that cannot be safely steered.
The key question is not, “Does fabric exist above me?” The key question is, “Do I have a controllable, landable canopy?” If the answer is no, you are in emergency-procedure territory. That is why skydivers practice identifying malfunctions quickly. You do not need a poetry reading from the parachute. You need a decision.
Step 2: Stay Altitude Aware
Altitude is the currency of survival. Every second spent confused, fascinated, or annoyed by a malfunction is altitude spent. During training, skydivers learn deployment altitudes, decision altitudes, and emergency-procedure hard decks. Those numbers exist because a parachute system needs time and space to work.
If something is wrong after deployment, check altitude immediately. Then keep checking. A common danger in parachute emergencies is “problem fixation,” where a jumper keeps trying to fix a bad main canopy while getting lower and lower. Gravity does not pause while you troubleshoot. It is rude like that.
Step 3: Do Not Waste Time Hoping It Will Fix Itself
Some canopy issues can be corrected if you are trained, high enough, and the canopy is behaving within your emergency-procedure plan. Other malfunctions require immediate action. The dangerous middle ground is denial: “Maybe it will clear. Maybe one more kick. Maybe if I glare at it harder.”
Your training should tell you when to attempt a quick correction and when to stop trying. If a canopy is diving, spinning violently, tangled, streaming, or not slowing you to a survivable descent rate, delay can be deadly. The goal is not to save the main parachute. The goal is to save the jumper attached to it.
Step 4: Follow Your Trained Emergency Procedure
Every skydiver must know the emergency procedure for their specific rig. In general, many sport systems use a cutaway handle to release a malfunctioning main parachute and a reserve handle to deploy the reserve. However, equipment, student programs, tandem systems, reserve static lines, and local procedures can differ. This is why internet advice should never replace hands-on training.
When your parachute fails to open correctly, perform the emergency sequence you were taught. Make the decision, execute the handles, and do it with commitment. Half-actions are for assembling discount furniture, not for parachute emergencies.
Step 5: Know When to Cut Away and When Not To
Cutting away means releasing the main parachute so the reserve can deploy into cleaner air. For many partial malfunctions, cutting away before deploying the reserve is the normal trained response. But there is an important exception: if you are below your cutaway hard deck, there may not be enough altitude for a safe cutaway sequence. At very low altitude, trained procedures may direct you to deploy the reserve and get more fabric overhead instead of cutting away first.
This is one reason students hear hard-deck rules again and again. Your cutaway decision is altitude-dependent. High enough, you may have time for the full emergency sequence. Too low, your options shrink fast. The sky is big, but your usable altitude window is not.
Step 6: Trust the Reserve, but Do Not Wait for Magic
A reserve parachute is not decorative. It is a certified emergency parachute packed and maintained under strict rules. It exists for the exact moment when the main parachute is not doing its job. Many skydivers go years without a reserve ride, while others experience one early. Either way, the reserve is part of the system, not a shame button.
That said, do not wait around hoping an automatic device, reserve static line, or miracle breeze will solve the problem for you. AADs are important backup devices, but they are last-resort systems, not permission to ignore emergency procedures. Your first backup is your training. The electronics are not there to babysit daydreaming.
Step 7: If the Reserve Opens, Fly the Canopy You Have
Once a reserve canopy is overhead, shift immediately from “survive the malfunction” mode to “land safely” mode. Check canopy controllability, locate the landing area, identify obstacles, and fly a conservative pattern if altitude permits. Avoid aggressive turns. You have already had enough excitement for one afternoon.
A reserve may fly differently from your main canopy. It may have a different size, response, or landing feel. That is another reason emergency review matters. After deployment, your job is simple: fly the parachute all the way to the ground.
Step 8: Deal With Two Canopies Carefully
Sometimes a skydiver can end up with two parachutes out at once, such as a main and reserve. This can happen for several reasons, including low-altitude reserve deployment, AAD activation, or an unusual emergency sequence. Two-canopy situations are complex because the parachutes may fly in different configurations.
General guidance often focuses on keeping the system stable, avoiding unnecessary input, steering gently if appropriate, and preparing for a parachute landing fall. However, the exact response depends on the configuration and the training program. The main takeaway is this: do not start yanking handles or making big control inputs without a trained reason. When two parachutes are flying, “smooth and boring” is usually your friend.
Step 9: Prepare for a Hard Landing
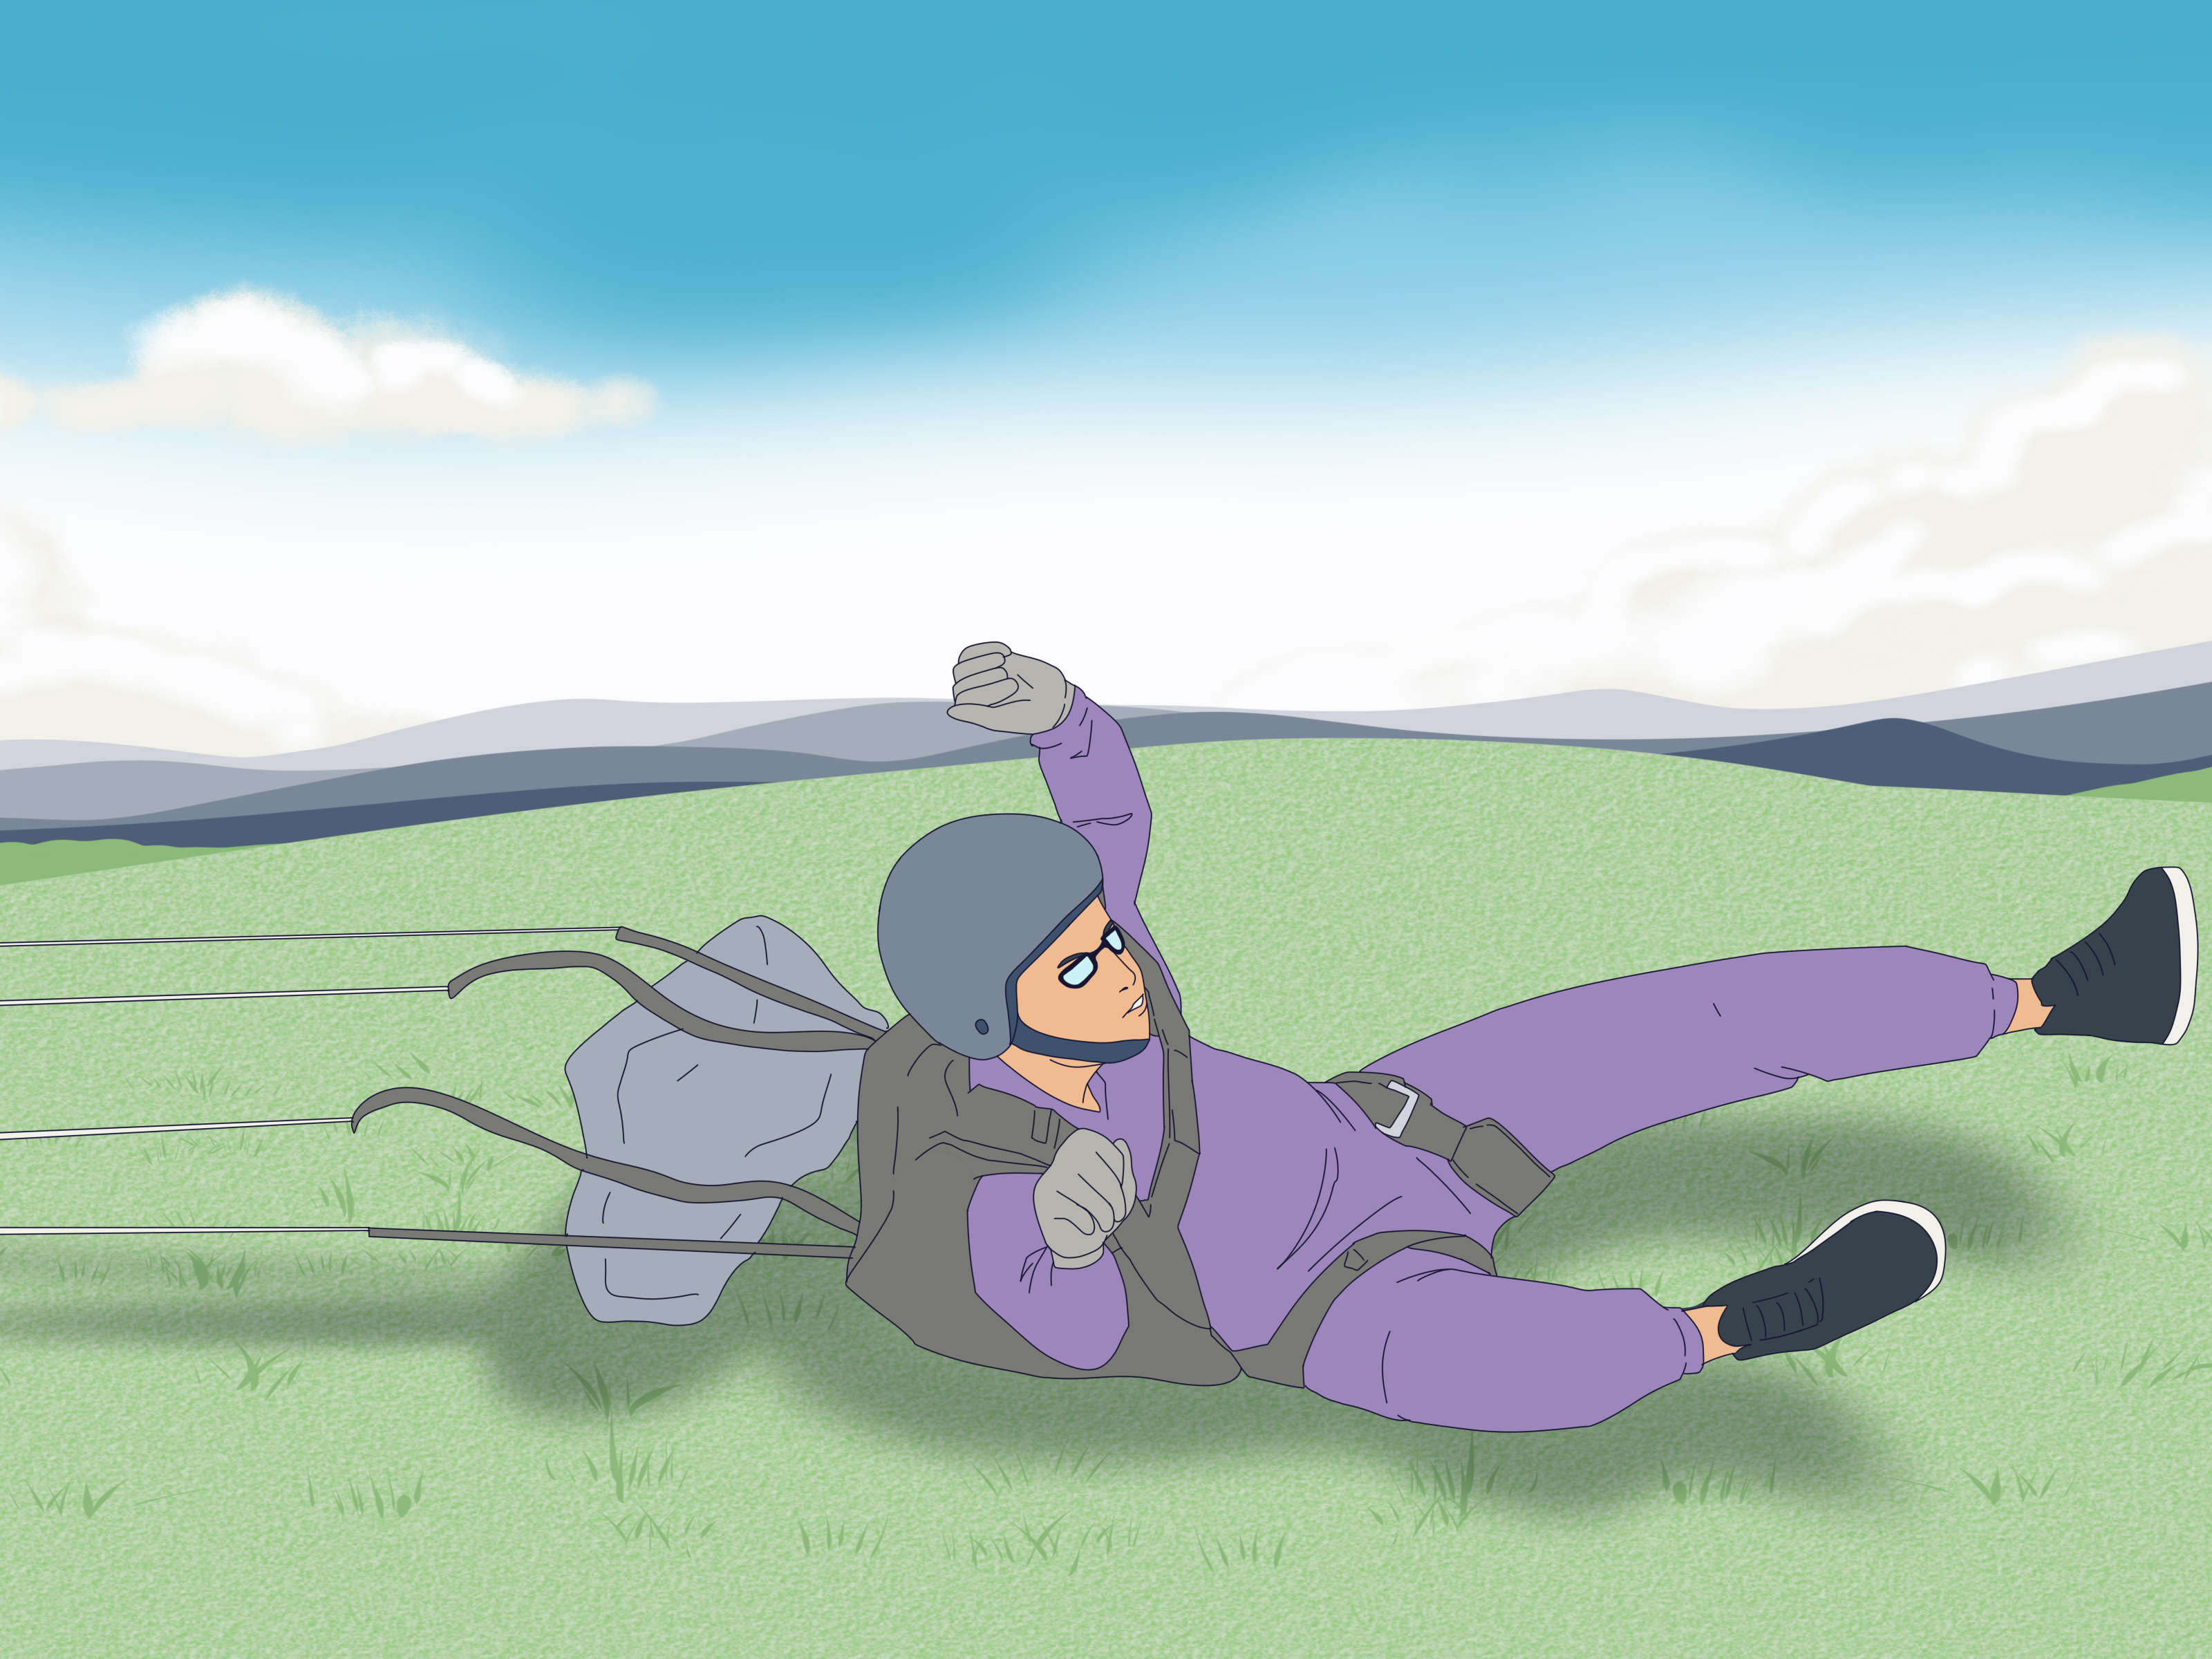
If you have had a parachute malfunction, reserve deployment, two-canopy situation, off-field landing, or low-altitude emergency, prepare mentally for a harder-than-normal landing. A parachute landing fall, or PLF, is designed to spread landing forces across the body instead of letting one ankle heroically absorb the entire planet.
In a basic PLF, jumpers are trained to keep feet and knees together, bend slightly, protect the body, and roll through the landing using multiple points of contact. The exact technique should be practiced with an instructor on the ground. A PLF may not make you elegant, but elegance is not the assignment. Walking away is.
Step 10: Choose the Safest Landing Area Available
After a parachute emergency, you may not land in the pretty green target area everyone pointed at during the briefing. If you are under a functioning reserve or landable canopy, look for the biggest, clearest, flattest area you can reach. Avoid power lines, buildings, water, roads, trees, fences, and crowds.
Use conservative steering. Do not make low turns trying to reach the perfect spot. A controlled landing in an imperfect field is better than a dramatic final-turn disaster in the “correct” landing area. The ground does not care that you had a plan.
Step 11: After Landing, Get Help and Preserve the Gear
Once you are on the ground, assess yourself first. Adrenaline can hide pain, so do not bounce up and start giving interviews like you just won a game show. Signal that you are okay if you can, or call for help if you are injured. If you landed off the drop zone, contact the drop zone as soon as possible.
Do not casually repack, hide, or alter equipment after a malfunction. The gear may need inspection by qualified personnel. A malfunction can teach important lessons, but only if the evidence is preserved and reviewed. Your future self, your rigger, and everyone who likes you breathing will appreciate the honesty.
Step 12: Practice Before Every Jump
The best way to survive a parachute failure is to make the emergency procedure boring before it ever happens. Review your handles. Visualize malfunctions. Practice the sequence on the ground. Rehearse altitude checks. Ask instructors questions. Know your equipment. If you have been away from the sport, get a proper recurrency review.
Emergency procedures are not something you “kind of remember.” They should live in your muscles. When the real thing happens, you will not rise to the level of your motivational poster. You will fall to the level of your training. Conveniently, falling is already part of skydiving.
Common Parachute Failure Scenarios
Total Malfunction
A total malfunction means the main parachute does not deploy or does not leave the container in a useful way. This is a high-speed emergency because you are still falling fast. The response must be immediate and exactly as trained.
Partial Malfunction
A partial malfunction means something deployed, but the parachute is not safe to land. Examples can include severe line twists, a streamer, a spinning canopy, broken lines, a horseshoe malfunction, or a canopy that cannot be controlled. The decision point is whether the canopy can be made landable within your altitude limits.
Line Twists
Line twists can be minor or serious. Under a stable, flying canopy with plenty of altitude, trained jumpers may be able to kick out of twists. Under a diving or spinning canopy, line twists can become an emergency quickly. Altitude and canopy behavior decide the urgency.
Pilot Chute in Tow
A pilot chute in tow means the pilot chute is out but the main deployment does not continue properly. This is dangerous because the system may be trailing behind you without producing a flying canopy. Follow your trained procedure immediately.
Horseshoe Malfunction
A horseshoe malfunction involves part of the parachute system being deployed while another part remains attached or trapped. These are serious because there may be multiple attachment points and messy airflow. This is not the time for creative problem-solving. Use the emergency procedure you were taught.
What Not to Do if Your Parachute Fails
Do not panic and freeze. Do not stare at the malfunction as if it owes you money. Do not keep troubleshooting below your decision altitude. Do not rely on your AAD as the plan. Do not make aggressive low turns after a reserve deployment. Do not ignore pain after landing. And absolutely do not treat online articles as training manuals.
Also, do not waste energy feeling embarrassed. Parachute malfunctions are known risks in the sport, which is why emergency systems and procedures exist. The correct response to a malfunction is not shame. It is action.
Prevention: How to Reduce the Chance of a Parachute Emergency
Survival starts before the aircraft door opens. Get trained by a reputable drop zone. Use properly maintained equipment. Make sure reserve repack requirements are current. Inspect gear before jumping. Confirm handles are secure and accessible. Deploy at the assigned altitude. Maintain stable body position during deployment, but never sacrifice altitude just to look graceful.
Choose good conditions for your skill level. Avoid rushing. Listen during dirt dives and safety briefings. Ask about emergency procedures for your rig, especially if you change equipment. Skydiving culture often celebrates confidence, but the smartest jumpers are humble enough to rehearse the basics every time.
Real-World Mindset: Calm Is a Skill
People often imagine bravery as a feeling. In reality, bravery during a parachute emergency looks more like a checklist. Check altitude. Identify the problem. Decide. Execute. Fly the parachute. Land. Get help. That sequence is not glamorous, but neither is becoming a crater with opinions.
Calm is trainable. You build it through repetition, equipment familiarity, emergency drills, canopy education, and honest debriefs. When a malfunction happens, the jumper who has practiced may still feel fear, but fear does not get to drive. It can sit in the back seat and make squeaky noises.
Extra Experiences and Lessons From Parachute Emergencies
Many experienced skydivers describe their first reserve ride with the same strange mix of fear, focus, and surprise. One second they are on a normal jump, thinking about body position, formation, freefall speed, or the landing pattern. The next second, their world shrinks to three things: altitude, handles, and the canopy above them. That mental narrowing can be useful if it points toward trained action. It can be dangerous if it becomes tunnel vision.
A common lesson from real emergency stories is that the malfunction itself is often less important than the jumper’s response. Two people can face similar canopy problems and have very different outcomes because one acts at the planned altitude while the other keeps trying to “fix it” too long. This is why instructors talk so much about hard decks. A hard deck is not a suggestion written in invisible ink. It is a survival boundary.
Another experience jumpers often mention is how fast time feels. In the classroom, emergency procedures sound orderly. In the air, the clock seems rude and impatient. A canopy may spin, lines may twist, or the ground may appear to grow with alarming enthusiasm. Practiced procedures cut through that chaos. The more familiar the sequence is on the ground, the less thinking it requires in the sky.
Reserve rides also teach humility. A skydiver may have hundreds or thousands of clean jumps and still need the reserve someday. That does not mean the jumper failed. It means the system worked because the jumper used it. In healthy drop zone culture, a reserve deployment is reviewed seriously but not mocked. The goal is to understand what happened, inspect the equipment, learn from the event, and return smarter.
Students and first-time jumpers can take a simpler lesson: listen closely during training, even when the topic feels scary. Emergency procedures are not taught to frighten you. They are taught so that your brain has a map if the unexpected happens. The aircraft ride to altitude is not the place to invent your own plan. It is the place to review the plan you already practiced.
Tandem students have a different role. If you are attached to an instructor, your job is to follow the briefing, maintain the body position taught to you, and listen to commands. Tandem instructors are trained for emergencies and use specialized equipment. Trying to “help” without instruction can create problems. Sometimes the bravest thing a passenger can do is follow directions and avoid becoming an enthusiastic octopus.
Licensed jumpers should treat every uneventful jump as a chance to stay ready. Touch your handles in the aircraft as taught. Review emergency procedures before exit. Think about your deployment altitude. Watch the weather. Respect canopy traffic. A parachute emergency may begin with gear, but it can worsen because of poor decisions, low turns, traffic conflicts, or landing in a bad area.
The final experience-based lesson is simple: survival is usually not one heroic move. It is a chain of small correct choices. Get proper training. Use maintained equipment. Deploy on time. Check altitude. Decide early. Use the reserve when needed. Fly the canopy. Prepare to PLF. Seek help after landing. None of those steps sounds like a movie scene, which is exactly why they work. Real safety is not cinematic. It is disciplined, repetitive, and occasionally wearing goggles.
Conclusion
Surviving if your parachute fails to open is not about superhuman courage or last-second movie stunts. It is about preparation, altitude awareness, and trained emergency action. Modern skydiving equipment includes multiple layers of protection, but those layers depend on a jumper who knows when and how to use them. If the main parachute is not controllable and landable, follow your emergency procedures without delay. If the reserve opens, fly it calmly. If the landing looks rough, prepare for a PLF. And if you walk away, treat the experience as a serious lesson, not just a wild story for dinner.
The safest skydivers are not the ones who assume nothing will go wrong. They are the ones who prepare so well that, if something does go wrong, their response is fast, practiced, and boring. In skydiving, boring is beautiful. Boring gets to jump again.












