
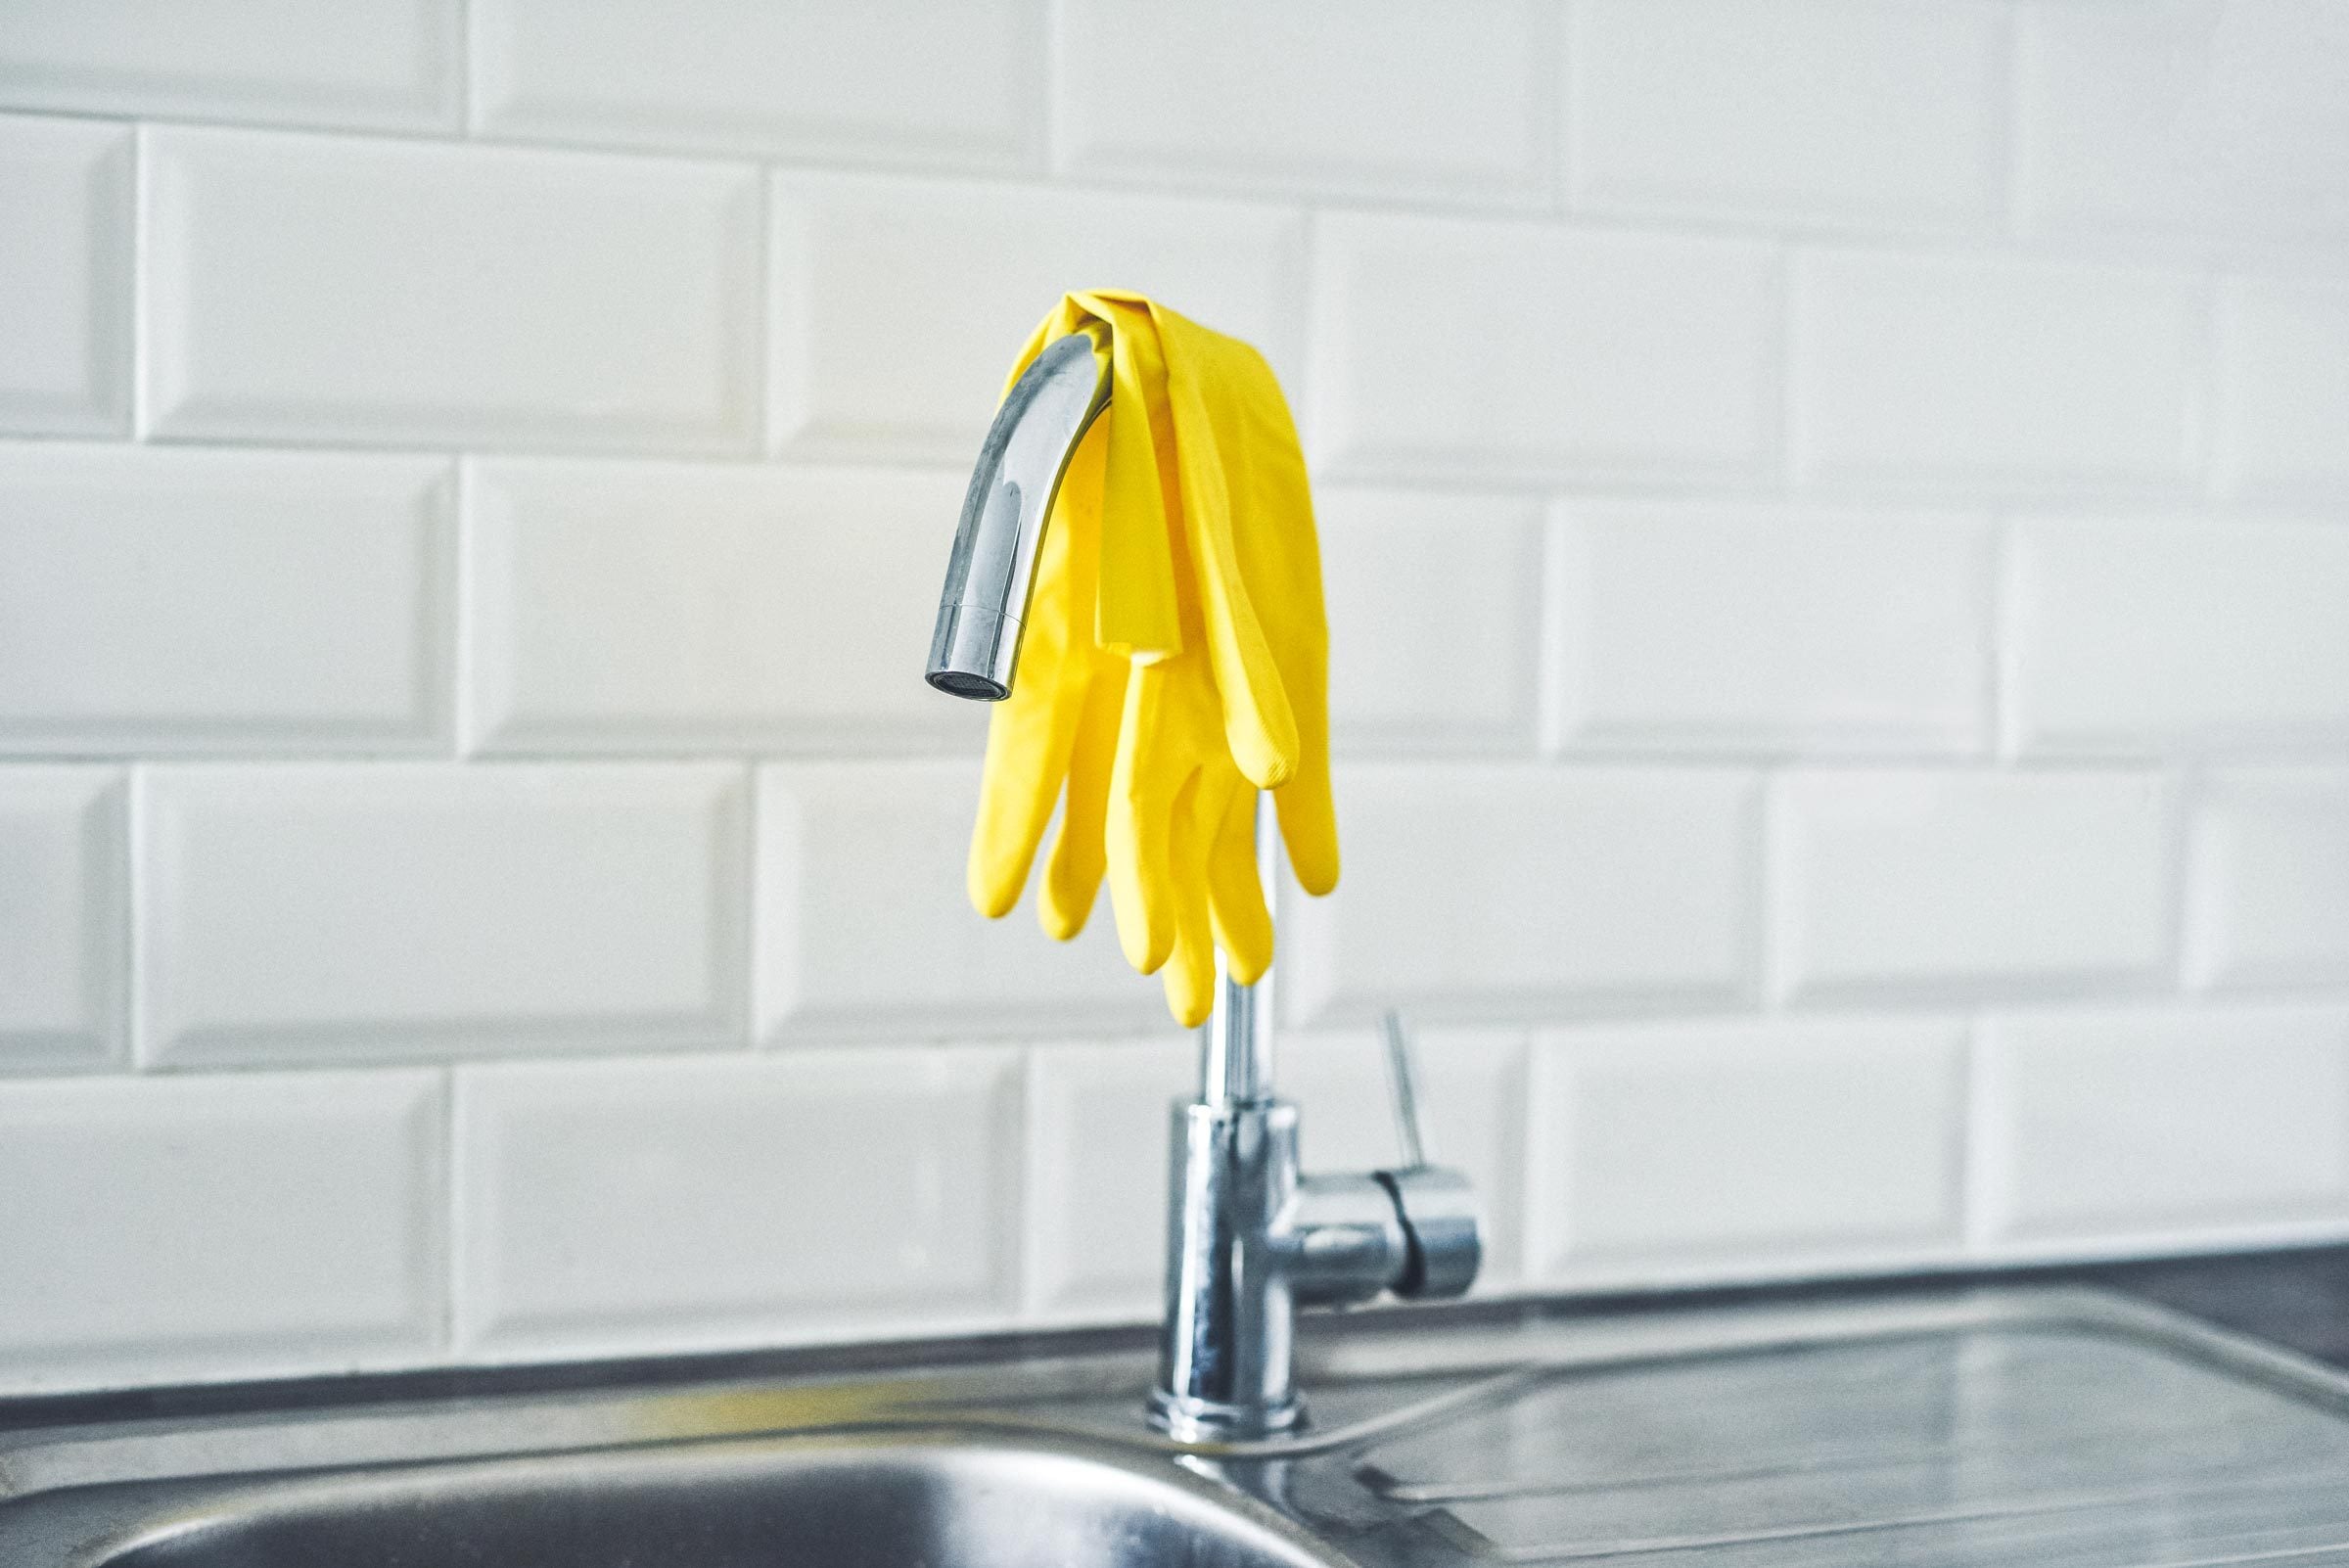
Dishwashing gloves protect your hands from hot water, greasy pans, harsh detergents, and the mysterious casserole residue nobody wants to identify. Unfortunately, the inside of those gloves can become its own tiny tropical climatewarm, damp, and suspiciously fragrant.
The solution is an easy inside-out cleaning hack: wash the gloves while wearing them, flip them inside out, put them back on, and repeat. It reaches the fingers and palms better than soaking alone, requires no special equipment, and takes only a few minutes. Pair it with proper drying, and your reusable rubber gloves can stay cleaner, fresher, and more pleasant to wear.
Why Dishwashing Gloves Get So Smelly
Reusable dishwashing gloves may look clean after a quick rinse, but appearances can be sneaky. Food residue, grease, detergent, and dirty water can remain on the exterior. Meanwhile, perspiration and accidentally trapped sink water collect inside.
Moisture is usually the biggest problem. A glove thrown under the sink while still damp cannot dry efficiently, especially when its cuff collapses. Cotton-lined gloves may hold even more moisture because the lining absorbs perspiration. Put them on the next morning and you may encounter the dreaded cold squisha sensation capable of ruining breakfast before the coffee has finished brewing.
Regular cleaning removes residue and odor-causing material. Complete air-drying then makes the interior less welcoming to microbial growth. The two steps belong together: washing without drying leaves moisture behind, while drying without washing preserves yesterday’s grime in a less soggy format.
The Inside-Out Hack for Cleaning Dishwashing Gloves
The clever part of this method is treating the gloves as if they were your hands. Wearing them gives every finger support, allowing you to rub all surfaces without chasing two floppy rubber octopuses around the sink.
What You Need
- Mild dish soap or another cleaner approved by the glove manufacturer
- Clean, lukewarm running water
- A clean towel
- Two clothespins, binder clips, or a ventilated glove rack
- Baking soda for optional odor control
Step 1: Inspect the Gloves
Before washing, check the fingers, seams, palms, and cuffs for punctures, cracks, thinning, sticky patches, or stiff areas. A pinhole can admit dirty dishwater without making a dramatic announcement. If you suspect a leak, fill the glove with a modest amount of clean water over the sink and watch for drips.
Replace gloves that leak or show significant deterioration. Household dishwashing gloves are inexpensive barriers, not heirloom cookware. A sentimental farewell is optional.
Step 2: Wash the Exterior While Wearing the Gloves
Put on the gloves and rinse them under lukewarm water. Add a small amount of mild dish soap, then rub your gloved hands together as though washing your bare hands. Clean the palms, backs, fingertips, spaces between the fingers, thumbs, wrists, and cuffs.
Spend about 20 seconds rubbing the surfaces, using gentle friction rather than aggressive scrubbing. Pay extra attention to textured palms, where grease and food particles can settle into the grip pattern. Rinse thoroughly until the water runs clear and no slippery detergent film remains.
Step 3: Flip Each Glove Inside Out
Remove one glove by gripping its cuff rather than pulling hard on the fingertips. Fold or roll the cuff outward toward the fingers. Once most of the glove has inverted, gently push each fingertip through one at a time.
If a finger refuses to cooperate, massage the trapped material toward the opening or use the rounded end of a clean utensil. Avoid knives, skewers, and anything sharp. Your goal is to clean the gloves, not perform emergency rubber surgery.
Thick or heavily lined gloves can be difficult to reverse. Do not force them if the manufacturer warns against turning them inside out. Instead, open the cuff, rinse the interior with mild soapy water, gently work the lining by hand, and rinse again.
Step 4: Put the Inside-Out Gloves Back On
This is the actual game-changing moment. Carefully slide your hands into the reversed gloves so the formerly hidden interior is now exposed. Add mild soap and wash them using the same hand-washing motions.
Rub the fingers, palms, backs, and cuffs, focusing on areas that feel oily or smell stale. This approach gives the lining or inner surface support, making it much easier to clean than swirling empty gloves in a bowl and hoping for personal growth.
Step 5: Rinse Every Trace of Soap
Rinse the inside-out gloves under clean, lukewarm water. Residual detergent may irritate sensitive skin or make the gloves feel sticky. Gently squeeze water from the fingertips toward the cuffs, but do not wring, twist, or stretch the material.
Press the gloves between sections of a clean towel to remove surface moisture. Keep them inside out for the first drying stage.
How to Dry Dishwashing Gloves Correctly
Drying is not the boring final step; it is half the hack. Hang each inside-out glove separately in a clean, well-ventilated location. Clip only a small section of the cuff so the opening remains wide enough for air to circulate.
Allow the interior to dry completely. Then return the gloves to their normal shape and let the exterior finish drying. Depending on the lining, humidity, and airflow, this may take several hours or overnight.
Avoid radiators, clothes dryers, hair dryers, and other high-heat shortcuts unless the care label specifically permits them. Prolonged heat and strong sunlight can accelerate the deterioration of some glove materials. A shaded area with steady airflow is usually the safer choice.
A Simple Storage Upgrade
Once dry, hang the gloves from a hook using a clothespin or binder clip. A small adhesive hook inside a ventilated cabinet door works well when counter space is limited. Keep the gloves away from excessive heat, direct sunlight, sharp tools, and leaking cleaning-product bottles.
Do not fold wet gloves into a drawer or leave one stuffed inside the other. Nesting may be charming for mixing bowls, but it is terrible for damp rubber.
What to Do About Stubborn Glove Odors
If routine washing and thorough drying do not eliminate an odor, baking soda can help absorb moisture and neutralize smells. Once the gloves are clean and completely dry, sprinkle approximately one teaspoon of baking soda into each glove. Shake gently to distribute it and leave the gloves overnight.
Empty the powder before the next use and rinse the interior if any residue remains. Baking soda is an odor-control aid, not a registered disinfectant, and it cannot repair contaminated lining or deteriorating rubber.
Persistent sour, musty, or chemical odors may mean the gloves were stored wet, exposed to an incompatible cleaner, or used beyond their practical lifespan. When washing, drying, and deodorizing do not solve the problem, replacement is usually more sensible than escalating to a bubbling kitchen experiment.
Should You Disinfect Dishwashing Gloves?
Routine dishwashing gloves generally need cleaning and complete drying rather than constant disinfection. If the gloves contacted raw-meat juices, bodily fluids, rodent waste, or another higher-risk contaminant, follow relevant public-health guidance and the glove manufacturer’s care instructions.
Use only a disinfectant compatible with the glove material, and follow its label for dilution, contact time, rinsing, ventilation, and protective equipment. Never mix bleach with vinegar, ammonia, acids, or other cleaning products. Even seemingly ordinary combinations can produce dangerous fumes.
It is also smart to keep separate, clearly identified gloves for dishes, bathrooms, pet areas, and heavy cleaning. Color coding prevents the bathroom pair from accidentally receiving a promotion to kitchen duty.
Common Mistakes That Shorten Glove Life
Using Water That Is Too Hot
Dishwashing gloves protect skin from warm water, but extreme heat may weaken some materials and make the interior uncomfortably steamy. Use the temperature recommended on the packaging and avoid assuming hotter automatically means cleaner.
Pulling the Fingers to Remove the Gloves
Repeatedly yanking individual fingertips can stretch the material and stress the seams. Loosen the gloves at the cuffs and peel them off gradually.
Storing Them While Damp
A fast exterior rinse followed by immediate cabinet storage traps moisture inside. Always give both surfaces time to dry before putting the gloves away.
Using One Pair for Every Chore
Gloves used for toilets, litter boxes, floors, or harsh chemicals should not return to the dish sink. Separate pairs reduce cross-contamination and make it easier to select a glove material suitable for each cleaner.
Assuming Gloves Replace Handwashing
Reusable gloves can develop tiny holes, and hands may become contaminated while the gloves are removed. Wash your bare hands with soap and water after taking them off.
When Should You Replace Dishwashing Gloves?
There is no universal replacement schedule because wear depends on material, frequency of use, water temperature, chemicals, fingernail length, and storage. Inspect the gloves regularly and replace them when you notice:
- Holes, splits, tears, or leaking seams
- Sticky, brittle, swollen, or unusually stiff material
- Worn grip that makes glassware difficult to hold
- A lining that remains damp or develops persistent odor
- Discoloration or damage after chemical exposure
- Skin irritation whenever the gloves are worn
If latex gloves cause itching, redness, swelling, hives, or a recurring rash, stop using them and consider a latex-free option such as nitrile or vinyl. Breathing difficulty, facial swelling, or trouble swallowing requires urgent medical attention.
Frequently Asked Questions
Can Dishwashing Gloves Go in the Washing Machine?
Only if the manufacturer explicitly says they are machine-washable. Agitation, laundry chemicals, and heat may damage ordinary rubber or latex gloves, while lined gloves can be slow to dry. Hand-washing provides better control.
Can You Put Rubber Gloves in the Dishwasher?
It is generally better not to. Dishwasher heat, powerful detergent, and spray pressure may shorten glove life. A dishwasher also cannot reliably clean and dry the interior of a collapsed glove.
How Often Should Dishwashing Gloves Be Cleaned?
Rinse and dry them after each use. Give them a more complete inside-and-out wash whenever water enters the gloves, the interior becomes sweaty, the exterior contacts greasy residue, or an odor appears. Frequent users may benefit from a thorough cleaning several times per week.
Why Are My Hands Wet Inside Gloves That Do Not Leak?
Perspiration can collect inside waterproof gloves, especially during long sessions in warm water. Take breaks, wash and dry your hands, and allow the gloves to air out. An unlined or moisture-managing design may feel cooler than a thick cotton lining.
A Week With the Hack: Practical Experiences and Lessons
A realistic home trial of the inside-out method reveals its biggest advantage immediately: it turns glove cleaning into a routine instead of a rescue operation. On the first evening, an unlined pair that had been rinsed casually for several days released more cloudy water than expected. Washing the exterior took less than a minute. Reversing the gloves and washing the hidden surfaces added roughly two more minutes.
The first surprise was how much easier the fingers were to clean while the reversed gloves were being worn. Without hand support, wet rubber folds into itself and slides around the sink. With the gloves on, the textured movements of ordinary handwashing reached the thumb joints and spaces between the fingers. The process felt less like laundering equipment and more like washing unusually colorful hands.
Drying produced the most noticeable difference. The gloves were clipped separately to a small rack with their cuffs held open. By morning, the interior felt dry instead of cool and clammy. That does not sound like a grand household achievement until you remember the tiny emotional betrayal of inserting a clean hand into yesterday’s trapped water.
A cotton-lined pair required more patience. It was comfortable during dishwashing but harder to reverse and substantially slower to dry. Forcing the fingers risked stressing the lining, so the interior was cleaned by partially inverting the cuffs, adding mild soapy water, and gently massaging each finger from the outside. A narrow drying rack that kept the gloves open worked better than clipping both cuffs flat against a cabinet door.
Midweek, one glove developed a stale odor after being stored before it was fully dry. Rewashing helped, but the useful lesson was that fragrance would only have disguised the problem. Leaving the glove open overnight with a small amount of baking soda reduced the remaining smell. The powder was emptied and the glove rinsed before reuse.
The experiment also exposed an organizational problem: identical yellow gloves had been used for dishes and general cleaning. Assigning one color to the kitchen and another to the bathroom removed the guesswork. Labels on the storage hooks made the system easy for everyone in the household to follow.
By the end of the week, the best routine was simple: wash the exterior while wearing the gloves, remove them carefully, clean the interior when needed, and hang them separately with open cuffs. The daily rinse-and-dry process required less than a minute, while the complete inside-out wash took only a few minutes. More importantly, the gloves stopped feeling like damp mystery objects hiding under the sink.
The hack will not make a punctured glove waterproof or preserve rubber forever. What it does remarkably well is remove the inconvenience that causes people to neglect glove care. When cleaning is quick and storage is obvious, the habit becomes almost automaticand clean, dry gloves are ready when the next tower of dishes arrives.
Conclusion
The best way to clean dishwashing gloves is refreshingly uncomplicated: wear them, wash the exterior like your hands, turn them inside out, repeat, rinse thoroughly, and let both surfaces dry completely. This method reaches hidden residue without special tools or questionable chemical cocktails.
Combine the inside-out glove-cleaning hack with careful inspection, ventilated storage, separate pairs for different chores, and prompt replacement when damage appears. Your gloves will be cleaner, your hands will be happier, and the cold interior squish can finally be removed from the morning schedule.
Note: This guidance applies to reusable household dishwashing gloves. Always follow the glove manufacturer’s care instructions and the labels of any cleaning or disinfecting products you use.












