
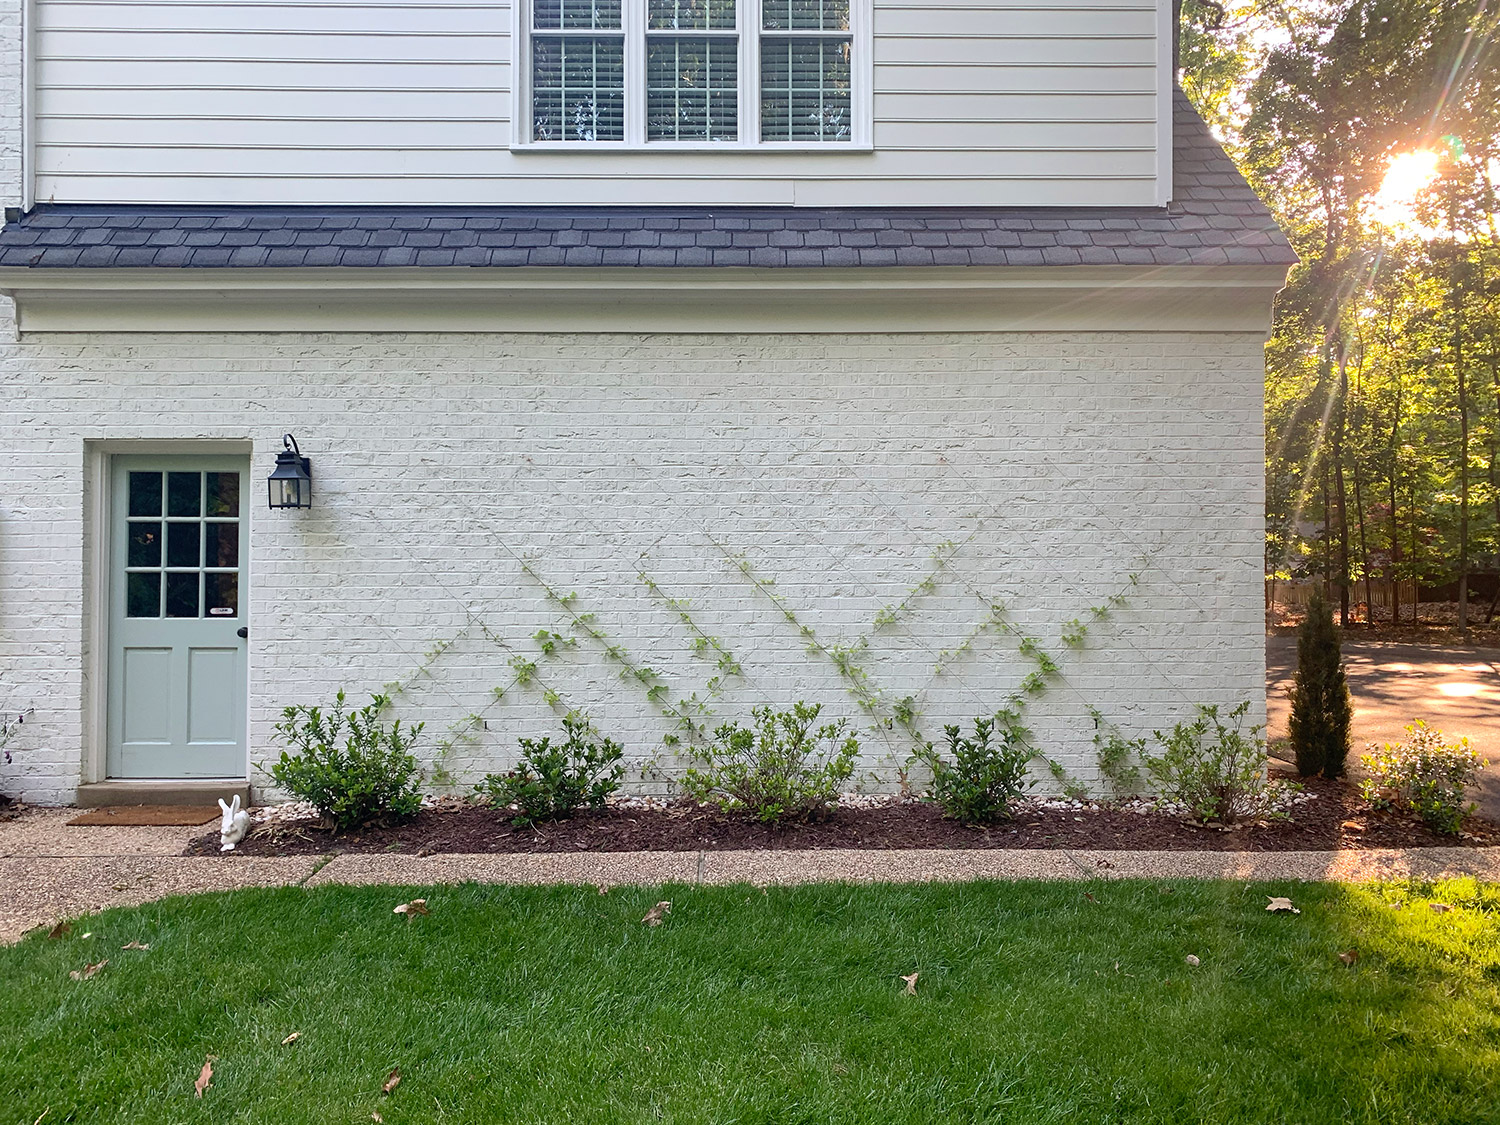
A DIY trellis is one of those garden upgrades that feels suspiciously fancy for how little it costs. One day you’re stepping over sprawling cucumber vines like you’re playing yard-limbo; the next, you’re harvesting waist-high, enjoying better airflow, cleaner fruit, and the smug satisfaction of having built something with your hands.
In this guide, you’ll learn how to make several sturdy, beginner-friendly trellis stylesfrom a quick string trellis to a cattle panel arch that looks like it belongs in a magazine spread. We’ll cover materials, ideal sizing, where to place your trellis, and the little “wish I knew that sooner” tips that keep your structure standing when summer vines decide to bulk up like they’re training for a bodybuilding competition.
Why Build a Trellis in the First Place?
Trellising is basically vertical gardening’s secret weapon. It saves space, keeps leaves and fruit off damp soil, improves airflow (which can reduce disease pressure), and makes harvesting easier. If you’ve ever missed a zucchini that turned into a baseball bat overnight, you already understand the value of “seeing what’s happening.”
- More growing room: Vines go up instead of outespecially helpful in raised beds or small yards.
- Cleaner produce: Cucumbers and squash stay off the ground and are easier to rinse.
- Better plant health: Airflow and sun exposure can improve when plants aren’t piled in a green heap.
- Faster picking: Peas and beans hang where you can actually find themimagine that.
- Stronger stems: Supported plants are less likely to snap in wind or flop after a heavy rain.
Pick the Right Trellis for Your Plants
The best DIY trellis is the one that matches your crop’s “personality.” Some climbers are polite and grab gently. Others (looking at you, indeterminate tomatoes) will attempt a full takeover if you blink.
| Plant Type | Best Trellis Style | Suggested Height | Notes |
|---|---|---|---|
| Peas | String/net trellis, wire panel | 4–6 ft | Tendrils love thin supports; install early. |
| Pole beans | Teepee, A-frame, cattle panel | 6–8 ft | They climb fast; build sturdier than you think. |
| Cucumbers | A-frame, cattle panel, ladder trellis | 5–7 ft | Train vines as they grow to prevent a tangled mess. |
| Tomatoes (indeterminate) | String/Florida weave, sturdy panel, arbor | 6–8+ ft | They’re heavy; plan for fruit weight and wind load. |
| Flowers (clematis, morning glory) | Lattice, obelisk, wire trellis | Varies | Choose for looks + stem type (twining vs clinging). |
Materials: Cheap, Sturdy, and Not a Regret Purchase
You can build a trellis out of all kinds of things: wood, bamboo, metal panels, wire, twine, even branches. The key is choosing something that won’t collapse mid-season when your plants gain weight.
Common Trellis Materials
- Bamboo stakes: Lightweight, budget-friendly, great for teepees and quick frames.
- Wood (cedar/redwood recommended): Naturally rot-resistant for outdoor builds.
- Cattle panels or wire fencing: Extremely strong; ideal for cucumbers, squash, and arches.
- Garden twine/jute or trellis netting: Perfect for peas and beans; replace as needed.
- Screws, zip ties, or wire: Fasteners that hold up outdoors (choose UV-resistant zip ties).
- U-posts or T-posts: Easy anchors for wire panels without heavy carpentry.
Tools You’ll Actually Use
- Measuring tape
- Work gloves (wire panels do not care about your feelings)
- Hand saw or circular saw (for wood builds)
- Drill/driver + outdoor screws
- Wire cutters/bolt cutters (for metal panels)
- Level (optional but satisfying)
- Hammer or post driver (for stakes/posts)
Before You Build: Placement and Sizing That Saves Headaches
A trellis is part garden structure, part wind sail. Put it in the wrong spot, and you’ll spend the season re-tying, re-staking, and questioning your life choices. Here’s the smart setup:
- Sunlight first: Place the trellis where plants get the light they need (most veggies want full sun).
- Mind the shade: In northern-facing beds, tall trellises can shade smaller cropsplace trellises on the north side of a bed when possible.
- Think about access: Leave room to walk, prune, and harvest from both sides (especially for A-frames and arches).
- Anchor like a realist: If your area gets wind or storms, overbuild the base. Plants get heavy fast.
4 DIY Trellis Builds You Can Finish This Weekend
1) The “Two Posts + Netting” String Trellis (Fastest Option)
This is the go-to trellis for peas, snap peas, and lightweight climbers. It’s simple: two sturdy posts with twine, netting, or wire mesh stretched between them.
Materials
- 2 posts (wood stakes, metal T-posts, or 4x4s), 6–8 ft long
- Trellis netting, jute twine, or welded wire
- Staples (for wood) or zip ties (for metal posts)
Steps
- Mark your row: Decide how long you want the trellis. Keep it reachable from both sides.
- Drive in the posts: Sink them deep enough to resist wobbling (deeper is better for tall trellises).
- Attach the netting: Pull it taut. Saggy netting turns into a hammock for vines (and sadness).
- Plant at the base: Sow or transplant as you normally would. Start training early by guiding tendrils onto the netting.
Pro tip: If you’re using twine, create a grid (horizontal + vertical). Tendrils grab thin lines easily.
2) The Bamboo Teepee Trellis (Tiny Budget, Big Results)
The teepee is the classic DIY trellis for pole beans. It’s sturdy, cute, and gives vines a clear path upwardlike a ladder to heaven, if heaven is made of green beans.
Materials
- 4–6 bamboo stakes, 6–8 ft tall
- Garden twine or zip ties
- (Optional) Smaller stakes for cross-bracing
Steps
- Form the cone: Arrange stakes in a circle, spacing bottoms 12–18 inches apart.
- Bind the top: Pull the tops together and tie tightly with twine (wrap several times).
- Add stability: Wrap twine around the legs a few times mid-way, or add cross pieces if you expect wind.
- Plant around it: Sow seeds near each stake. Once vines reach 6–8 inches, guide them to the nearest leg.
3) The Wooden A-Frame Trellis (Foldable, Strong, Raised-Bed Friendly)
If you want a versatile DIY trellis that can handle cucumbers and beans, an A-frame is a champ. It also plays nicely with raised beds and can be designed to fold flat for storage.
Materials (basic version)
- 2 wood frames (or build one frame and mirror it): 1x2s, 2x2s, or 1x3s
- Wire fencing (hardware cloth, welded wire, or cattle panel cut down)
- Outdoor screws + staples (or fencing staples)
- 2 hinges (optional for foldable top)
Steps
- Build two rectangles: A common size is about 6 ft tall and 2–3 ft wide, depending on your space.
- Attach wire to each frame: Staple or screw the wire securely so it won’t peel away later.
- Connect at the top: Use hinges for a foldable “tent,” or screw a cross board across the top.
- Set it in place: Spread the legs into an A shape. Anchor the bottoms with stakes, or screw the legs into the raised bed frame.
- Plant and train: Plant along both sides. As vines grow, weave them through the wire openings every few days.
Pro tip: If you’re growing cucumbers, keep the opening wide enough to reach inside and harvest. Hidden cucumbers are basically nature’s prank.
4) The Cattle Panel Arch Trellis (The “Wow” Factor)
A cattle panel arch is a strong, dramatic DIY trellis that turns a garden path into a tunnel of flowers or veggies. It’s perfect for cucumbers, pole beans, small squash varieties, and even some climbing ornamentals.
Materials
- 1 cattle panel (commonly sold as a rigid wire livestock panel)
- 4 sturdy stakes or posts (T-posts or wood posts)
- Heavy-duty zip ties or fencing wire
- Gloves + wire cutters
Steps
- Set your anchors: Drive two posts on each side of your path/bed, aligned like a doorway.
- Bend the panel into an arch: With a helper, flex the panel upward and inward until it reaches the opposite posts.
- Fasten securely: Attach the panel to posts with wire or heavy zip ties at multiple points.
- Plant at both sides: Train vines upward. As they climb, tuck growth through the grid to keep it neat.
Pro tip: Put the arch where you’ll walk by often. It’s functional, yesbut it’s also a garden bragging right.
How to Anchor a Trellis So It Doesn’t Become Yard Art in a Storm
The biggest trellis mistake is building something beautiful that isn’t anchored for real-world weather. Plants add weight and wind resistance. The solution is simple: make the base boringly strong.
- Go deeper: Posts should be driven well into the ground. Tall trellises need more depth.
- Use metal posts for panels: T-posts/U-posts are excellent anchors for wire fencing.
- Add cross-bracing: A diagonal brace can turn “wobbly” into “rock-solid.”
- Fasteners matter: Outdoor screws and sturdy wire ties hold longer than indoor hardware.
Training Vines Without Starting a Plant Soap Opera
Most trellised crops climb happily if you help them early. The first couple of weeks are where you “set the direction.” After that, they mostly handle itunless they decide the neighboring pepper plant is a suitable ladder (it is not).
- Start early: Guide vines onto the trellis when they’re young and flexible.
- Weave, don’t yank: Gently tuck growth into mesh openings every few days.
- Use soft ties: For tomatoes and heavier stems, use cloth ties or soft garden tapeavoid tight knots.
- Prune with intention: For tomatoes, selective pruning and support methods can keep growth manageable and productive.
DIY Trellis Design Ideas (If You Want Yours to Look “Designed”)
A trellis doesn’t have to be strictly utilitarian. If you want it to earn compliments from neighbors who don’t even garden, try one of these upgrades:
- Use a repeating pattern: Lattice panels, diamond grids, or evenly spaced slats read as “intentional.”
- Match your materials: Cedar + black hardware cloth looks clean and modern.
- Add an arch or curve: Even a small curve at the top makes a trellis look custom.
- Paint or stain: A simple coat can make a budget build look high-end (just use outdoor-safe finishes).
Maintenance: Keep It Standing Year After Year
You don’t want to rebuild every season unless your hobby is “buying more screws.” A little maintenance goes a long way:
- Check fasteners monthly: Tighten screws, replace snapped zip ties, re-tension twine.
- Store foldable trellises dry: Off-season storage extends wood life.
- Inspect for rust or rot: Touch up metal, seal wood, and replace damaged pieces before they fail.
- Clean at season’s end: Remove dead vines and debris so pests don’t overwinter in cozy little hideouts.
Common DIY Trellis Mistakes (So You Don’t Repeat Them)
- Too flimsy for the crop: Cucumbers are heavier than they look. Tomatoes are heavier than they promise.
- Not enough access: If you can’t reach fruit easily, you’ll miss harvests and invite pests.
- Weak anchoring: A trellis that leans by July becomes a trellis that falls by August.
- Late installation: Install before plants sprawl. Trying to trellis a mature vine is like folding a fitted sheettechnically possible, emotionally costly.
Conclusion
Making a DIY trellis is one of the best “small effort, big payoff” garden projects. Start with the simplest option that fits your plantsstring trellis for peas, teepee for beans, A-frame for cucumbers, or the dramatic cattle panel arch if you want both function and flair. Anchor it well, train vines early, and you’ll harvest cleaner produce, save space, and enjoy a garden that looks like it has its life together (even if the rest of us don’t).
Extra: Real-World Experiences and Lessons From DIY Trellis Builds (500+ Words)
Gardeners tend to learn the same trellis lessons the hard way, which is comfortingbecause it means it’s not just you. One of the most common “first trellis” experiences is underestimating how quickly vines grow once they decide the trellis is their new favorite hobby. Peas, for instance, can look politely small for a while… then suddenly they’re waving tendrils around like they’re directing traffic. If the trellis isn’t up early, peas will latch onto whatever’s closest: neighboring plants, random sticks, the irrigation line, your shoelace. Install first, plant second, and you’ll feel like a genius.
Another frequent moment: realizing that “sturdy enough” in April is not the same as “sturdy enough” in July. A flimsy stake system might stand tall when the vines are light. Then fruit sets, leaves thicken, and the whole structure starts leaning like it’s trying to whisper a secret to the ground. This is why anchoring is the unglamorous hero of vertical gardening. Deep posts, solid ties, and cross-bracing aren’t excitingbut they prevent the mid-season trellis collapse that turns harvest day into a scavenger hunt.
People also discover that access matters more than aesthetics once the plants fill in. A trellis can be beautiful, but if you can’t reach the back side, you’ll miss produce. Cucumbers are notorious for hiding like they owe someone money. You’ll pick the “obvious” ones and swear you got them all… and three days later you’ll spot a foot-long cucumber camouflaged behind a leaf like it’s wearing a disguise. Builds like A-frames and arches are popular partly because you can reach from both sides. Even a basic net trellis feels smarter when you leave a walkway and avoid placing it flush against a fence.
There’s also a funny emotional arc to trellis training. Early on, you’re carefully guiding vines, gently tucking growth through the mesh, feeling like a plant whisperer. Then the plants hit peak growth and you realize you’ve created a living creature with opinions. Tomatoes will try to escape their lane. Beans will twist around the wrong pole just to see if they can. The trick is to do small corrections often instead of dramatic wrestling matches later. A quick “weave and tuck” every few days takes two minutes. Waiting two weeks turns it into a sweaty negotiation with a plant that suddenly has the strength of a small animal.
One of the best “I didn’t expect that” experiences is how much a trellis changes the feel of the garden. Vertical structures create rooms and pathways. A cattle panel arch can make a simple backyard plot feel like a garden you’d pay to visit. Even a plain string trellis adds height and makes the space look fuller, more intentional. Many gardeners end up building a second trellis not because they need it, but because the first one made the garden easier to manageand more fun to be in. And honestly, if a few pieces of twine and a panel of wire can turn chores into a little daily stroll of “what’s new today,” that’s a pretty great return on investment.











